In brief
- Freestyle selects edges in mesh geometry and renders them as lines.
- A view layer can have only one view map, which can be linked to multiple line sets.
- Types such as Crease, Border, Contour, and Edge Mark can be used to emphasize different edges.
- Freestyle can use a lot of memory; panoramic cameras and meshes without faces are not supported.
What will you learn in this guide?
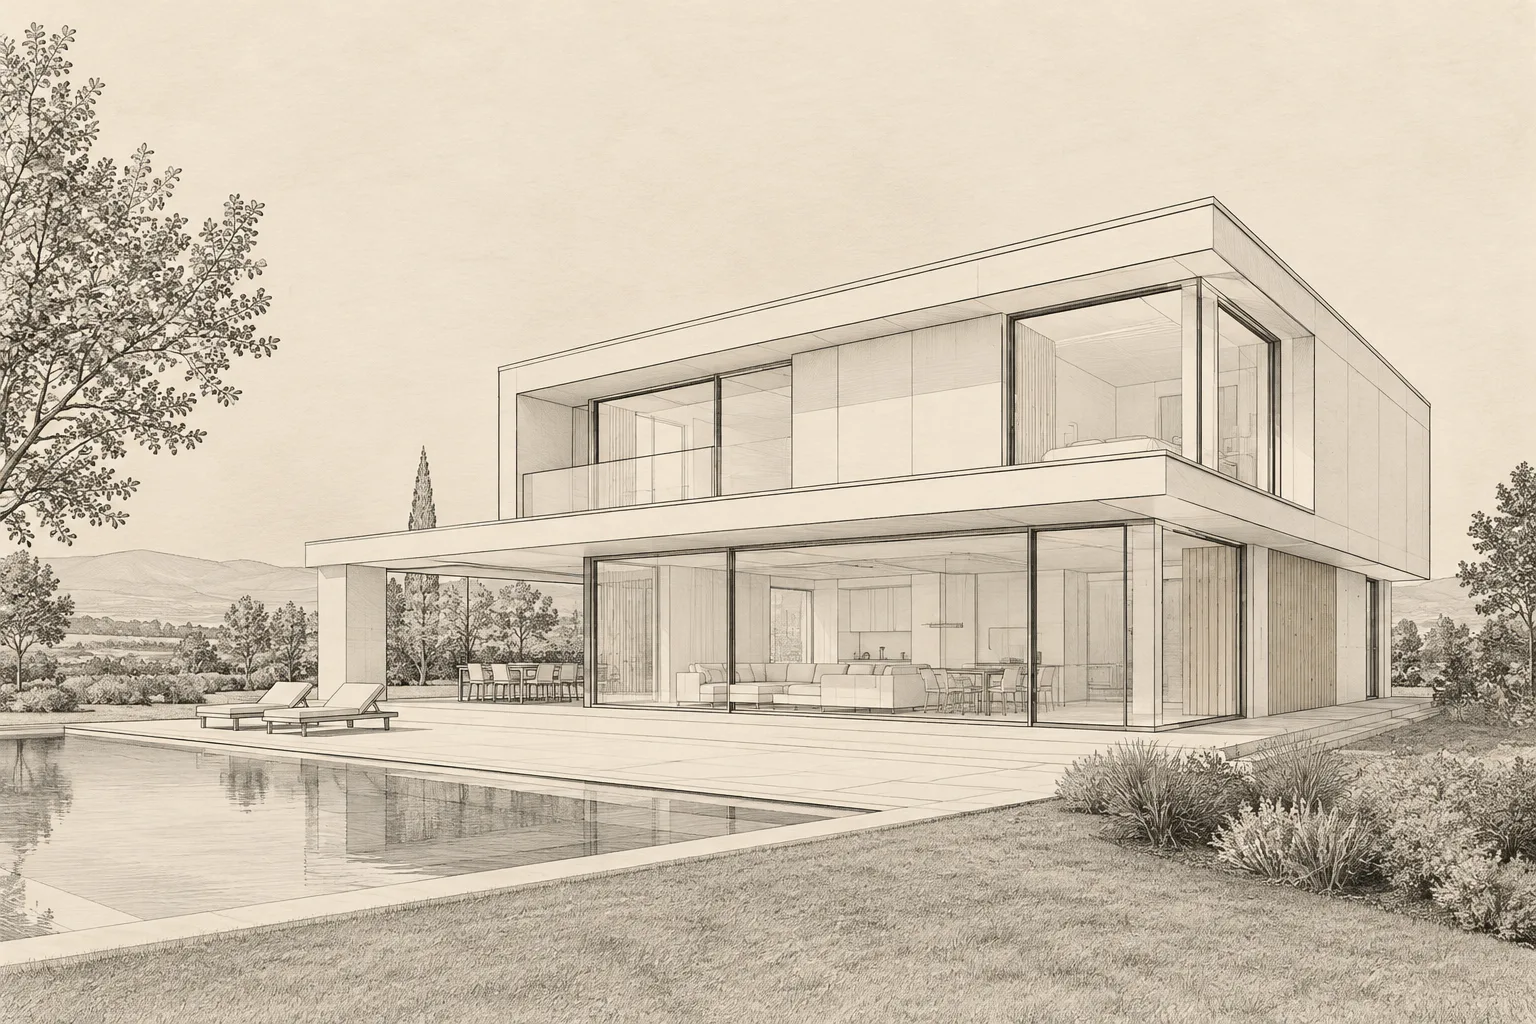
Blender Freestyle creates non-photorealistic renders by generating lines from scene geometry. In architectural visualization, it can be used to emphasize outlines, surface transitions, or edges selected specifically for the task. This guide covers enabling Freestyle, working with line sets, and selecting different edge types. You’ll also learn how to add line output to a render and understand the method’s limitations.
Freestyle lines are generated using mesh data along with depth information. Their appearance—including color, opacity, and thickness—can be adjusted through Line Style. You can manage the settings using interface controls, or use Python Scripting for more extensive control.
Requirements
The Blender scene must contain geometry to generate lines from, along with mesh objects that have faces. The guide states that only meshes with faces are supported.
One of the provided Blender guides is titled Blender 5.2 LTS. The other Freestyle pages do not specify a minimum version, so no specific version requirement is stated here.
The source guides do not mention any account or subscription requirements.
Keep memory usage in mind for large scenes. Freestyle evaluates mesh objects in the active view layer together when calculating lines, so it’s useful to monitor resource use with test renders as the scene grows.
Creating a line render with Freestyle
Enable the feature. In the Render section of Properties, turn on Freestyle. You can find the settings in the View Layer properties. Also check that Freestyle is enabled in the view layer panel.
Choose a control method. Control Mode in the Freestyle panel lets you choose how lines are defined. For initial tests, use the Parameter Editor, which is designed for managing line sets and styles through the interface. Python Scripting offers more extensive control, but the guide describes it as a more advanced and complex method.
Understand the roles of each part of the line setup. A view layer uses a single view map to determine how edges are detected. You can add multiple Line Sets to this map. Each Line Set determines which detected lines from the scene will be rendered and is linked to a Line Style. Line Style defines the appearance of selected lines, including their color, alpha, and thickness. The same style can be used by multiple line sets.
Choose the edge types that suit your goal. In the Parameter Editor, you must select at least one edge type to produce output; you can also combine multiple types in the same Line Set. Try these types individually in architectural scenes:
Crease: Selects an edge when the angle between adjacent faces exceeds the Crease Angle threshold in the view map. This helps emphasize sharp corners and surface transitions.
Border: Draws open edges connected to only one face. Such edges can occur in geometry like planes and open cylinders.
Contour: Creates boundary lines that separate an object from objects behind it or from the scene background.
External Contour: Separates the outer boundaries of objects from the background; it does not create individual contours between objects.
Material Boundary: Emphasizes boundaries where two materials meet on the same object.
Silhouette: Extracts outlines from transitions between areas where surface normals face toward or away from the camera. It can work well on closed objects, but produces no results on open meshes such as an open cylinder or a plane.
Edge Mark: Renders edges marked in Edit Mode. Use it to manually specify which edges to draw.
Mark the edges you need manually. Select the object and enter Edit Mode, select the desired edges, then use Mark Freestyle Edge from the Ctrl-E menu. Enable the Edge Mark type in the relevant Line Set. According to the guide, this method can provide control over nearly flat surfaces or angular shapes where other edge types do not find lines. For rounded outlines, consider Contour, External Contour, or Silhouette.
Adjust visibility and the calculation area. The Visibility setting in a Line Set selects lines based on whether they are occluded by surfaces. Visible targets unobstructed lines, while Hidden targets lines that are behind at least one surface. Quantitative Invisibility lets you set a start and end range for the number of surfaces behind a line.
The Image Border option excludes geometry outside the image frame from line calculations. This can reduce processing load in some renders. However, because objects entering or leaving the camera frame can affect line continuity, review the result separately in scenes with camera movement.
Adjust the line style and check the output. Use Line Style to adjust color, alpha, thickness, and other appearance properties. If Freestyle lines do not appear over the rendered image, check the As Render Pass setting. This option outputs the lines as a separate render pass; use an Alpha Over node to composite them with the image. If you have multiple Line Sets, check the edges selected by each and the style it uses separately.
Using Freestyle in architectural and visualization workflows
Freestyle can be useful for work that calls for a line-based style instead of photorealistic materials and lighting. Examples include massing studies, schematic views, or presentations that emphasize specific geometric boundaries. Crease can highlight surface transitions, Border can emphasize open edges, and Edge Mark lets designers select a specific boundary directly. The sources do not describe Freestyle as an automatic technical drawing or CAD/BIM drawing tool; it should be treated as a tool for styling render lines in a workflow.
Culling in the view map excludes edges outside the view from calculations. According to the guide, this can reduce processing time and memory use, but may lower output quality in some cases. Face Smoothness makes Smooth Shading information part of edge calculations. For Ridge, Valley, and Suggestive Contour types, Sphere Radius affects curvature calculations; increasing its value reduces line detail and noise. Kr Derivative Epsilon also affects the number of lines generated by Suggestive Contour. When changing these options, check the visual result as you go.
Common mistakes
No lines appear in the render: At least one edge type must be selected in the Parameter Editor. Also confirm that the Line Set and Freestyle setting in the active view layer are enabled.
Silhouette does not emphasize angular shapes: This type is not always suitable for sharp corners and cannot generate lines on open meshes. Try Crease for sharp surface transitions or Edge Mark for specific edges.
Unexpected memory use: Freestyle processes mesh objects in the view layer together during line calculation. Meshes without faces are not supported, and edges at face intersections are not detected.
Overlooking camera and output limitations: Panoramic cameras are not supported. Freestyle line output also contains no Z-depth information. If the lines are output as a separate render pass, they need to be composited with Alpha Over.
Next steps
For your first test, use a single Line Set and one edge type to assess the effect on the scene. Then add new Line Sets to separate different line types, or use Edge Mark to control manually selected edges.
For repeated renders, the View Map Cache option can reuse a previous view map calculation. The guide states that this can improve performance in animation renders when mesh geometry in camera space has not changed, or in still renders where the line appearance is updated. However, cache memory is shared across view layers and scenes. If multiple layers or scenes use Freestyle, a map calculated by one may replace another’s, preventing the expected cache benefit.
Sources and license
This guide has been adapted into Turkish from the Freestyle index page in the Blender 5.2 LTS manual and the Freestyle introduction, Line Set, and View Layer Freestyle pages in the Blender manual. The provided sources are licensed under CC BY-SA 4.0.
Sources
3 sourcesSource texts are not republished; short quotes are marked, everything else is our own summary and commentary.
For offices and visualization teams, Freestyle’s practical advantage is that it can create a different line language from an existing 3D scene. Students, architects, and archviz artists who need schematic presentation or want to make specific geometric boundaries visible can test the method on a small scene to see whether it suits their work.
For teams in Turkey, it’s worth considering scene size and the memory capacity of existing hardware before license costs; the documentation warns that memory requirements can be high. It makes sense to run short tests on large projects and check limitations such as panoramic cameras or unsupported mesh types in advance. It’s more realistic to treat Freestyle as an option for enriching render presentation, rather than as an automatic technical drawing solution.
Frequently asked questions
How do you enable Blender Freestyle?
Turn on Freestyle in the Render section of Properties. The feature can also be enabled or disabled at the View Layer level; its settings are in the View Layer properties.
Which line types can you use for architectural edges in Freestyle?
Crease selects surface transitions, Border selects open mesh edges, Contour selects object boundaries, and Material Boundary selects material junctions. Edge Mark renders edges marked manually.
What are the known limitations of Blender Freestyle?
Freestyle can be memory-intensive and supports only mesh objects with faces. Lines at face intersections are not detected, panoramic cameras are not supported, and the line output contains no Z-depth information.