In brief
- An active camera must be present in the scene for Line Art to produce visible results.
- You can select the entire scene, a collection, or a single object as the source.
- You can choose line types such as contours, silhouettes, creases, intersections, and light-shadow boundaries.
- Using multiple Line Art modifiers can increase processing time; subsequent modifiers include a cache option.
What will you learn in this guide?
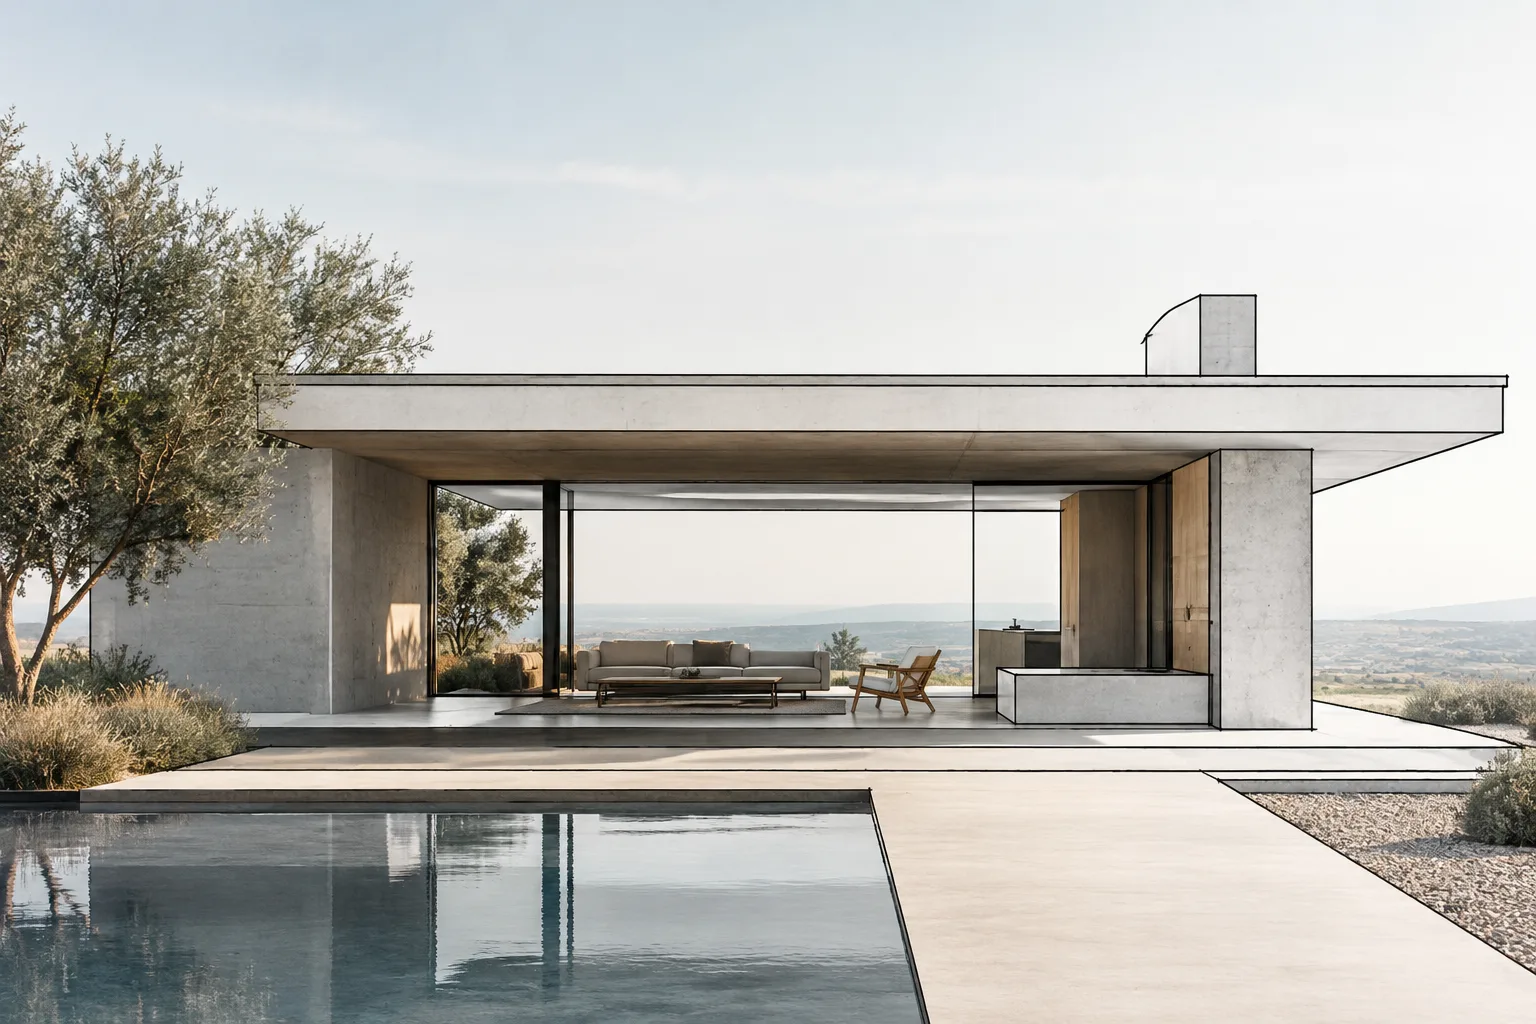
Blender’s Line Art modifier evaluates scene geometry from the camera’s perspective and generates Grease Pencil lines. This makes it possible to present an architectural model not only as a photorealistic render, but also with contour lines, silhouettes, material boundaries, or light-shadow divisions. This guide is intended especially for architects, interior designers, and visualization artists who want to simplify a design idea, distinguish forms, or add a line-based layer to a presentation image.
Because lines are calculated from the parts visible to the camera, the result is directly tied to the selected camera and scene visibility. Line Art does not remodel the model; it interprets existing geometry as lines according to specific edge types. For that reason, start by deciding which information should stand out in the final image.
Requirements and preparation
You need Blender’s Grease Pencil Line Art modifier and a scene from which to generate lines. The Blender 5.2 LTS manual covers Grease Pencil generation modifiers; explanations of Line Art options are also based on the relevant documentation in the Blender manual. The sources do not specify any special hardware requirements, paid accounts, or add-ons for processing.
The scene must have an active camera. The modifier generates lines on the parts of objects visible to that camera. You can select the entire scene, a specific collection, or a single object as the source. For an object source, Mesh, Text, Curve, Surface, and Curves types are supported. The line result can be assigned to a Grease Pencil layer and material; line radius and opacity can also be adjusted.
Before you begin, choose a camera angle and decide on your output. For example, if you want to show the overall massing silhouette, you may not need to display every edge on interior surfaces. If you want to communicate material junctions or lighting divisions, assess the relevant line types separately.
Creating Line Art step by step
1. Choose the camera and line source
Select the active camera in the scene and evaluate the line result from its view. In the Line Art modifier, choose the appropriate source type: Scene, Collection, or Object. Scene uses all visible objects; Collection works with objects in the selected collection; Object uses the specified single object.
If you plan to use different line styles in an architectural scene, choosing sources by collection or object can help organize which geometry belongs to each line group. However, selecting a collection or object as the source does not mean that overlap calculations are independent of the visible scene: the manual notes that the visible scene may still be calculated to produce correct overlap results. Keep this distinction in mind when selecting a source.
2. Enable the line types you need
Line Art can distinguish between different edge types. For an architectural image, starting with the outer contour and silhouette, then adding other types as needed, makes the result easier to control. The main options covered in the manual include:
Contour and Silhouette: Emphasize the separation between front and back faces or the overall silhouette of an object. Individual Silhouette generates separate silhouettes for objects.
Crease: Creates lines when the edge angle is below a specified threshold. The threshold angle affects which edges are treated as creases.
Intersections and Material Borders: Turn intersections between faces or boundaries between different materials into lines.
Light Contour and Cast Shadow: Generate a light-shadow boundary or shadow contour relative to a light object.
Loose and Edge Marks: Generate lines from edges that do not form faces or from Freestyle edge marks.
Rather than enabling every option at once, choose based on the image’s communication goals. For example, a massing study may need only a silhouette and a few key junctions; Material Borders may be more useful in a view that explains material divisions.
3. Adjust the appearance of the lines
Set the Grease Pencil layer and material for the generated lines. Line Radius controls the line radius, while Opacity controls its opacity. You can use multiple Line Art modifiers to separate different edge types, but each modifier may perform its own overlap calculation, increasing processing time.
The Use Cache option is available for a modifier that comes after the first Line Art modifier in the same modifier stack. It optimizes processing by using scene data from the first Line Art modifier’s cache; in return, some settings become unavailable. Before enabling the cache, check whether you need to change any options in the subsequent modifier.
4. Check overlap, chaining, and framing
Occlusion settings let you select lines based on their overlap levels. Level 0 represents visible lines, while level 1 represents lines exactly one face layer behind. These options can be used when you need to distinguish visible surfaces from hidden geometry.
The Chaining section includes controls for joining and smoothing line segments. Preserve Details is intended to retain small details in the chain, while Smooth Tolerance smooths jagged chains. Overscan adds a margin to help prevent lines from being abruptly cut off at the image boundary. Image Boundary Trimming crops lines at the image boundary. Be sure to check areas near the edges in the final framing.
When generating lines for multiple views, the Custom Camera option lets you use a camera other than the active one. This can be useful when working with different camera angles. If you are working with animation or multiple frames, you can bake Line Art lines with Bake Line Art or Bake All. The relevant modifiers are automatically disabled after baking. Keep in mind that clearing baked lines may also delete manually drawn Grease Pencil lines in the same frame range.
Common mistakes
Expecting results without an active camera: An active camera must be present in the scene for the Line Art effect to appear. Lines are also calculated from the parts visible to the camera, so check your camera selection if you need a different viewpoint.
Enabling every edge type: Using Contour, crease, intersection, and material boundaries together can make the image unnecessarily busy. Start by assessing the basic silhouette, then add only the types needed to communicate your intent.
Ignoring the cost of multiple modifiers: According to the manual, each Line Art modifier may perform its own overlap calculation. If you need multiple modifiers, consider whether Use Cache is appropriate, and remember that it disables some settings.
Overlooking hand-drawn work when clearing baked lines: Clearing baked Line Art may also remove manually created lines in the relevant frame range. Check which lines need to be preserved before clearing.
Using Line Art in architectural and visualization workflows
Line Art can serve as a presentation layer for offices, students, and archviz artists who want to emphasize massing, silhouettes, and material junctions with lines. Producing a more technical or illustrative view from the same scene can make design alternatives easier to read. However, the sources do not provide figures for Line Art’s render time, hardware requirements, or compatibility with other software, so test performance and delivery workflows in your existing scene.
Start with a test render using a single camera angle and a small number of line types. Then gradually increase the detail and number of modifiers. Baking may be worth considering for animation, but given the warning about clearing lines, assess frame ranges and the need to preserve hand-drawn Grease Pencil work in advance.
Next steps
For your first test, use a single source and one or two edge types to assess line density. Then change the crease threshold, line opacity, and radius separately to compare how each setting affects readability. If you need shadow or lighting lines, evaluate the relevant light object and the Light Contour or Cast Shadow options. Also check the results for different camera angles and baking within the scene’s own frame range.
Sources and license
This guide has been adapted into Turkish from the Blender Manual pages “Line Art Modifier” and “Grease Pencil Generate Modifiers.” Both sources are available under the CC BY-SA 4.0 license.
Sources
2 sourcesSource texts are not republished; short quotes are marked, everything else is our own summary and commentary.
For architectural offices and students in Turkey, the practical value of Line Art lies in its ability to create a different visual language from an existing scene. Emphasizing massing, silhouettes, and material boundaries with lines can help produce a simpler visual option alongside a photorealistic presentation.
However, in dense scenes, the overlap calculations for multiple modifiers can increase processing time. It is therefore important to start with a small-scale test, use the cache option with the understanding that it disables some settings, and preserve hand-drawn work when clearing baked lines. Since the sources do not specify pricing or special hardware requirements, performance expectations should be tested on the current workstation.
Frequently asked questions
Do I need an active camera to use Blender Line Art?
Yes. An active camera must be present in the scene for the Line Art effect to appear. Lines are generated based on the parts of objects visible to the camera.
What types of lines can Line Art generate?
Options include Contour, Silhouette, Individual Silhouette, Crease, Intersections, and Material Borders. There are also options for light contours, shadow contours, edges that do not form faces, and edge marks.
Does using multiple Line Art modifiers affect performance?
According to the manual, processing time may increase because each modifier can perform its own overlap calculation. Use Cache is available for subsequent modifiers in the same stack, but some settings are unavailable when it is enabled.