In brief
- Screen-Trace uses screen-space depth information and falls back to light probes for rays that leave the view.
- Reducing ray tracing resolution can improve speed and memory usage, but may blur the image.
- Dithered transparency is compatible with ray tracing and render passes, while Blended is not.
- For highly rough surfaces, Fast GI Approximation offers an alternative calculation method that produces less noise.
Blender’s official EEVEE documentation explains how ray tracing and material settings affect indirect lighting, reflections, transparency, and performance. This guide offers a step-by-step way to assess the options in the current Blender manual for architectural interior scenes. The documentation does not specify a Blender version number, so it is not possible to infer which version introduced these settings.
1. Choose the method and resolution
Open the
Render › Raytracingpanel. Ray tracing aims to improve indirect lighting accuracy by calculating how rays emitted from surfaces interact with other surfaces in the scene. When this feature is disabled, EEVEE switches to a faster rendering path that uses prefiltered light probes. This alternative may be more stable and efficient in scenes where visual accuracy is not the top priority.Choose the option that best suits the scene under
Method.Screen-Traceuses screen-space depth information and falls back to light probes for rays that extend beyond the viewport. TheLight Probemethod approximates scene intersections using probe spheres and planes. The documentation describes it as the option with the lowest tracing cost, but the result depends on manually placing the probes in the scene.Balance memory use and image sharpness when choosing
Resolution. Lower resolution renders faster and uses less memory, but can blur the ray-traced result. For this reason, lowering the setting requires a final image check, especially in shots where reflections and indirect light are important.
| Setting | Recommended value | Effect |
|---|---|---|
Ray tracing Resolution | A lower option when speed and memory are priorities | Reduces processing and memory requirements; may blur the result. |
Precision | Consider increasing it if you see intersection errors | Can improve intersection accuracy; increases cost and shortens the maximum tracing distance. |
Thickness | Adjust while checking for missed intersections on thin surfaces | A higher value may reduce missed intersections, but can extend reflections and cause flickering. |
2. Check screen-space traces and light leaks
If you’re using
Screen-Trace, increasePrecisiononly in response to visible intersection issues. More precise calculations may reduce some tracing artifacts, but come at a performance cost and shorten the maximum distance rays can travel. So higher precision does not always mean that a wider area will be calculated accurately.The
Thicknesssetting determines how thick surfaces represented in the screen-space depth buffer are assumed to be during tracing. Increasing the value may reduce the chance of rays missing thin surfaces. However, treating surfaces as too thick can extend reflections and cause flickering. Lower values can help locate intersections more accurately, but increase the risk of missing thin geometry altogether. The documentation does not recommend a fixed value for this setting.If you see light leaks in screen-space global illumination, try the
Backfaceoption. When enabled, rays that intersect the back side of visible geometry are not treated as wasted; this behavior can reduce light leaking between surfaces.Radiance Scalecontrols how much lighting information from the front surface contributes to intersections on the back surface. A lower value reduces this contribution, while a higher value strengthens it.
3. Evaluate denoising and Fast GI options
If noise in the raw ray-traced result is distracting, use
Denoising. It can make the image more stable, but excessive smoothing can also suppress surface detail. Check whether fine edges and material textures are preserved.Observe the potential side effects of each denoising method separately.
Spatial Reusetakes ray results from neighboring pixels into account and may cause unwanted light transfer between different surfaces.Temporal Accumulationcombines information from previous ray-traced frames with the new result. This can remove isolated bright spots, but may cause color shifts. The documentation also considers this method useful for temporal stability in the viewport or for helping a render converge faster.Bilateral Filteris the filter option that applies blur to the calculated ray-tracing image.Consider
Fast GI Approximationfor highly rough surfaces. Rather than tracing each ray individually, this option aims to produce a less noisy result and calculate bounced lighting more efficiently.Ambient Occlusionshadows distant lighting from light probes according to scene intersections and is the fastest of the two options.Global Illuminationalso accounts for light reflected from surrounding objects. Since both methods are screen-space effects, they share the limitations of this approach.
Threshold determines the roughness level up to which ray tracing is used; materials above the threshold gradually switch to the Fast GI approach. The documentation associates a value of 1 with ray tracing on all surfaces and Fast GI disabled. Lowering the Fast GI resolution reduces processing and memory use, but can blur the image. Increasing the number of Rays reduces noise. Increasing Steps can also reduce noise and improve quality; more screen samples reduce the chance of missing surfaces that reflect or block light. Higher Precision values improve intersection accuracy, but come at a performance cost.
4. Transparency and thickness for interior materials
For glass and other transparent surfaces, choose a
Render MethodunderProperties › Material › Settingsbased on your workflow.Ditheredallows grayscale dithered transparency and supports render passes and ray tracing. Materials are rendered in layers, so a layer can only transmit light from layers in front of it. When there are no intersections with lower layers, ray-traced transmission relies on light probes.Blendedcan provide colored transparency, but cannot be used with render passes or ray tracing. The blending order of transparent objects can also change the final color. EEVEE sorts them by object origin, at the object level rather than per pixel or triangle. In scenes with thousands of objects, this sorting can become costly. TheTransparency Overlapoption, available only forBlended, can also be adjusted: when enabled, all transparent fragments are rendered; when disabled, only the frontmost surface fragments are used. Turning it off may help with sorting issues.Set
Thicknessaccording to the geometry represented by the material. This setting approximates an object’s internal structure without expensive calculations and is used for effects such as subsurface scattering, translucency, and refraction. If no value is connected, the default thickness is based on the object’s smallest dimension. A value of zero disables this approximate internal thickness, and the surface is treated as a single interface. For large or compound meshes, such as vegetation, it is more appropriate to use the thickness of individual parts, such as leaves or blades of grass, rather than the size of the entire object. The documentation also notes that thickness can be baked into textures or custom attributes for more accurate results.
What does this mean for architectural and archviz workflows?
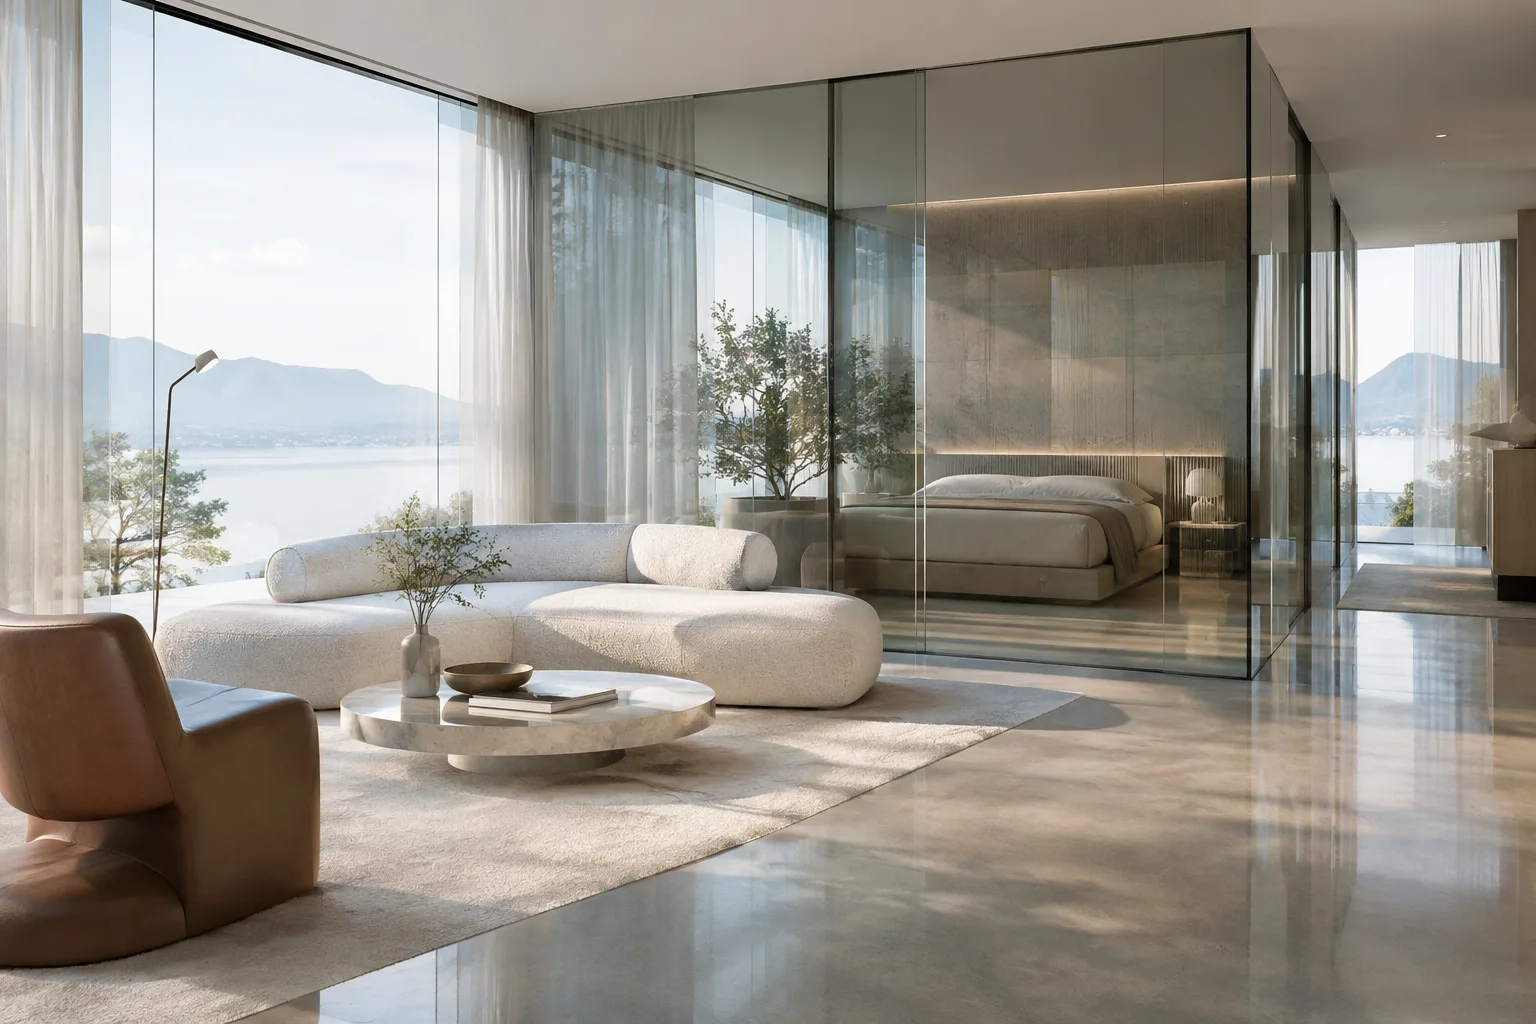
These controls matter particularly in interior scenes with glass partitions, thin finishes, indirect lighting, and rough surfaces. Resolution can be reduced for speed, but the effects on blur and memory savings should be assessed together. The choice of transparency method should also be made early in scene setup, taking compatibility with render passes and ray tracing into account. The official documentation does not specify hardware requirements or licensing conditions, so it is not possible to derive version or system recommendations on those matters.
Common mistakes
Assuming that increasing
Precisionalso increases how far rays can travel. The documentation says the distance may become shorter.Overlooking the possibility of extended reflections and flickering when increasing
Thickness.Judging denoising only by how clean the image looks; excessive filtering can soften details.
Choosing a material method without accounting for the compatibility differences between
DitheredandBlended.Assuming that one general thickness value will suit all thin parts in compound geometry, such as vegetation.
Sources
2 sourcesSource texts are not republished; short quotes are marked, everything else is our own summary and commentary.
For architecture and visualization studios in Turkey, the practical value of these settings lies in being able to manage ray tracing according to the needs of the scene. Lower resolution can reduce memory and processing demands, but the final frame should always be checked for blur. Choosing the transparency option with render pass and ray-tracing requirements in mind can also reduce the need to revise materials later.
The documentation does not include hardware requirements or licensing conditions, so it would not be appropriate to recommend a specific computer or estimate costs. Studios should test their own sample scenes, particularly for `Blended` object sorting, light leaks, and softening caused by denoising.
Frequently asked questions
What is the difference between Screen-Trace and Light Probe in Blender EEVEE?
Screen-Trace uses screen-space depth information and falls back to light probes for rays that leave the viewport. Light Probe approximates scene intersections with probe spheres and planes; it has a lower tracing cost but relies on manually placed probes.
What is the difference between Dithered and Blended transparency in EEVEE?
Dithered is compatible with render passes and ray tracing. Blended provides colored transparency, but is not compatible with these two features, and object sorting can affect the result.
What happens if material thickness is set to zero in EEVEE?
A value of zero disables the thickness approximation and treats the object as a single interface. This setting is only used by the EEVEE render engine.