In brief
- Hardware ray tracing and DirectX 12 support must be enabled in the project for Path Tracer.
- The documentation specifies Windows 10 1809 or later and NVIDIA RTX or GTX-series graphics cards with DXR drivers enabled.
- In interiors, materials with albedo close to 1.0 can lengthen light paths and increase render times.
- Epic recommends spatial sampling for still images and temporal sampling for animations using reference motion blur.
Epic Games’ official Unreal Engine documentation explains how to enable Path Tracer and produce output with it. Path Tracer is a progressive renderer that calculates lighting, reflections and refractions using physically based methods to create photorealistic images. This guide focuses on hardware requirements, scene sampling and Movie Render Queue (MRQ) settings, particularly for interior visualization. Epic notes that some settings controlling Path Tracer-specific material shader permutations were introduced in Unreal Engine 5; the source page does not specify a more precise minimum version.
1. Check project and hardware requirements
Start by checking the hardware and project requirements for Path Tracer. Epic’s documentation specifies Windows 10 1809 or later and NVIDIA RTX or GTX-series graphics cards with DXR drivers enabled. On Windows, the default RHI must be DirectX 12.
In Project Settings, select DirectX 12 under Platforms > Windows > Targeted RHIs > Default RHI. Then enable Support Hardware Ray Tracing under Engine > Rendering > Hardware Ray Tracing. Enable Path Tracer support in the same settings group. Restart the engine for the changes to take effect.
When enabling hardware ray tracing, a prompt may ask you to enable Support Compute Skin Cache. According to Epic, this feature is required for hardware ray tracing and Path Tracer. Projects that do not plan to use Path Tracer in Unreal Engine 5 can reduce shader compilation time by disabling the option that creates the relevant shader permutations.
2. Preview the Path Tracer image in the viewport
In the Level Editor’s Level Viewport, open the View Modes menu and select Path Tracing. As long as the camera remains still, new samples are added and the image gradually becomes clearer. Once the target sample count is reached, any remaining noise is removed in the final pass if denoising is enabled in the Post Process settings.
Changes to the scene can invalidate accumulated samples. Moving the camera, changing the framing, updating a material, or adding or moving an object can cause the calculation to restart. As a result, the image may temporarily look noisier while you work; this alone does not mean there is a rendering problem.
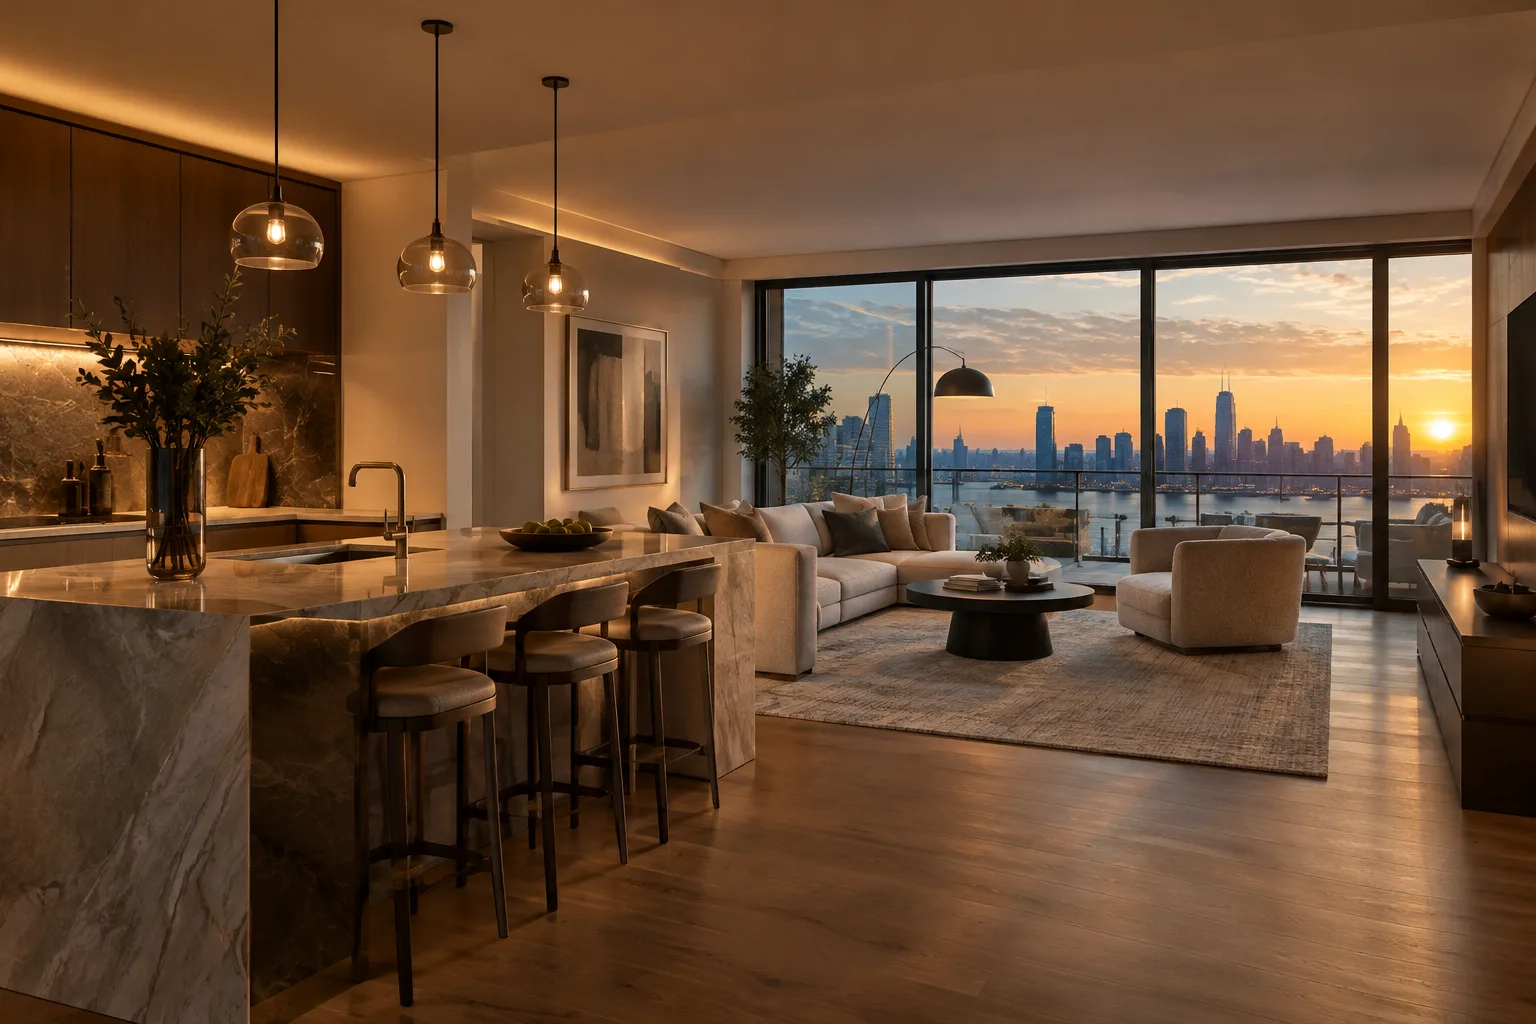
Path Tracer’s calculation time depends on scene complexity and the materials being sampled. According to Epic, calculations can progress faster outdoors because rays can leave the scene after fewer and shorter bounces. Light paths can be longer indoors, and materials with albedo close to 1.0 can lengthen them further. Keep this difference in mind when choosing a sample count and planning delivery schedules.
3. Balance sampling for noise and render time
The PathTracing category in the Post Process Volume includes settings such as Max. Bounces and Samples Per Pixel. The first sets the maximum number of light bounces a ray can make before it is terminated. The second controls the number of samples used per pixel for convergence. More samples can reduce image noise, but they also increase processing time.
When using MRQ, the Samples Per Pixel value in the Post Process Volume is ignored; the number of spatial samples per pixel is set in MRQ’s Anti-aliasing module. Checking the setting in the right place helps avoid confusion about why a change is not reflected in the output.
| Setting | Recommended value | Effect |
|---|---|---|
Samples Per Pixel | Higher value | Reduces noise; may increase processing time. |
MRQ Spatial Sample Count | Accumulate samples spatially for still images | Sets the number of samples used per pixel in each pass. Increasing it reduces noise but lengthens render time per frame. |
MRQ Temporal Sample Count | More temporal samples for animations using reference motion blur | Samples different points in time to improve motion blur quality. |
| Spatial sampling with reference motion blur | 1 | Epic recommends concentrating samples on the temporal side in this case. |
The recommendations in the table are based on the use cases in Epic’s documentation; there is no single best value for every scene. Since an interior’s materials, lights and complexity affect the results, test how increasing the sample count impacts the image and render time.
4. Choose Movie Render Queue settings for the output type
MRQ helps manage different stages of producing high-quality frames with Path Tracer. The Path Tracer module provides controls specific to this rendering path. The Anti-aliasing module lets you set spatial and temporal sample counts, while the Output module sets the output folder, file name, resolution, and the start and end frames to render.
For still images, Epic recommends keeping the temporal sample count at 1 and using spatial samples. For animations with reference motion blur enabled, the recommendation is to keep the spatial sample count at 1 and increase the temporal sample count. Total samples per pixel are the product of the spatial and temporal values. In the example in the documentation, 16 total samples can be distributed as 4 spatial and 4 temporal samples, 16 spatial and 1 temporal sample, or 1 spatial and 16 temporal samples. The choice depends in particular on the expected motion blur.
For high-resolution frames, MRQ’s High Resolution module can render the image as separate tiles and then combine them. Epic gives a resolution of 7680 × 4320 for RTX 3080 cards as an example of a supported tile size; this does not mean the same limit applies to all graphics cards. For animations, warm-up times in the Anti-aliasing module may also be needed to ensure levels load and visual effects are prepared correctly.
5. Check lighting contributions and the final image
Max Path Intensity in the Post Process Volume sets an upper limit to help reduce overly bright outliers (fireflies). When the Emissive Materials setting is disabled, emissive colors remain visible to the camera but do not contribute light to the scene. This option can be used to check whether contributions are being counted twice when the same light source is represented by both emissive geometry and a local light.
The Denoiser option uses the loaded denoising plugin on the final sample. If the plugin is not enabled, this option has no effect on the rendered output. When evaluating denoising results, verify that the plugin is running. Path Tracer’s controls for light bounces, sampling and lighting contributions are in the PathTracing category of the Post Process Volume.
Common mistakes
Not restarting the engine after enabling DirectX 12 and hardware ray tracing support.
Overlooking the required
Support Compute Skin Cacheoption for hardware ray tracing.Assuming the
Samples Per Pixelvalue in the Post Process Volume applies when using MRQ.Increasing the sample count for an interior without accounting for the possible increase in render time.
Using emissive materials and local lights for the same lighting and counting the contribution twice.
Impact on architecture and visualization workflows
Path Tracer can help architecture and interior design teams examine material, reflection and lighting behavior in high-quality frames. Unreal Engine’s integration with Sequencer and Movie Render Queue makes it possible to configure animation and production output in the same workflow. However, longer calculation times for interiors and the hardware requirements specified in the documentation should be factored into production planning. Checking the image in a fixed frame first, then setting MRQ sampling according to the output type, provides a more controlled process.
Sources
2 sourcesSource texts are not republished; short quotes are marked, everything else is our own summary and commentary.
For architecture firms and visualization teams in Turkey, Path Tracer’s practical value is that it lets them assess lighting and material decisions more realistically while producing high-quality frames from Unreal Engine scenes. However, longer light paths in interiors can affect delivery times as the sample count increases, so it is important to distinguish between preview settings and final output settings.
Before getting started, confirm hardware compatibility and the Compute Skin Cache requirement to reduce the risk of last-minute issues. Also keep in mind that sampling settings are managed separately in MRQ. Since the sources do not provide licensing or pricing information, it is not possible to estimate costs; firms should assess their existing hardware and software requirements for their own projects.
Frequently asked questions
What hardware and project settings are required for Unreal Engine Path Tracer?
Epic’s documentation specifies Windows 10 1809 or later, NVIDIA RTX or GTX-series graphics cards with DXR drivers enabled, and DirectX 12. Hardware ray tracing and Path Tracer support must be enabled in the project; `Support Compute Skin Cache` is also required.
Why can Path Tracer take longer to render interiors?
According to Epic, light paths can be longer indoors, and materials with albedo close to 1.0 can lengthen them further. Render time also depends on scene complexity and the materials being sampled.
How should sampling be set up for still images and animations in Path Tracer?
For still images, Epic recommends accumulating samples spatially and keeping the temporal sample count at 1. For animations using reference motion blur, it recommends keeping the spatial sample count at 1 and increasing temporal samples.