In brief
- UV Project Modifier projects UVs from the projector object along its negative Z direction.
- A projection can use up to 10 projector objects.
- To use an image in a material, an Image Texture node using the target UV map is generally recommended.
- Some distortions in perspective projection can be reduced by subdividing the geometry.
What will you learn in this guide?
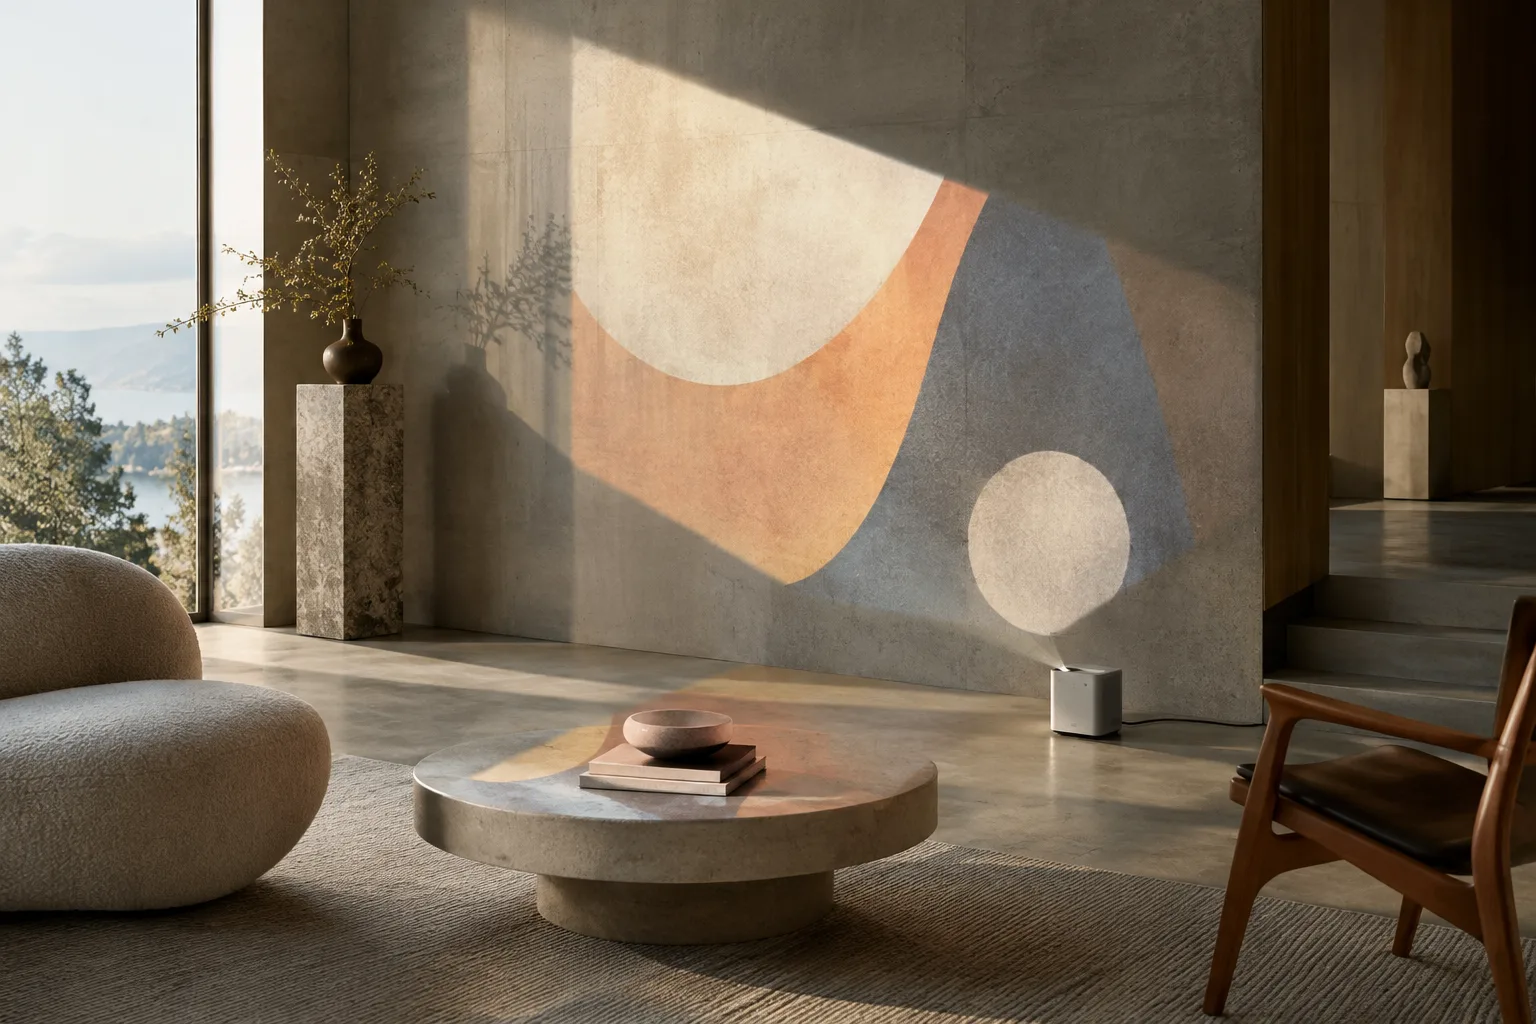
Blender’s UV Project Modifier projects UVs onto a model from a projector object. This approach can be used for graphics and decals added to a surface, and can also help vary the effects of spot lights. In this guide, you’ll learn how to control the projector’s direction, set the target UV map, use the projected image in a material, and identify common mapping issues.
Projection does not replace traditional UV unwrapping in every situation. The result depends on the geometry, surface normals, and projector position. It’s therefore worth testing this method, especially in scenes where an image needs to land on a surface from a particular direction.
Requirements
You need a mesh object to receive the projected image and an object to use for projection. The Blender manual uses an Empty as an example projector.
A material can be edited to use the image on the model. The manual notes that an Image Texture node using the target UV map is generally added to the material; don’t treat this as a requirement in every case.
The Blender manuals don’t specify a particular version, account requirement, hardware requirement, or pricing information. Don’t assume requirements that aren’t stated in the sources.
Projectors project along their negative Z axis. In other words, the image is projected onto the surface along this axis of the projector object. If you choose a camera as the projector, the projection follows the camera’s perspective or orthographic settings.
Projecting an image with UV Project Modifier
Inspect the target mesh and its surfaces. Select the object where the image will appear. Which projector a face uses depends on the surface normal and the projector’s distance. If the projection reaches unexpected faces, check not only the image but also the surface orientations and projector position.
Choose the UV map. With the mesh selected, you can view and edit its maps in the UV Maps panel of the Data tab in the Properties editor. A mesh can have multiple UV maps for different textures, and a single map can also be used by multiple textures. In the modifier settings, choose the UV map to modify. If no map is selected, the active render map is used by default.
Set up the projector. Specify the object to use as the projector in the modifier. For example, an Empty projects along its own negative Z axis. Check the object’s orientation and position relative to the model to see which surfaces will receive the image. When a camera is used as the projector, the projection is shaped by whether the camera view is perspective or orthographic.
Use multiple projectors if needed. The modifier supports up to 10 projector objects. Each face is mapped using the nearest projector aligned with its surface normal. You can use multiple projectors for surfaces facing different directions, but you should also check which projector each face is matched to, as this affects the result.
Use the image in a material. If you want the image to appear through a material, an Image Texture node using the target UV map is generally added to the material. Check that the UV data used by the material matches the map targeted by the modifier. UV maps can also be used in material shading and some render operations. According to the manual, the map marked as Active Render is the default map for UV Pass and certain coordinate uses in materials.
Check the aspect ratio and scale for camera projectors. Aspect X/Y changes the image’s aspect ratio, while Scale X/Y changes its scale. According to the manual, these two options are available only when a camera is used as the projector. Don’t expect the same result from these settings when working with a different type of projector.
Check the result on the surfaces. Inspect the image edges and how it transitions across different surfaces. Perspective projection can cause noticeable distortions on low-poly geometry; subdividing the geometry can help reduce this issue. In perspective view, corners behind the camera may also fail to map correctly. In this case, subdividing the geometry can improve UV mapping for faces in front of the camera.
Common mistakes and checkpoints
If the image appears unexpectedly, first compare the UV map used by the material with the map targeted by the modifier. Remember that a mesh can have multiple maps, and that the active render map is treated as the default for some operations. Checking which coordinates the image is reading can make mapping issues easier to diagnose.
If the projection lands on unintended faces, consider the projector’s negative Z direction and the surface normals together. If you’re using multiple projectors, bear in mind that each face is matched to the nearest projector aligned with it.
Perspective-related artifacts can appear on low-poly flat surfaces. According to the manual, this happens because UV interpolation doesn’t account for perspective projection. Subdividing the geometry can reduce distortion, but the source doesn’t guarantee that this limitation will be eliminated entirely in every scene. Correct mapping should not be expected for corners behind the camera, either.
Use in architectural and archviz workflows
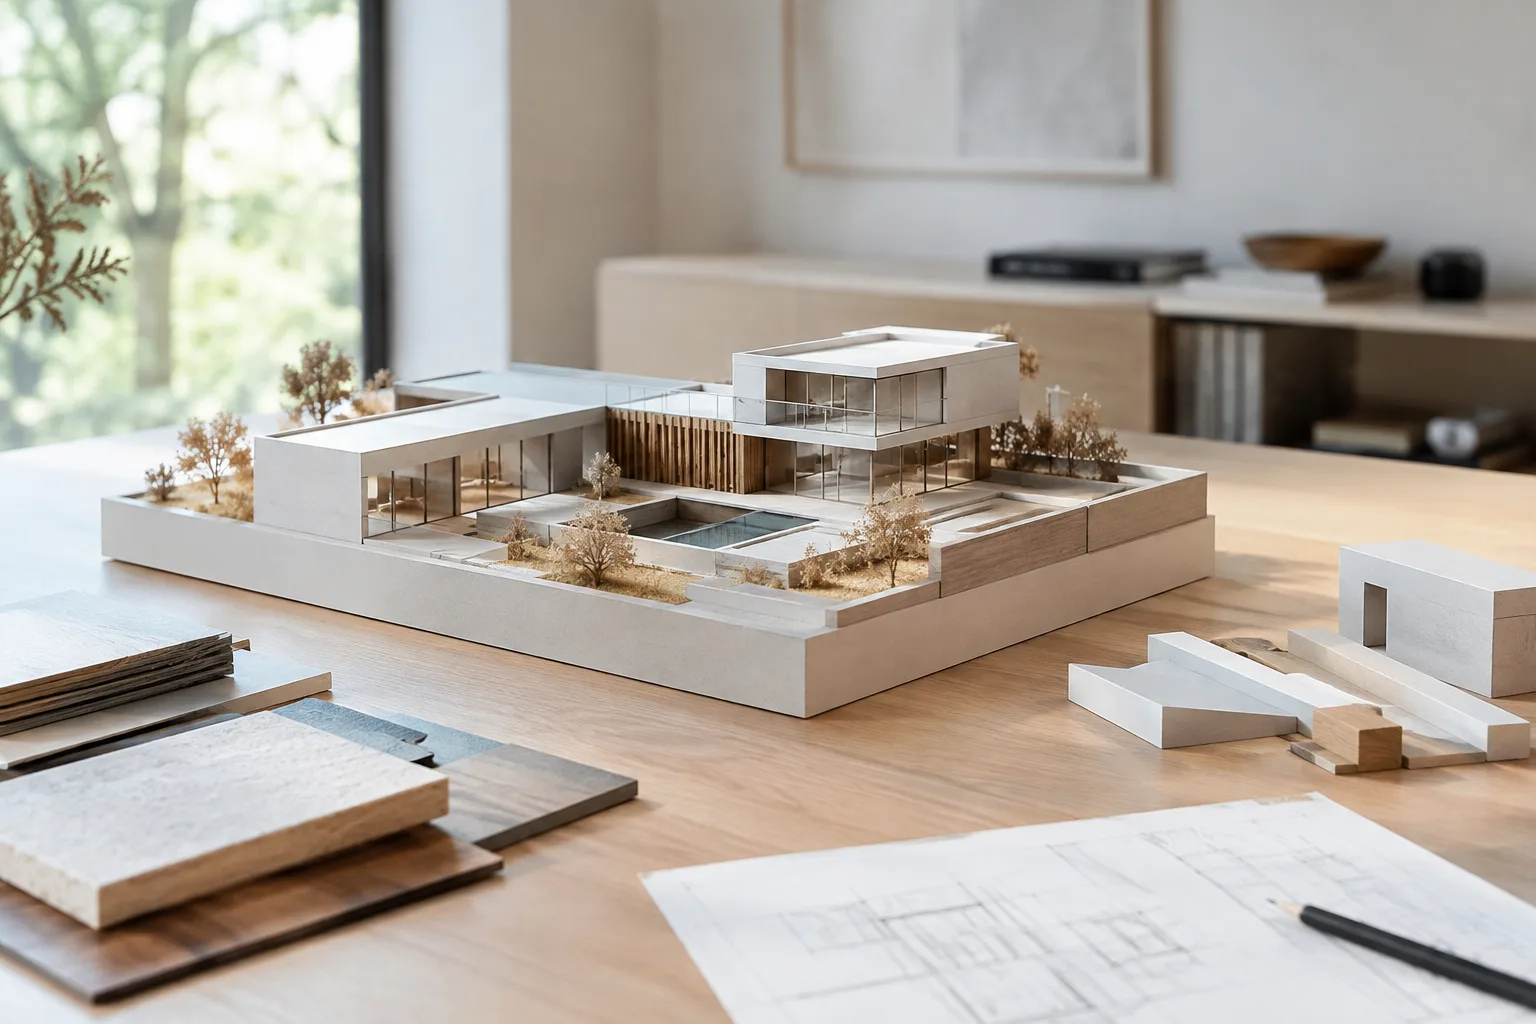
In architectural visualization, UV Project Modifier can be used to quickly test a wall graphic, sign, or decorative image on a surface. When an image needs to land on a surface from a particular direction, directly controlling the relationship between the projector and the surface can be practical. Archviz artists and students, in particular, can see how the method behaves in a scene using a small test model.
However, projection results on complex or low-poly surfaces need to be inspected carefully. You should also consider how subdividing the geometry affects the modeling workflow. The sources don’t provide information about hardware requirements, licensing costs, or compatibility with different render engines. Rather than making assumptions about these points, it’s best to test them in the scene you’re using.
Next steps
Start with a single projector and a single UV map. Once you’ve confirmed that the image projects correctly onto the target surfaces, move on to additional projectors or different UV maps. If you’re using a camera projector, keep in mind that the Aspect X/Y and Scale X/Y options apply only in this case.
Texture Space is another option for generating coordinates in Blender without using a UV map. It is not the same method as UV Project Modifier. Texture Space is a three-dimensional space used to generate texture coordinates within an object, and it doesn’t support rotation. When you need to rotate coordinates in material shading, you can use a Mapping Node.
Sources and license
This guide was adapted into Turkish from the “UV Project Modifier” and “UVs & Texture Space” pages in the Blender Manual. Both sources are licensed under CC BY-SA 4.0.
Sources
2 sourcesSource texts are not republished; short quotes are marked, everything else is our own summary and commentary.
UV Project Modifier can be useful for offices and visualization artists who want to quickly test signs, wall graphics, and similar surface images in architectural scenes. Placements controlled by projector direction, in particular, offer a practical option for early design and presentation tests.
On the other hand, perspective artifacts on low-poly surfaces may require extra checks and sometimes subdividing the geometry. The sources don’t explain hardware requirements or licensing costs; for teams in Turkey, the best approach is to run a small test in the scene at hand. In projects with multiple UV maps, it’s also important to check that the material and modifier are using the same map.
Frequently asked questions
What does Blender UV Project Modifier do?
It projects UVs from a projector object. It can be used to create surface graphics or decals and to vary the effects of spot lights.
How many projectors does UV Project Modifier support?
The modifier supports up to 10 projector objects. Each face uses the nearest projector aligned with its surface normal.
How can distortion in perspective UV projection be reduced?
Subdividing the geometry can reduce artifacts on low-poly surfaces. Corners behind the camera may not map correctly in perspective projection.