In brief
- UV unwrapping creates coordinates that map a 3D model’s surface to a 2D image.
- UV editing is done in Edit Mode; the method you choose may depend on the model’s shape.
- For a Cycles bake, the model needs a UV map and either an image texture or a color attribute as the target.
- Adding a margin around UV islands helps reduce seam artifacts caused by texture filtering and mipmapping.
What you’ll learn in this guide
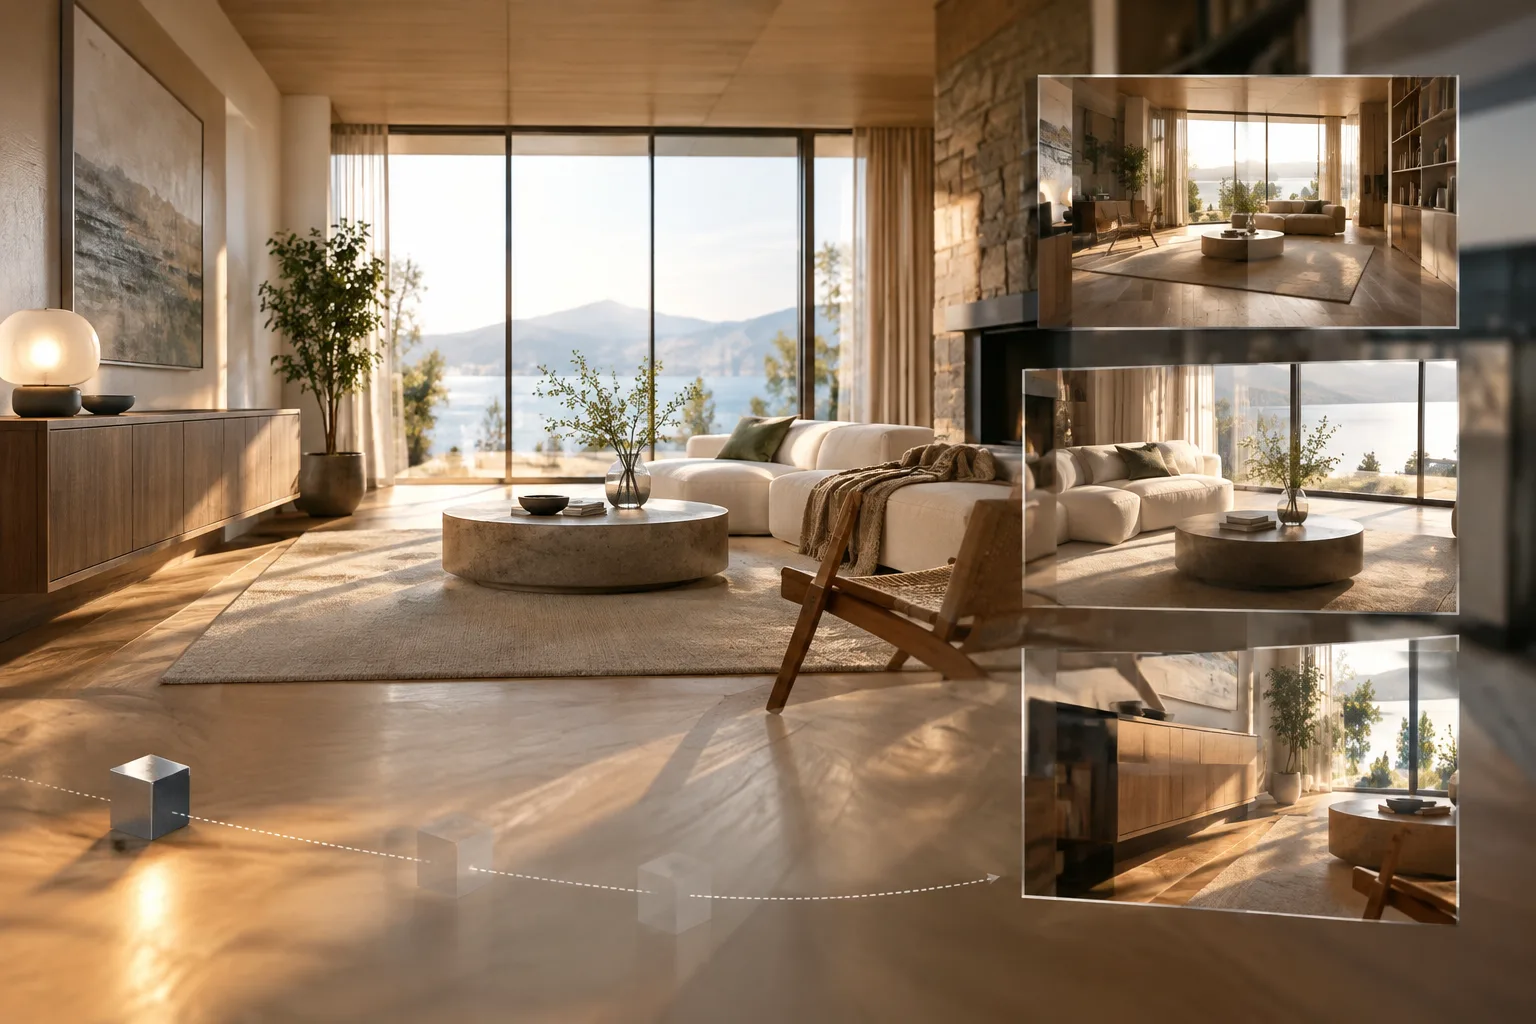
This guide brings together UV unwrapping and texture baking with Cycles to prepare an architectural model for texturing in Blender. We’ll cover how to create a 2D image representation of a wall, piece of furniture, or decorative element, then transfer material, lighting, or surface information to an image texture. This workflow can be used for assets destined for a game engine, base maps for texture painting, and lightmaps for rendering.
A UV map defines how surfaces on a model are laid out in 2D space. The UVs for each face determine how an image fits onto that face. Baking writes selected surface information to a texture or suitable color layer. These two steps are connected: before baking, you need a usable UV map and a selected target.
Requirements
Blender and Cycles for baking. Blender’s manual does not specify a version number, so no specific version is required here.
A mesh to unwrap. Meshes are created without a UV map by default, so the surfaces must first be mapped.
An image connected to an Image Texture node, or an active Color Attribute layer, to use as the bake target.
The source manuals do not specify any computing or subscription requirements.
Cycles uses render settings for bake quality, such as sampling and ray bounces. Keep in mind, then, that the bake result is related to the scene’s render settings.
Step by step: Prepare a UV map
Finish as much of the model geometry as possible. It’s generally best to start unwrapping when only minor changes to the geometry remain. You can add faces or subdivide existing ones after creating UVs, but the new faces may need additional mapping or editing.
Switch to the UV Editing workspace and enter Edit Mode. This workspace provides a layout for working with the 3D Viewport and UV Editor side by side. UV unwrapping is done in Edit Mode, and you can work with vertex, face, or edge selection.
Mark seams and select faces if needed. There isn’t one right method for every model. For complex or curved surfaces, you may need seams to define where the mesh opens out. Then select the mesh faces to include in the UVs in the 3D Viewport.
Choose a UV mapping method. Apply a method from UV > Unwrap in the 3D Viewport’s UV menu. The source manual emphasizes that different models can call for different approaches, so evaluate the result based on the model’s surfaces. After unwrapping, review the settings in the Adjust Last Operation panel.
Test the layout and make adjustments. Use a test image to check for distortion across the surfaces. Inspect the island layout in the UV Editor and adjust it if needed. A UV map is more than a visual diagram: because it determines which part of the texture each face uses, stretching or uneven distribution in the islands can affect how the texture looks.
Step by step: Bake with Cycles
Set up the bake target. The mesh needs a UV map and a target, either an image or a color attribute. To bake to an image, the relevant material needs an active and selected Image Texture node. If a material has no such node, no bake output is created for that material. Alternatively, you can use the active Color Attribute layer as the target.
Choose what to bake. The bake type determines which surface information is written to the image. For example, Normal writes surface normals to an RGB image; Roughness transfers roughness information; and Emit transfers emission color. Ambient Occlusion bakes ambient occlusion as defined in the World settings and does not take scene lights into account. Shadow processes shadow and lighting information. Combined combines material, texture, and lighting components, except for specularity.
Consider using Selected to Active if needed. This method bakes the surface shading of selected objects onto the active object. Rays are cast from the low-poly object toward the high-poly object. If the high-poly model does not fit fully inside the low-poly object, you may need to adjust Max Ray Distance or Extrusion. If using a cage, check the Cage Object or Cage Extrusion options. According to the source manual, without a cage, rays follow the mesh normals; although this can cause artifacts at edges, it may not require additional edge loops when baking onto planes.
Check the margin setting and run the bake. A margin around UV islands helps prevent breaks at seams during texture filtering and mipmapping. Extend expands the boundary pixels outward; Adjacent Faces fills the gap with pixels from neighboring faces across UV seams. The size is set in pixels. Choose your settings in the Render > Bake panel, then start the bake.
How this affects architectural visualization workflows
Teams preparing architectural models for a game engine or real-time visualization workflow can bake base color or normal maps for export. Pre-baking intensive lighting calculations, such as Ambient Occlusion or soft shadows, can also help reduce render workload in some scenes. This approach may be worth considering for repeated surfaces or fixed lighting conditions, but which lighting and material contributions the bake includes depends on the selected bake type.
For architectural firms and interior designers, the key consideration is where the texture will be used. Real-time presentation, game engine export, and a map intended for later painting may each require different bake types and targets. Don’t move on to baking before the UV map is ready; confirm that the target image is active and selected in the relevant material. Also account for the fact that every object used as a bake source adds a fixed load to CPU memory. If memory becomes an issue, joining high-poly objects before baking is one of the options mentioned in the manual.
Common mistakes
Trying to bake without a UV map: Baking requires a mesh UV map and a target. Complete the mapping first.
Forgetting to select the target image: Materials without an active and selected Image Texture node won’t bake to an image.
Not checking around seams: Without a margin, filtering can cause breaks at UV island boundaries. Consider Extend or Adjacent Faces as appropriate.
Assuming what a bake type includes: Ambient Occlusion, for example, ignores scene lights; Combined does not include specularity. Check the scope of the bake type when assessing the result.
Not accounting for Selected to Active rays: The relationship between the low-poly and high-poly models can affect the result. Review ray distance or cage options if needed.
Next steps
After your first bake, inspect the output for UV seams, surface distortion, and whether the target texture was written to the right layer. For a Normal bake, the coordinate space selected in the bake settings must match the Normal Map settings on the material side. Tangent space is noted as the default and appropriate choice in most cases; it can also be used for animated objects. Then try any other bake types you need separately, and assess the scene’s sampling and ray bounce settings against your final render requirements.
Sources and license
This guide has been adapted into Turkish using the “Render Baking” and “Introduction” UV unwrapping guides in the Blender Manual. Both sources are published under the CC BY-SA 4.0 license.
Sources
2 sourcesSource texts are not republished; short quotes are marked, everything else is our own summary and commentary.
UV unwrapping and baking can make model preparation more controlled, particularly for architectural firms in Turkey working on real-time presentations or game engine exports. However, baking does not automatically mean faster or better results for every project; consider both what the selected map contains and how it will be used.
It’s important for teams to start by considering their existing hardware and scene size. The source manual notes that every baked object adds a fixed load to CPU memory. Reviewing high-poly sources and the UV layout ahead of time is therefore a practical preparation step, especially for dense scenes.
Frequently asked questions
What do I need to bake a texture in Blender?
The mesh needs a UV map and a target, either an image or an active Color Attribute layer. To bake to an image, the material must have an active and selected Image Texture node.
Where should I start with UV unwrapping in Blender?
Switch to the UV Editing workspace and edit the mesh in Edit Mode. Mark seams if needed, select faces, and apply a suitable mapping method from the UV menu.
What does the margin do when baking in Blender?
A margin adds a pixel border around UV islands. It helps reduce breaks at UV seams caused by texture filtering and mipmapping.