In brief
- Procedural Foliage Spawner can automatically distribute specified foliage types across an area.
- To follow the example in the documentation, Procedural Foliage must be enabled in Editor Preferences.
- You can also use Foliage Mode to paint Static Mesh vegetation onto terrain with a brush.
- Static Mesh Foliage instances can be grouped using hardware instancing, while heavy use of Actor Foliage can affect performance.
What will you learn in this guide?
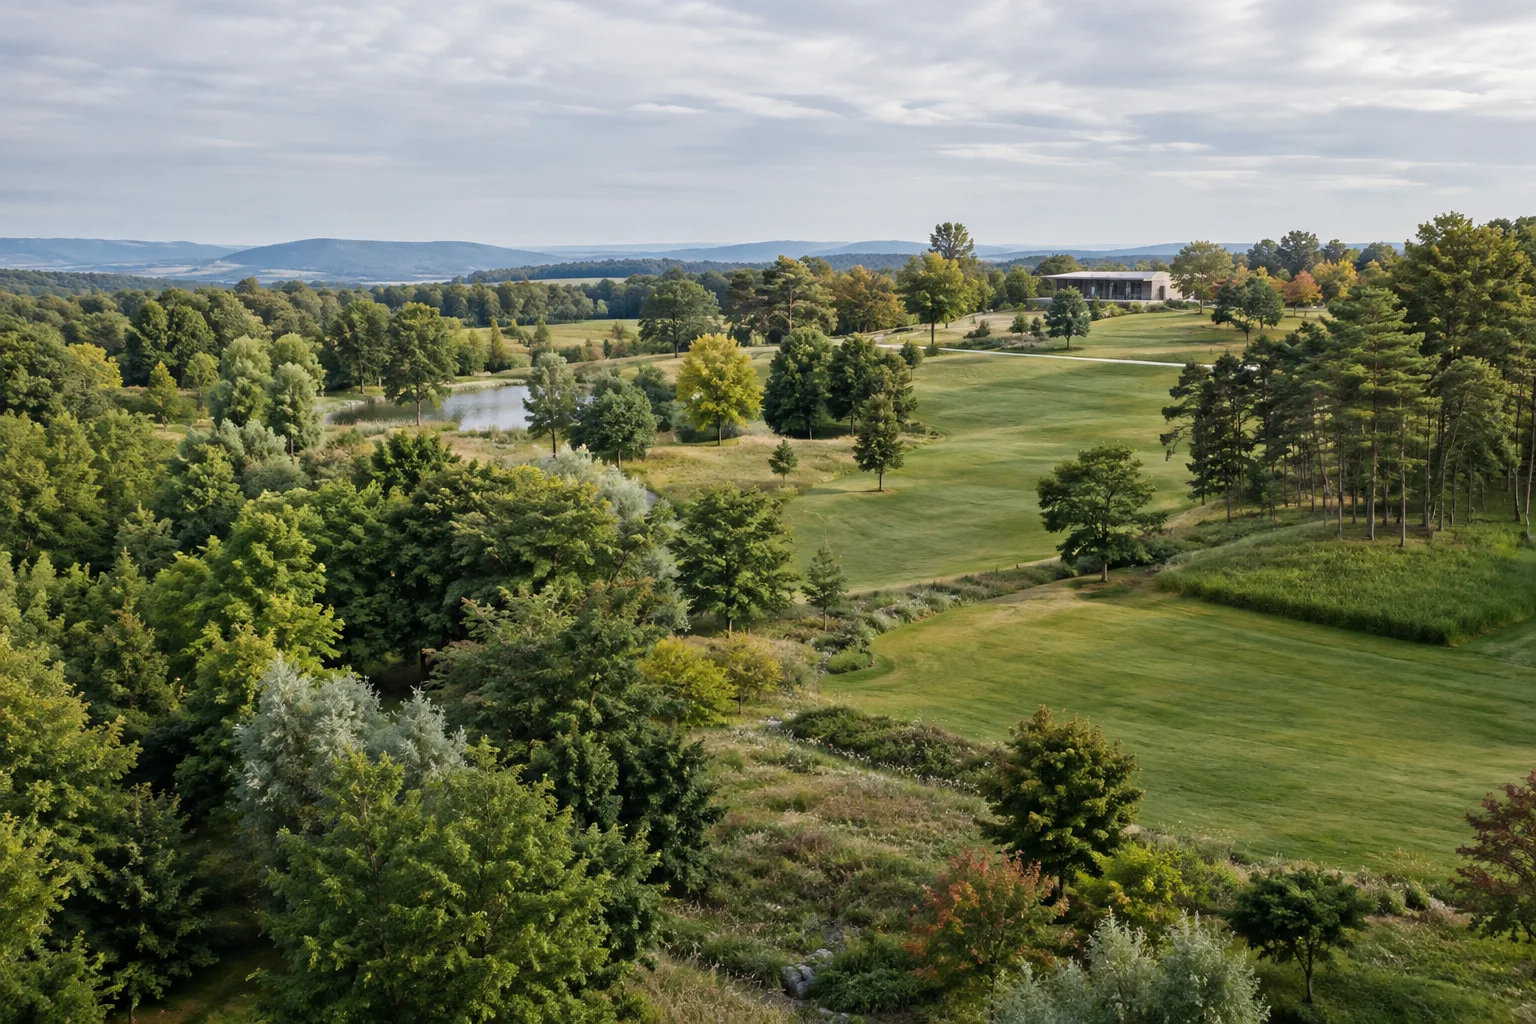
When preparing an outdoor scene in Unreal Engine, you can use Procedural Foliage Spawner to automatically distribute trees across a defined area instead of placing them one by one. This guide covers creating a basic Landscape, assigning a foliage type to a spawner, and adjusting distribution through density, growth, and clustering settings. You’ll also find a manual painting method for smaller areas and points to consider for scene performance.
Procedural distribution speeds up initial placement, especially across large landscapes and environment scenes. The result depends on your settings and the meshes you use; automation does not eliminate the need for design control. You may need to make manual adjustments for close-up shots or specific composition points.
Requirements
Epic Games’ guide describes the Procedural Foliage example in UE5. Before using the tool in your project, go to Edit > Editor Preferences, find the Experimental section, and enable Procedural Foliage. Don’t begin the spawner workflow described here unless this setting is enabled.
To follow the tree examples in the guide, download the Open World Demo Collection content pack through the Epic Games Launcher and add it to your project. The example uses the HillTree_02 and ScotsPineTall_01 Static Meshes included in the pack. If you plan to use other meshes in your own scene, make sure they’re available in your project; the pack is only required to follow the example with the same trees.
Before you begin, prepare a new project level and a Landscape to distribute foliage across. Keeping the area and tree count limited for your first test makes it easier to see the effects of changing settings.
Procedural tree distribution: step by step
Create the level and terrain. Open a new level; the guide uses Default Template as its starting point. Open the Landscape panel from the Modes menu and add a Landscape Actor using the Create button. This is the surface where the spawner will distribute foliage.
Set up the spawner asset. Right-click in the Content Browser, create a Procedural Foliage Spawner under Foliage, and name it PFS_Example, as in the example. Drag the asset into the level. The official example places the spawner at the center or at position 0,0,200, and sets its scale to 100,100,10. These values are specific to the example setup; don’t assume they’ll cover the same area on landscapes of different sizes.
Add a foliage type and assign a mesh. In the Content Browser, create a new Static Mesh Foliage using Foliage > Static Mesh Foliage. Open the spawner asset, click the plus button in the Foliage Types list to add an entry, and assign the foliage type you created. Open the foliage asset and select HillTree_02 in the Mesh field. Then select the spawner in the level and click Resimulate in the Procedural Foliage section of the Details panel.
Adjust distribution by resimulating. In the foliage asset, you can enable Align to Normal and Random Yaw in the Placement section. For the example tree, Collision > Shade Radius is set to 50. Setting Num Steps to 0 in the Clustering section disables growth steps and keeps the trees the same size and age in the example. To reduce density, set Initial Seed Density to 0.25 and resimulate. Later in the example, the value is kept while Num Steps is set back to 3.
Adjust growth and culling distance. Set Max Age to 20.0 and Procedural Scale Max to 10.0 in the Growth section. Under Instance Settings > Cull Distance, set Max to 20,000. These are settings for Epic’s example scene, not recommended values that can be applied directly to other projects. After each change, resimulate the spawner to check the result.
Add variety with a second type. Duplicate the first foliage type, save it as Tree_01, and change its mesh to ScotsPineTall_01. Add this type to the spawner’s Foliage Types list as well. The official example uses Num Steps: 4, Initial Seed Density: 0.125, Average Spread Distance: 100, Max Age: 15, and Overlap Priority: 1 for the second type. It also enables Can Grow in Shade and Spawns in Shade, and sets Procedural Scale Max to 5.0. Resimulate to inspect the distribution created by both types together.
Manual painting, performance, and common mistakes
If you don’t need to distribute foliage automatically across the entire terrain, you can paint Static Meshes directly using Foliage Mode. Select Foliage from the Modes menu or use the Shift+3 shortcut; drag the mesh from the Content Drawer into the Mesh List area of the Foliage panel. In the official example, the Paint tool uses Brush Size 128 and Paint Density 0.3, with Radius 100 and Scale X set to Min 0.4 / Max 0.8 in the foliage details. These are also starting settings for a specific example. To erase the selected type beneath the brush as you paint, hold down Shift.
Static Mesh Foliage and Actor Foliage shouldn’t be treated the same when considering performance. According to Epic’s documentation, Static Meshes can be drawn in groups using hardware instancing; Actor Foliage, on the other hand, has the same rendering cost as normal Actor placement, and high density can cause performance issues. For large foliage areas, it makes sense to start by testing with Static Mesh Foliage and evaluate Actor Foliage based on your needs and performance tests.
A common issue is forgetting to run a new simulation after changing distribution settings. Another is copying the example values without accounting for the scale of your terrain. The documentation also notes that after Resimulate, you need to click Build in the main toolbar to rebuild the lighting; this can take a long time if the scene contains many Static Meshes. Check that your meshes and terrain are suitable for the scene before increasing density.
Next steps for architecture and archviz workflows
Procedural distribution can be useful for architecture firms, interior designers, and archviz artists who want to quickly fill a large outdoor space in the early stages of landscape design or establish a basic foliage layout for a render. Trying different combinations of tree types together can make it easier to assess the overall look of a scene. However, you should review the automated result and make manual adjustments where necessary, particularly around design-critical areas such as entrances, approaches, and camera positions.
As a next step, compare different densities and species combinations in separate tests; don’t add unnecessary density for details that won’t be visible from a distance. Check performance on the target hardware. Epic’s Foliage Mode documentation also notes that meshes with Nanite enabled are not affected by culling distance or instance fading settings. Test visibility and distance behavior in your scene before putting it to use.
Sources and licensing
This guide is adapted from Epic Games’ official Procedural Foliage Tool and Foliage Mode documentation. Both sources are listed as license=free in the provided source information.
Sources
2 sourcesSource texts are not republished; short quotes are marked, everything else is our own summary and commentary.
For architecture and visualization teams in Turkey, procedural foliage can be a practical way to speed up initial distribution across large outdoor scenes. Trying different tree types in the same spawner can help you see the overall effect of the environment design early on; still, project-specific visual decisions shouldn’t be left to automated settings.
Before adopting this workflow, it’s important to check the licenses for the meshes you plan to use and test performance on the target hardware. The sources don’t provide pricing information, so it isn’t possible to draw conclusions about costs. They also note that rebuilding lighting after resimulation can take a long time; it’s better to account for this in the production schedule and increase density gradually.
Frequently asked questions
How do you enable Procedural Foliage in Unreal Engine?
According to Epic’s guide, enable Procedural Foliage in the Experimental section of Edit > Editor Preferences.
What is the shortcut for Unreal Engine Foliage Mode?
To open Foliage Mode, select Foliage from the Modes menu or use the Shift+3 shortcut.
Should I use Static Mesh Foliage or Actor Foliage in Foliage Mode?
According to Epic’s documentation, Static Mesh Foliage can be grouped using hardware instancing. Actor Foliage has the same rendering cost as normal Actor placement, and high density can cause performance issues.