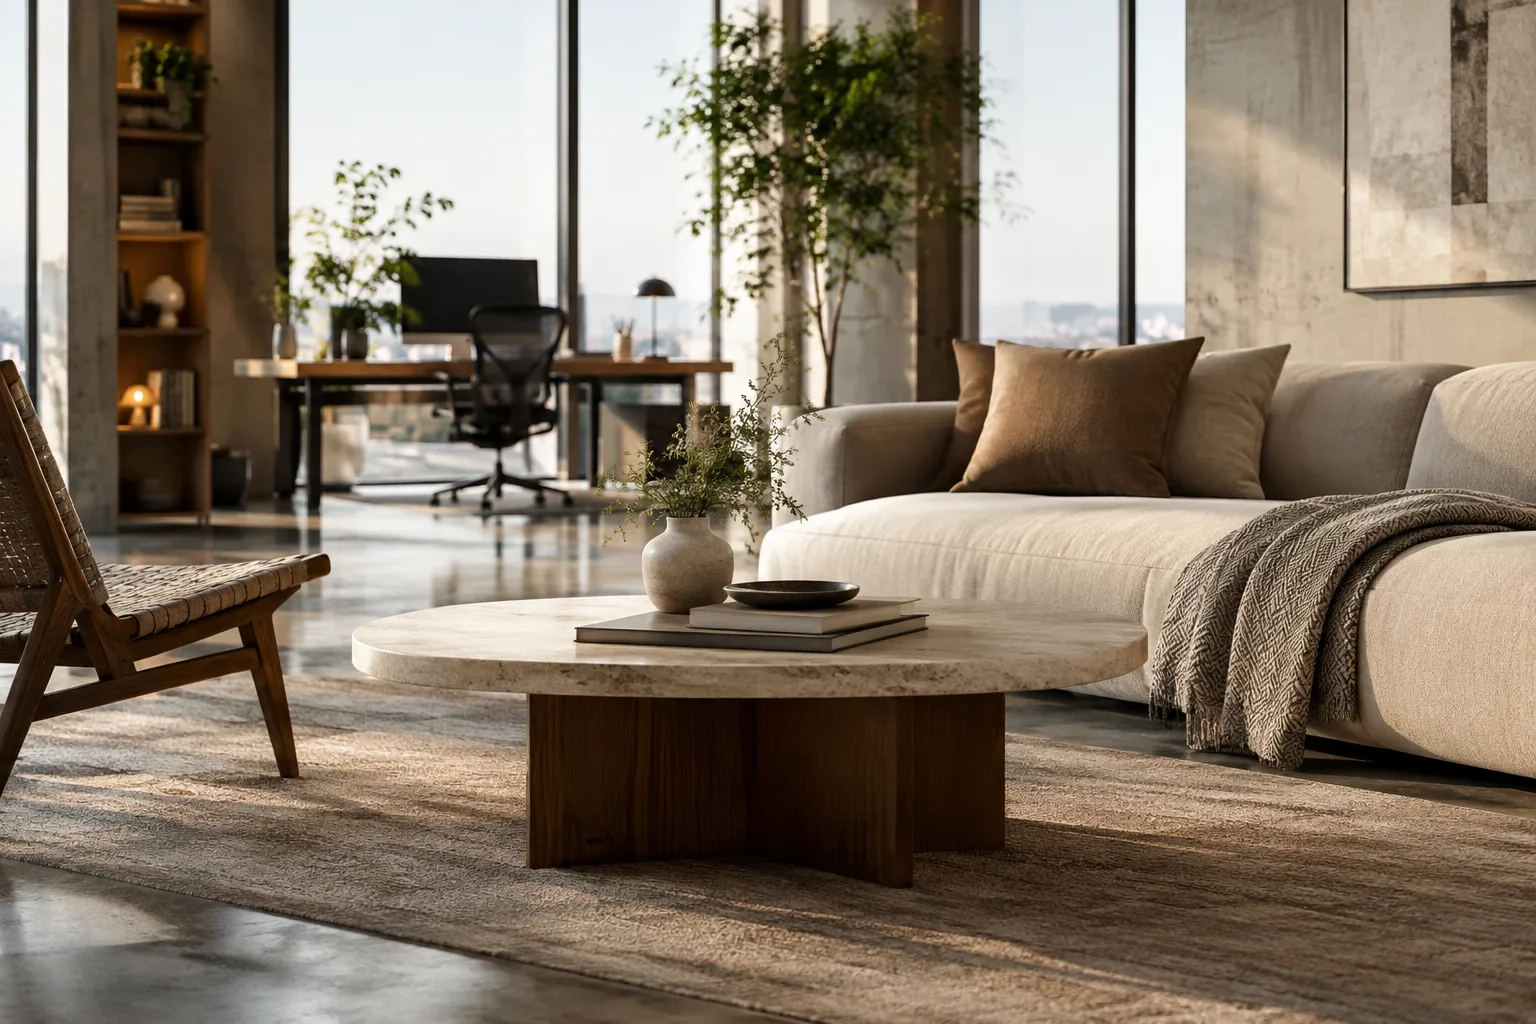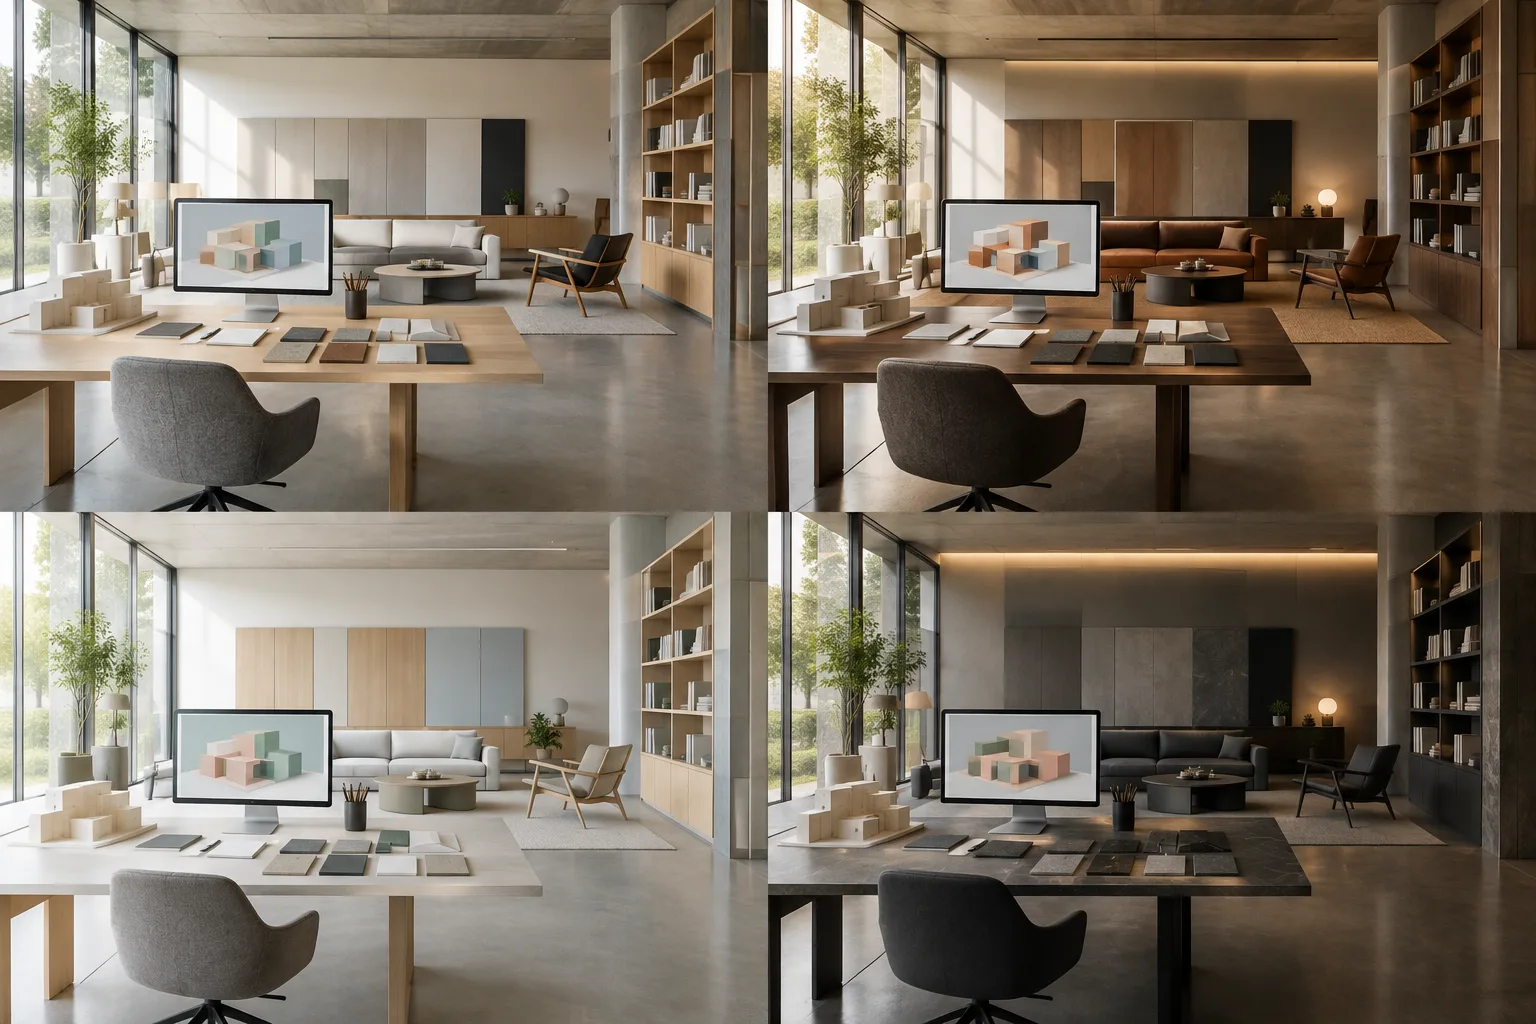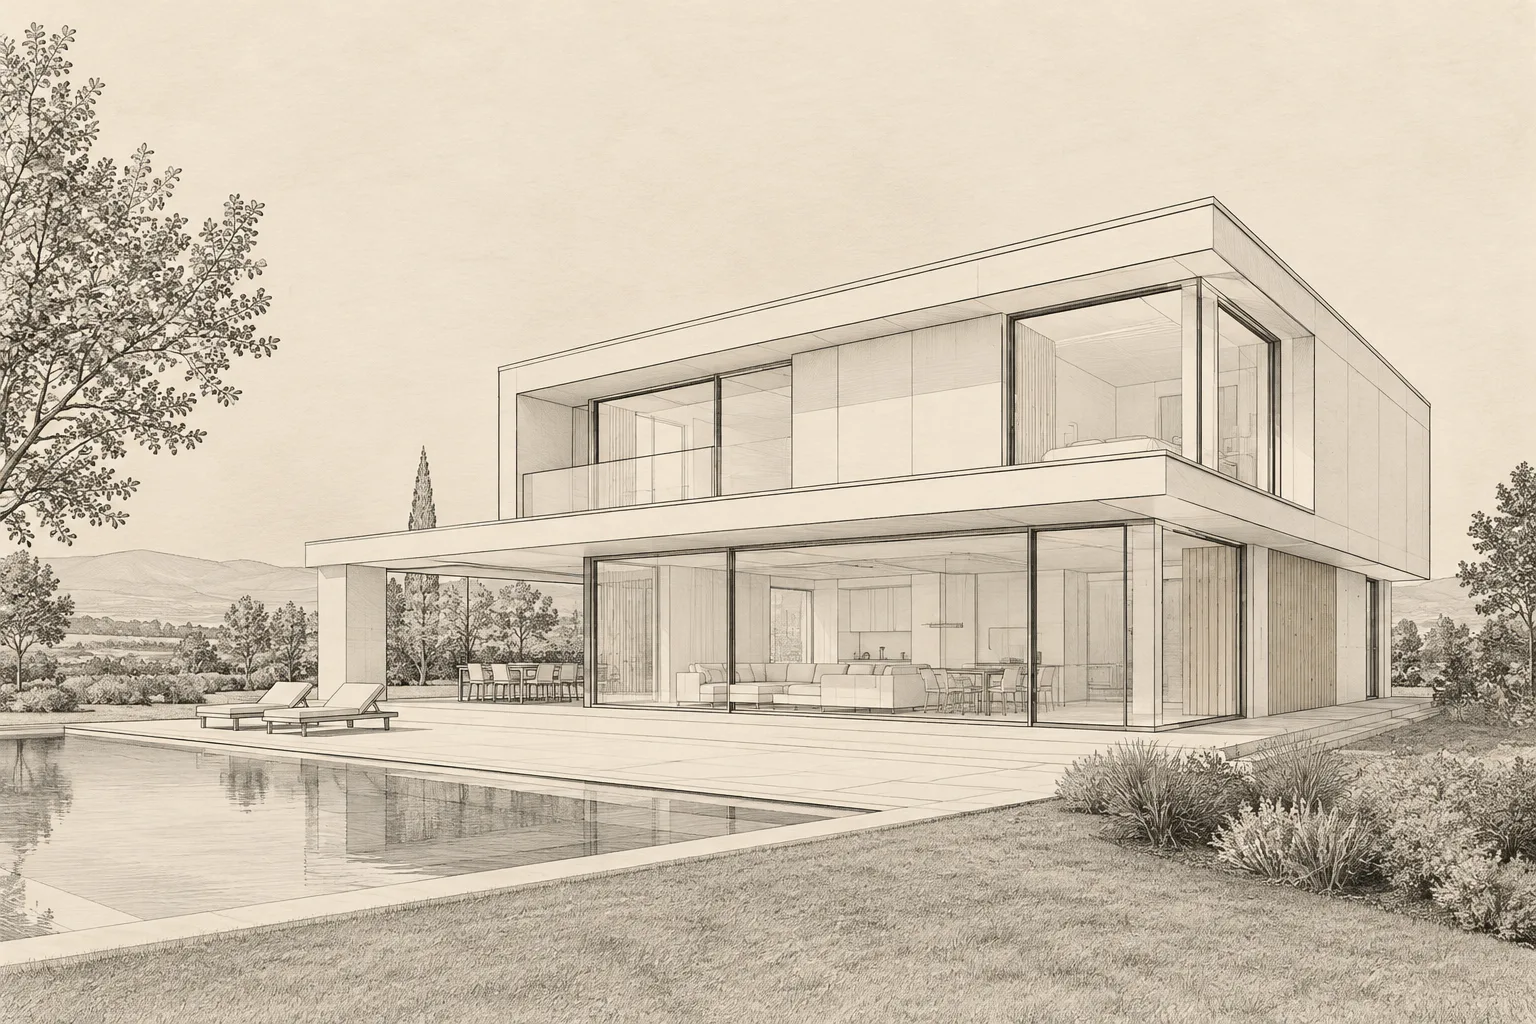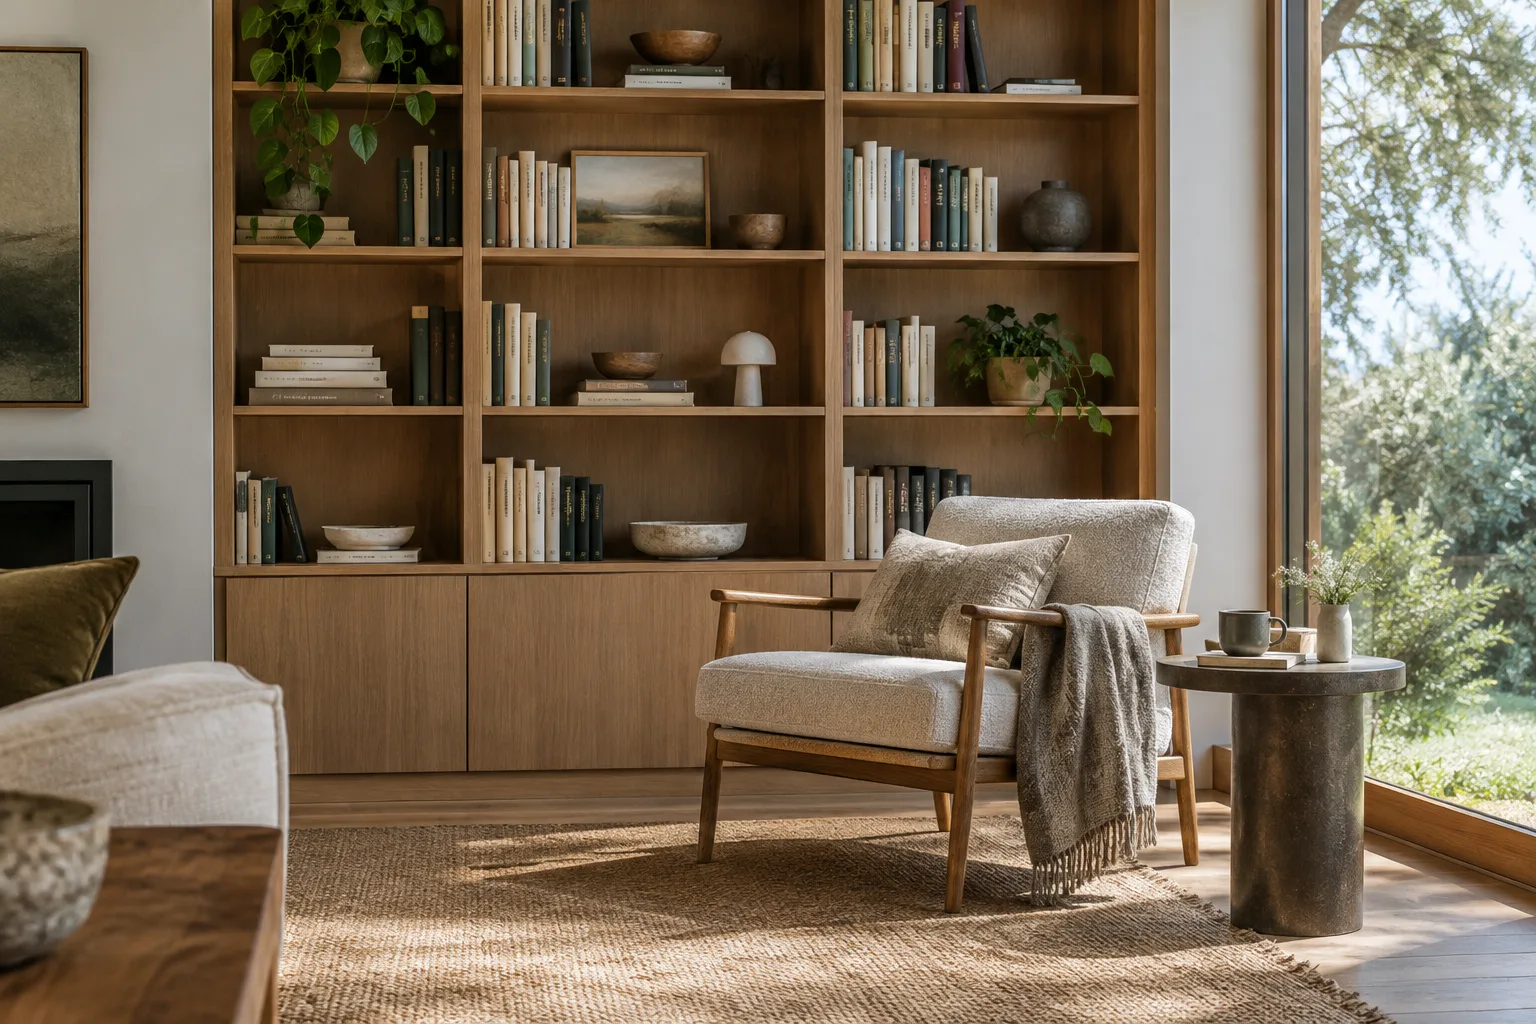
In brief
- Specify the image’s purpose, main subject, setting, and visual style in your prompt.
- Describe details such as lighting, framing, and materials in concrete terms.
- After generating the first result, focus on one change per iteration.
- When editing an existing image, separate the elements to change from those to preserve.
What will you learn in this guide?
In architectural image generation, a prompt is more than just naming a space. Defining what the image will be used for, what it should contain, and the atmosphere you want helps make the generation process clearer. In this guide, you’ll learn how to write prompts for interior and architectural scenes, make lighting and framing instructions more specific, and then refine the image through small revisions.
OpenAI Academy’s guide says that one to three clear sentences may be enough in many cases. The goal isn’t to write a long text, but to communicate the scene’s essential characteristics clearly. For example, describing the direction and quality of light gives more precise guidance than a general phrase such as “beautiful lighting.”
Requirements and access
OpenAI Academy explains that ChatGPT can generate images from text prompts and edit existing images using new instructions. OpenAI’s image generation documentation also describes options for creating a new image from a text prompt and modifying an existing image through the API. These sources do not specify the account type, subscription, operating system, hardware, or app version required. So you should not assume that a particular access condition or technical requirement is mandatory; check the current terms of the service you’re using separately.
These examples are intended to help you write prompts for architectural images. To edit a reference image, you’ll need access to an interface that lets you use the image, but the sources provided don’t explain which accounts or devices support this. The methods in the API documentation should not be treated as though they use the same steps as the ChatGPT interface.
Before you start, note the purpose of the scene and its key decisions: the type of space, main elements, materials, direction of light, and framing. This will help you build a prompt without making it unnecessarily long.
Writing an architectural prompt step by step
Define the image’s purpose and scene. Specify the main subject, such as a residential interior, workspace, or small public space. Then consider what idea the image should convey. The example below is an original prompt describing the key features of a quiet reading nook.
Create an architectural visualization of a compact reading nook in a contemporary apartment. Include a built-in bookcase, a comfortable chair, and a small side table. Give the space a quiet, welcoming atmosphere with natural materials and a realistic visual style.The prompt combines the type of space, its main elements, and the overall atmosphere. For your own work, change the type of scene and the elements you want to see; don’t assume that requirements not specified in the prompt will be met automatically.
Describe the lighting and framing clearly. State which areas should be visible and where you want the light to come from. Rather than using a general description like “a bright room,” it can be helpful to specify both the direction and quality of the light.
Create a realistic visualization of a small apartment living room, showing the seating area and the window in the same frame. Soft daylight enters from the right side. Keep the camera view wide enough to show the relationship between the sofa, the low table, and the window.This example describes the direction of daylight and the elements that should appear in the same frame. If lighting or framing isn’t important to you, you don’t have to include it in the prompt; choose only the details needed to convey the scene.
Specify materials and spatial relationships. Name materials alongside the surfaces or elements where you want them to appear. If the positions of elements relative to each other matter, explain their relationship using terms such as foreground, background, left, or right.
Create an interior visualization of a neighborhood café. Place the service counter along the back wall and two small tables near the front windows. Use a light stone finish for the counter and warm wood for the tables. Show the materials clearly in soft daylight.Here, the stone finish is associated with the counter and the wood with the tables; the layout is also described in terms of where elements are placed in the scene. If your design uses different materials or a different layout, adjust the prompt accordingly.
Refine the first result with a small revision. Choose one feature you think needs improvement. For example, you may want to soften the lighting or make the colors more subdued. Rather than changing several design decisions at once, make it clear which quality you’re addressing in each iteration.
Keep the room arrangement and camera view unchanged. Make the daylight more even and use a less saturated color palette. Leave the furniture and material choices as they are.This original example targets the lighting and color palette while preserving the layout and camera view. Once the requested change is made, leave another feature for the next editing round. OpenAI Academy also recommends refining an image gradually through small, targeted changes.
Set boundaries for changes to an existing image. When editing an image, first describe the element you want changed. Then list separately the decisions that should remain fixed. This keeps the prompt focused on a specific edit rather than asking the system to reinterpret the entire scene.
Revise the wall surface to a pale matte finish. Preserve the current room arrangement, furniture positions, window locations, and viewpoint. Do not alter the floor or ceiling.This prompt targets the wall surface while specifying which parts of the room should be preserved. If other decisions in your image need to stay fixed, state those too—for example, the materials, window locations, or furniture arrangement.
Explain the role of each reference if you’re using more than one. One image might show the existing layout, while another might show the intended visual style. The source guide recommends identifying images in order and explaining how they relate to each other; it also notes that working with a small number of references can be easier.
Use the first reference image to guide the room layout and the second reference image to guide the visual style. Keep the main furniture positions from the first image while using a calm, minimal appearance inspired by the second.This example assigns different roles to two references. In practice, identify the images in the correct order and specify which features you expect them to guide.
Common mistakes
Relying on vague adjectives: Words like “beautiful” or “striking” don’t explain the materials, lighting, or framing on their own. Make the feature you want to see more specific.
Packing too much detail into the first prompt: Describe the scene’s essentials first, then add targeted details after reviewing the result.
Leaving out what should be preserved when editing: If the layout or camera view needs to stay fixed, say so in the prompt.
Mixing up the roles of references: If you’re using multiple images, explain what each one contributes.
Requesting many different changes in one iteration: Keep revisions small so you can tell which instruction led to a change in the result.
Using this approach in architecture and visualization workflows
This approach can be useful for architects, interior designers, students, and visualization teams who want to discuss concept options visually. Options for generating new images from text prompts and editing existing images can be used to create visual studies that help communicate ideas. However, the sources provided don’t explain how these images can be transferred to 3D software, whether they are technically accurate, or whether they can be used in project documentation. So the sources don’t support treating generated images as technical drawings or verified project outputs.
In office workflows, it’s important to distinguish design decisions clearly in your prompts. For example, if the layout needs to stay fixed while the lighting changes in one iteration, say so; this makes the scope of the revision clearer. Teams using different references can also note which image guides the layout and which guides the visual style. Since the sources don’t specify the account requirements, access conditions, or costs for the service, check these details with the relevant provider before using it. The sources also don’t specify any particular hardware requirements.
Next steps
Prepare several separate prompts for the same space, changing only one key quality in each—for example, lighting, framing, or materials. Compare the results based on how well they reflect your design intent. When editing an existing image, first state what should change, then list the decisions you want to preserve. This makes it clearer what you’re testing in each iteration. If you’re working with multiple references, name them in order and specify their roles in the prompt.
Sources and licensing
This content has been adapted into Turkish based on OpenAI Academy’s “Creating images with ChatGPT” image-prompt guide and the OpenAI platform’s “Image generation” documentation. The source information provided doesn’t name a separate open license, so no additional claim is made here about the type of license. The example prompts were written specifically for this guide.
Sources
2 sourcesSource texts are not republished; short quotes are marked, everything else is our own summary and commentary.
For architecture firms and visualization teams in Turkey, the practical value of prompt-writing skills lies in making it quick to bring design ideas into visual discussions. Targeted revisions can be useful for testing lighting, framing, or material direction, especially during the concept stage. However, the sources don’t provide information about the technical accuracy of the output or its transfer to 3D software, so it’s more prudent to treat these images as tools for communicating ideas rather than as technical project data.
Teams should check account, access, and cost requirements separately before using the service; the sources don’t explain these details. No specific hardware requirements are given either, so there’s no basis for concluding that additional hardware investment is necessary. The most important thing in the workflow is to clearly state which design decisions should change during revisions and which should remain fixed.
Frequently asked questions
How do you write an effective prompt for architectural image generation?
Clearly describe the image’s purpose, main subject, setting, and desired visual style. Add important details such as lighting, framing, and materials in concrete terms.
Can an existing architectural image be edited with a new prompt?
OpenAI’s image generation documentation says existing images can be partially or fully edited with a new prompt. It’s useful to distinguish what should change from what should be preserved.
What should you do when working with multiple reference images?
Identify the images in order and explain which features each one should guide. OpenAI Academy’s guide says it can be easier to work with a small number of references.