In brief
- Choose a Motion Model based on the type of movement in the feature being tracked.
- The Normalize setting helps reduce the effect of lighting changes on pattern matching during tracking.
- Solve tools can refine focal length, optical center, and lens distortion parameters.
- Cleanup offers options for removing short tracks and tracks that exceed a specified reprojection error threshold.
What will you learn in this guide?
Blender’s Movie Clip Editor tools track the positions of specific visual features across frames in an image sequence. The resulting tracks can be used to solve camera or object motion. This guide covers how to choose tracking settings, spot drift during tracking, assess solving parameters, and clean up problematic tracks.
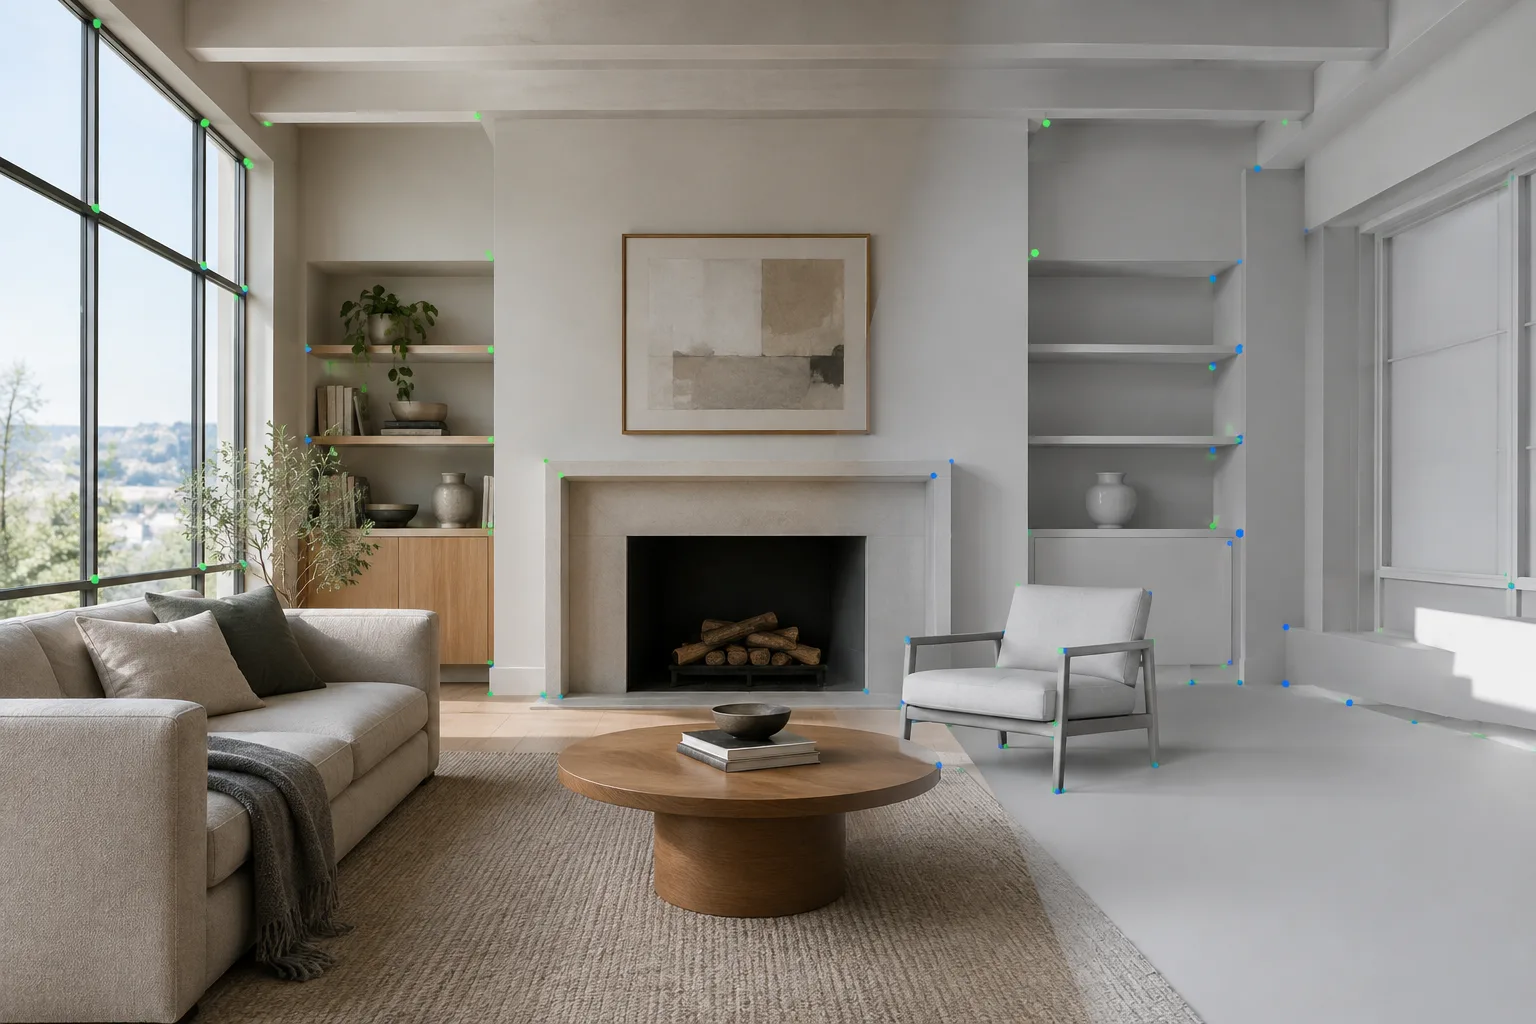
Blender’s documentation describes general movie tracking and scene setup tools; it does not define a workflow specifically for architectural or interior production. Still, architectural visualization teams looking to assess real footage alongside a 3D scene can explore these general tools in their own projects. This is a possible use case for the tools, not a specific method verified by the sources.
Requirements
You’ll need a Blender installation that includes movie tracking tools and a video clip to track.
The clip should contain visual features that can be distinguished across frames. Tracking settings are determined by how the selected point moves in the image.
If you plan to refine camera parameters such as focal length or optical center, it’s important that the initial values are reasonably accurate. Blender’s documentation notes that the solver may not find the correct values if the initial values are completely wrong.
The sources don’t specify a particular Blender version, user account, or hardware requirement. Don’t assume any additional requirements in these areas; check the tools available in your installation and your project’s conditions separately.
Step-by-step tracking and solving
1. Create tracking markers
Start by identifying features in the clip that can be distinguished from frame to frame. Blender offers options to add markers and detect features with Detect Features. Check whether automatically detected or manually added points remain trackable throughout the clip.
The preset options in the tracking settings panel provide starting values based on experience with tracking real-world footage. Treat them as choices that make it easier to get started, not as fixed recipes that will produce the same result for every clip. Pattern Size and Search Size set the pattern and search area sizes for newly created tracks.
2. Choose a Motion Model suited to the feature’s movement
Motion Model determines what types of changes the tracking algorithm accounts for in a feature. The options include models that track position only, as well as models that account for rotation and scale changes, plus Affine and Perspective. Choose based on how the tracked point changes in the image.
Perspective may be suitable when tracking a planar feature. However, Blender’s documentation also notes that Affine can provide a sufficient approximation in some cases and may produce more stable tracks. Don’t assume one option will be best for every clip; check throughout the tracking process that markers remain on the intended features.
3. Assess matching behavior
The Match setting affects which frame the pattern used for tracking comes from. With Keyframe, the reference is the image designated as the track’s keyframe. This approach can help preserve the pattern’s initial position. On the other hand, if camera movement causes a significant change in the feature’s shape, small jumps or tracking breaks may occur.
With Previous Frame, the track is followed from one frame to the next. This method may work well when the feature undergoes large transformations between frames, but there’s a risk that its position will gradually drift away from the target point. Check that the marker stays on the correct feature throughout long tracks.
Prepass runs tracking in two stages: the first stage finds the position, and the next improves the initial result using a more comprehensive motion model. To apply the same settings to multiple tracks, use Copy from Active Track to transfer the active track’s settings to another track.
4. Account for changes in lighting and color
Normalize adjusts the average intensity of patterns during tracking to help reduce the impact of lighting changes. For example, consider enabling it when tracking a point that passes through an object’s shadow in the image. The R, G, and B settings determine which color channels the algorithm uses; disabling some channels can make features more distinct.
The Correlation value controls the minimum similarity required for a match to be considered successful. If tracking drops the target too early, try lowering this value; if a track drifts off target but continues, try raising it. Review the tracking result in the image after making a change.
Margin sets the boundary at which tracking stops when a tracked feature approaches the edge of the image. Frames Limit controls how many frames a Track Sequence run advances through. Tracking in shorter segments can make it easier to check for drift along the way. The Speed setting doesn’t improve the quality of the result; it controls tracking speed so you can spot potential drift as it happens.
5. Run camera solving and review the settings
Once the tracks are ready, move to the camera/object motion solving tools in the Solve section. The Keyframe option attempts to automatically select suitable frames for the initial reconstruction. Keyframe A and Keyframe B set the start and end of the range used for solving.
Refine options can be used to refine focal length, optical center, radial distortion, and tangential distortion parameters. This doesn’t mean that the solver will automatically find the correct values if the initial values are completely wrong. If the result is unexpected, reassess the initial values and the quality of the tracks.
Tripod is a specialized solver for footage where the camera doesn’t translate and only rotates. It solves for the camera’s relative rotation and reprojects feature points onto a sphere as if they were equidistant from the camera. Blender’s documentation notes that using more tracks doesn’t automatically produce a more accurate result with this specialized solve; 5–10 tracks per frame may be a common choice.
6. Clean up problematic tracks and set the scene orientation
The Frames setting in the Cleanup section can remove tracks or track segments shorter than a specified number of frames. The Error threshold can be used to find tracks whose reprojection error is above the specified value. You can select problematic tracks, delete the entire track, or remove only the faulty segments. Check the solve again after cleanup; removing tracks alone doesn’t guarantee an accurate camera solve.
The Orientation tools help adjust the scene’s orientation and scale. Blender’s documentation includes Floor, Wall, Set Origin, and Set X/Y Axis, as well as Set Scale and Apply Scale. The Distance value used for Set/Apply Scale is expressed in the active scene units. Keep the scene’s units in mind when setting the scale.
Use in architecture and visualization
The sources don’t provide instructions specific to architectural projects. However, a team assessing real footage alongside a 3D scene can try the tracking and camera-solving tools in its own workflow. In such a workflow, track stability, camera parameters, and scene scale should be checked separately. The features described in Blender’s documentation don’t guarantee a particular architectural result or measurement accuracy.
Common mistakes
Don’t assume the same Motion Model will suit every tracking point; assess the point’s movement and changes in shape.
Don’t expect Keyframe matching to work seamlessly with every change in the image; tracking may break when a feature’s shape changes.
Don’t assume that increasing the number of tracks will necessarily improve a Tripod solve.
Don’t use Refine with completely incorrect initial camera values.
Don’t leave long tracks unchecked; review tracking progress at intervals to spot drift.
Next steps
First, identify trackable features in the clip, then compare motion models and Match options while observing how the tracks behave. If there are changes in lighting or color, assess the Normalize and channel settings. After solving the camera, clean up faulty tracks, then check the scene’s orientation and scale.
Sources and license
This guide is adapted into Turkish from the “Track” and “Solve” sections of the Blender Manual. Both documents are published under the CC BY-SA 4.0 license.
Sources
2 sourcesSource texts are not republished; short quotes are marked, everything else is our own summary and commentary.
These tools offer a useful starting point for visualization teams looking to handle tracking points in a clip and reviewing the camera solve in a single workflow. However, if they’re used in architectural projects, tracks, camera parameters, and scene scale should be validated separately; a tracking result alone doesn’t guarantee accurate measurements or a perfect match.
For offices and students in Turkey, the sources don’t specify costs, hardware requirements, or version compatibility. It’s therefore best to check the Blender installation in use and the project’s requirements before making investment or compatibility decisions. The sources list CC BY-SA 4.0 as the license.
Frequently asked questions
Which Motion Model should I use for camera tracking in Blender?
Choose a model based on the movement of the feature being tracked. Perspective may be suitable for planar features; Affine can also provide a sufficient approximation and more stable tracks in some cases.
When should I use Blender’s Tripod solver?
Use it for footage where the camera doesn’t translate and only rotates. With this specialized solve, increasing the number of tracks doesn’t automatically improve accuracy.
How do I clean up faulty tracks in Blender?
In the Cleanup section, remove short tracks using Frames, and tracks with high reprojection error using the Error threshold. You can remove an entire track or only its faulty segments.