In brief
- Solaris brings together USD-based scene building, look development, and Karma rendering tools in Houdini.
- LOP networks operate on a USD scene to produce a new scene output.
- USD layers allow edits to be kept separate from the main scene data and combined when needed.
- The `.usd` extension can indicate a text or binary file; `.usda` is text, while `.usdc` is binary.
In Houdini, Solaris brings USD (Universal Scene Description)-based scene building, look development, and Karma rendering tools together in one workflow. SideFX’s Houdini 22.0 documentation explains how Solaris uses LOP (Lighting Operator) networks to create and edit USD scene data. This guide presents a foundational approach to separating scene components, reusing assets, and making edits easier to track in architectural visualization and interior projects.
1. Plan the scene as layers and a stage
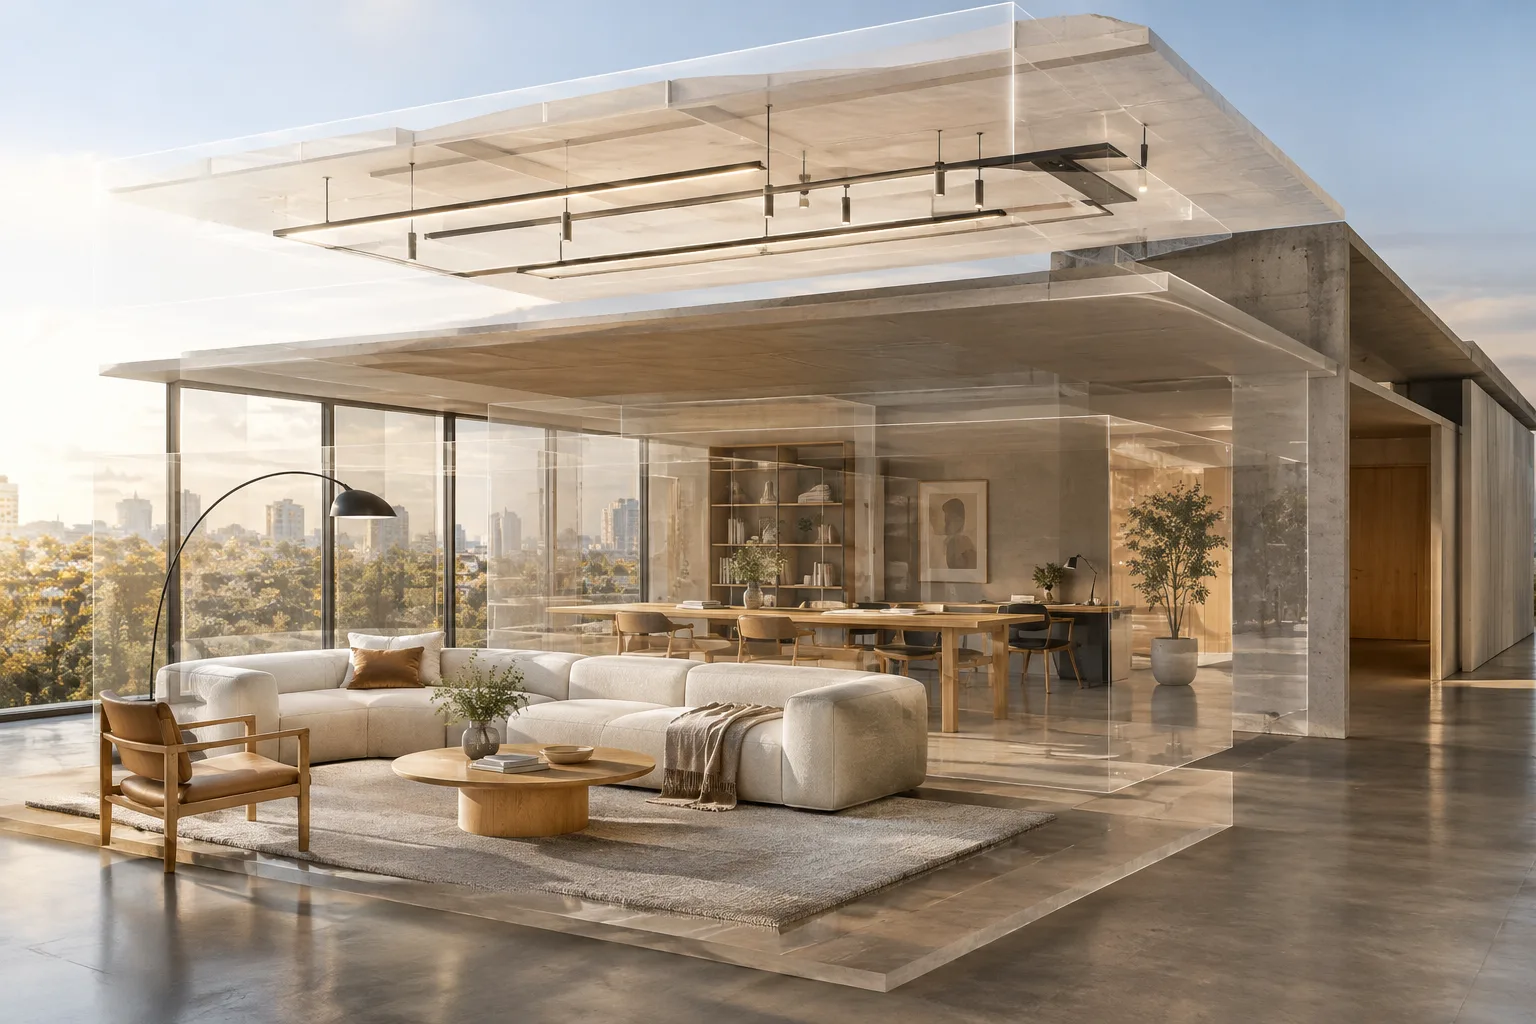
Design the scene as a collection of components to be assembled, rather than a single file that accumulates every detail. A USD layer might contain a piece of furniture, a lighting setup, or another part of the scene. The result of combining layers is called a “stage.”
Decide what content each layer will represent. For example, keeping assets and lighting in separate layers can make it easier to understand the scope of a change to either one.
Consider how the layers are connected. A scene layer can reference other layers, which may in turn contain their own components.
A key advantage of this approach is that edits do not have to be written directly to the source data. A change made in a new layer will not automatically alter the structure other users rely on unless that layer is included in the scene. In addition, when a component is updated, other edits that depend on it can be applied over the new version. Thinking through the layer structure at the start of a project can therefore reduce the need to investigate later where a change was made.
The concept of a “stage” should not be mistaken for a separate, special file type. A USD file can serve as the basis for a stage when opened on its own; in another context, the same file can be used as a layer in a larger scene. Stage refers less to the file itself than to the complete scene that results after layers are combined.
2. Work on the scene with a LOP network
When building a LOP network in Solaris, consider what scene operation each node will perform. A LOP can pass the USD content it receives to the next stage while also adding a specific edit to the scene structure.
Break operations into nodes as needed. Examples in the documentation include higher-level tasks such as bringing geometry into the scene and setting the target of a light.
Once the network is complete, inspect the stage produced by the relevant LOP node. Right-click the node and choose
LOP Actions › Inspect Flattened Stageto view the output as USD text.
The structure of LOP networks breaks scene editing into steps, helping you track where each operation takes place. The Flattened Stage view can be useful for inspecting the combined scene, especially when the result differs from what you expected. This view is not an editing method in itself; it is a checkpoint for understanding the LOP network’s output and investigating the source of an issue when needed.
The Houdini documentation notes that LOP operations are built on USD concepts, and many nodes provide higher-level access to them. For that reason, starting with scene-focused LOP operations is more approachable than manually editing every USD detail from the outset.
3. Use references and sublayers to work with assets
Use a Reference LOP to bring an asset from another USD file into the scene. This lets you connect the asset to the current LOP network while keeping its core content separate.
Use a Sublayer LOP to add an existing USD file to the stage’s layer stack. The externally stored file then becomes one of the current scene’s layer components.
When you change a property, track which layer defines the edit. If different layers assign values to the same property, the layers’ composition order and priority can affect which value is used in the result.
References make it possible to reuse a base asset instead of rebuilding it from scratch for every scene. In SideFX’s USD example, the same source geometry is brought into the scene through two separate prims, and the scale value of one is changed. This demonstrates how to preserve a shared source while making a separate edit for a specific use.
When layers are combined, more than one value can be defined for the same property. In that case, the scene is resolved according to the layers’ composition rules; a value in a higher-priority layer may override one in a lower layer. So if a property has an unexpected value, it is worth checking not only the object itself but also the layers the data comes from.
4. Understand USD data and file extensions
A prim is a fundamental element of the USD scene hierarchy. A mesh, light, or material can be represented as a prim; transform information can also be stored on a prim and affect its child prims. Properties attached to prims can generally be understood as attributes, which hold values, and relationships, which connect prims. For example, assigning a material to a mesh can be represented by a relationship.
Checking the file extension is also part of the workflow. .usda indicates a readable text format, while .usdc indicates a binary format. The .usd extension can be used for either representation, so the extension alone does not tell you for certain whether the file is text or binary.
Primvars are a special type of attribute that can be used to change material parameters at render time or carry values associated with geometry. Interpolation information, which determines how data is distributed across a surface or geometry, is important for understanding which elements a primvar’s values correspond to. When working with these details, inspect the associated primvar and interpolation information as well as the value itself.
What changes in an architecture and archviz workflow?
A layered approach can be useful in projects where components such as furniture, materials, lighting, and scene layout are handled separately. When a shared asset needs to be used in different scenes or team members need to work on separate components, references and layer organization can help track where data comes from. This does not mean it will automatically save time on every project: the roles and connections of the layers need to be set up clearly.
SideFX’s documentation does not specify particular hardware requirements, licensing conditions, or performance guarantees. Offices working with Houdini 22.0 should therefore test their LOP and USD setup in their own scenes and verify that the files in use fit their team’s workflow. The Solaris documentation also covers Karma and Karma XPU workflows, but it offers no specific hardware recommendations for the layer setup described here.
Common mistakes
Don’t assume a file with the
.usdextension is necessarily text or binary; distinguish.usdaand.usdcformats as well.Keep track of which layer a scene change is written to. If the same property is defined in multiple layers, the combined result may differ from what you expect.
Don’t treat a stage as a special file type separate from its layers; the concept refers to the combined scene result.
Don’t use the Inline USD LOP as your usual editing method. SideFX describes it as an option for adding text-based USD to a stage, but does not recommend it as the normal way to work.
Sources
2 sourcesSource texts are not republished; short quotes are marked, everything else is our own summary and commentary.
For architecture and visualization offices in Turkey, the practical value of Solaris/USD is the ability to keep assets and edits separate in shared scenes and track where changes come from. When modeling, scene building, and lighting are handled by different people, this structure can make the division of work clearer.
However, setting up and maintaining layers requires a shared system within the team; otherwise, it can become difficult to trace where data comes from. Testing references, sublayers, and layer priority in a small scene is a good place to start. Since the documentation does not specify hardware or licensing conditions, offices should verify these separately for their Houdini setup and projects.
Frequently asked questions
What does a USD stage mean in Houdini Solaris?
A stage is the complete scene produced by combining USD files and layers. In Houdini, LOP nodes can create and edit this scene data.
What is the difference between .usd, .usda, and .usdc files?
`.usda` indicates a readable text format, while `.usdc` indicates a binary format. The `.usd` extension can be used for either format.
How do you add another USD file to a scene in Houdini Solaris?
A Sublayer LOP can add an existing USD file to the stage’s layer stack. A Reference LOP lets you connect another file as a reference to the layer created in the LOP network.