In brief
- UV unwrapping is done in Edit Mode in Blender and creates one or more UV islands in the UV Editor.
- For complex models, seams help determine where the Unwrap operation opens the mesh.
- Adding seams can reduce stretching, but matching UV island edges in 2D textures may become more difficult.
- A mesh object can have multiple UV maps for different textures.
What will you learn in this guide?
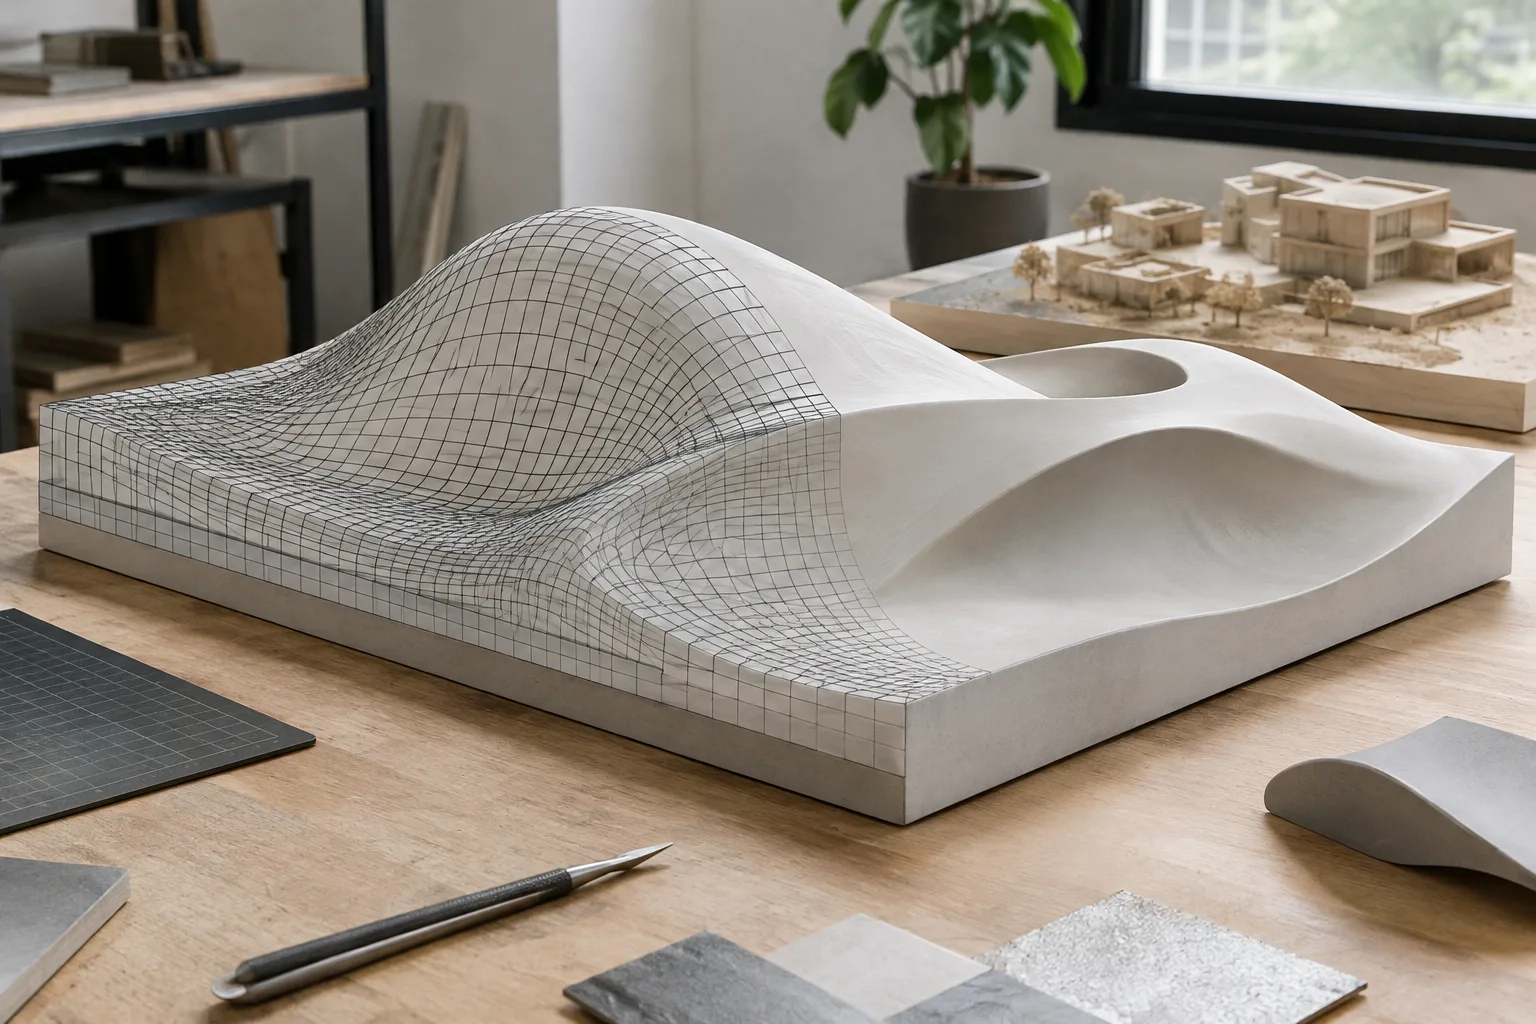
A UV map projects a 3D model’s surface onto a 2D image, defining how textures and images appear on the model. Each UV point corresponds to a vertex on the mesh; lines in the UV map represent edges, while faces represent mesh faces. This mapping can be used for rendering and real-time visualization.
This guide covers the basic UV unwrapping workflow in Blender, when seams are useful, how to check the unwrap, and how to use multiple UV maps on one object. The goal isn’t to find one perfect unwrap, but to create an arrangement suited to the model and its texturing needs, then refine it step by step.
Requirements
The source guides describe Blender’s UV editing tools. They don’t specify a particular version number or user account requirement, so no version or account requirements are given here. The workflow uses a Blender scene containing a mesh and the UV Editing workspace.
Meshes may not have UV coordinates by default. You’ll therefore need to unwrap the surfaces first, then edit them in the UV Editor. If you expect to make major changes to the model’s geometry, it can be helpful to wait until only minor adjustments remain before unwrapping. You can add new faces or split existing ones after unwrapping, but this may require additional mapping or editing.
UV unwrapping in Blender: step by step
Switch to the UV Editing workspace. Select UV Editing from the workspace tabs at the top of the screen. This layout uses one area as the UV Editor and the other as the 3D Viewport, so you can inspect the model and its unwrapped UVs in the same workflow.
Enter Edit Mode. UV unwrapping is done in Edit Mode. You can use Vertex, Face, or Edge Select mode. In the 3D Viewport, select the faces you want to include in the unwrap. Choosing the correct area of the model makes it easier to control the UV layout.
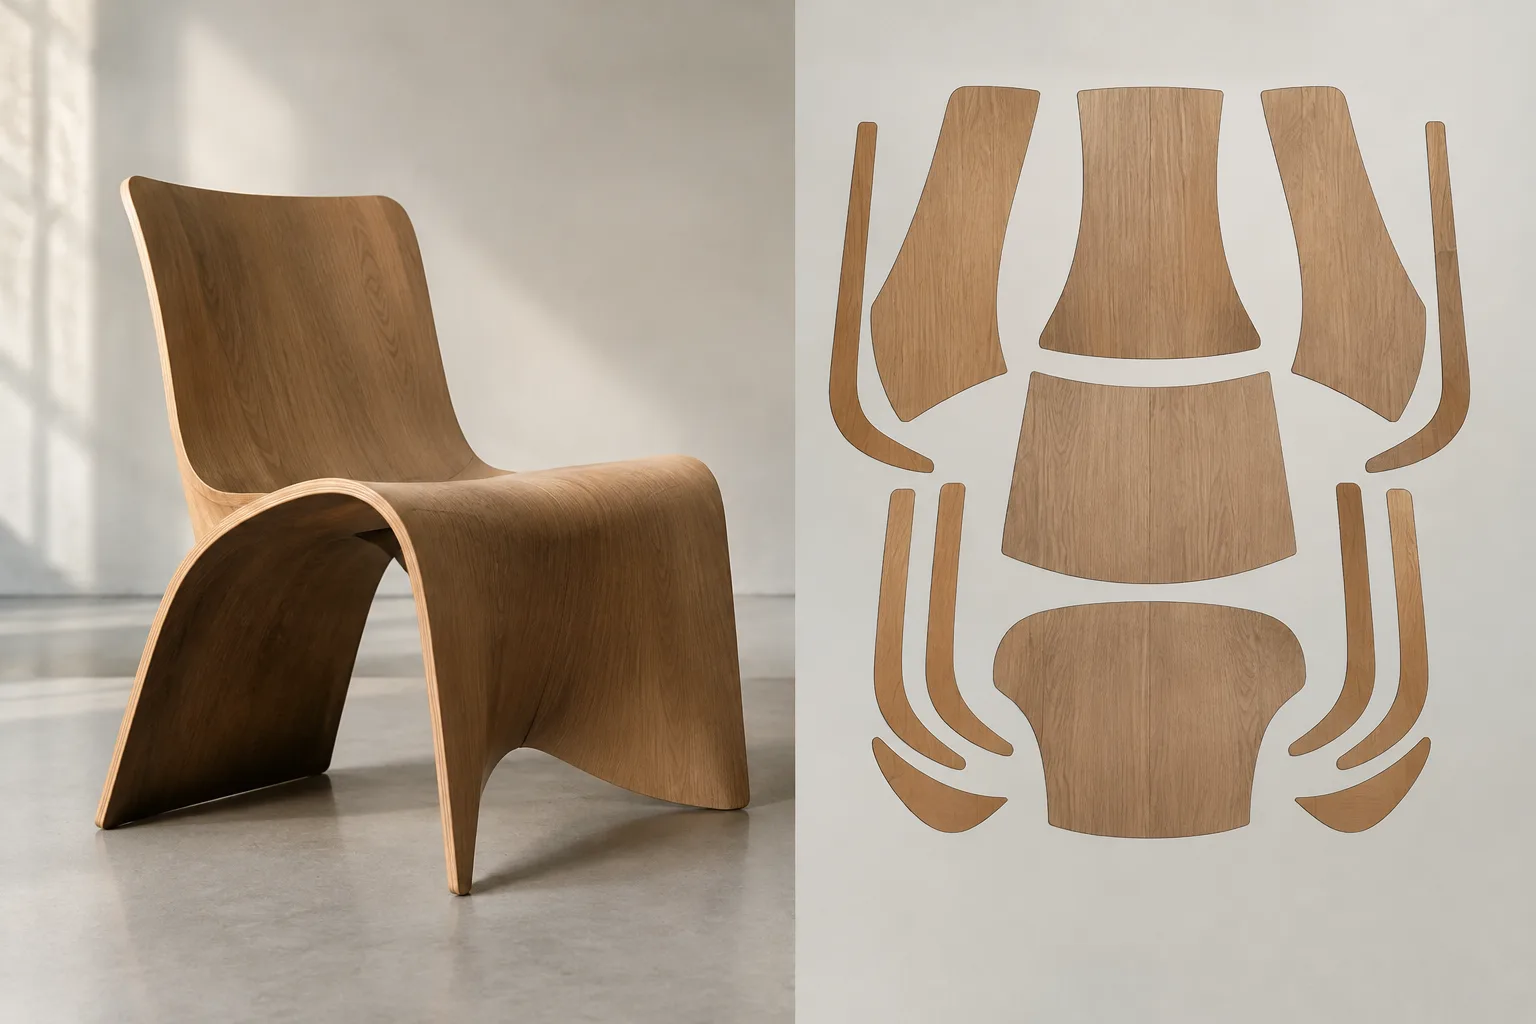
Decide whether you need seams. For regular shapes such as cubes, cylinders, or spheres, the built-in unwrap methods may be sufficient. On highly indented or complex surfaces, seams help guide the Unwrap operation. Think of a seam as the path scissors follow when cutting a surface open and laying it flat: the UV map becomes discontinuous along this line.
Mark the seams. Select an edge in the 3D Viewport and use Mark Seam with Ctrl-E. To remove an existing seam, choose Clear Seam from the same shortcut menu. In most cases, it’s preferable to place seams in less visible areas. For example, you could mark an edge on the back of a cylinder as a seam. However, there’s no single correct seam layout for every model; the aim is to control the unwrap while keeping stretching at an acceptable level.
Check seam continuity. In Face Select Mode, use Select Linked to see how the selection spreads in relation to the seams. If it extends beyond the area you intended to separate with a seam, the cut may not be continuous. A continuous seam isn’t always necessary; what matters is that the seams provide the separations needed to manage stretching or define regions.
Run the Unwrap operation. Choose an unwrap method from the UV menu for the selected faces. Afterward, review the settings in the Adjust Last Operation panel. Don’t treat your first set of seams as final: inspect the unwrap, adjust the seams if needed, and run Unwrap again.
Test for stretching and adjust the UVs. Add a test image to see how the unwrap behaves on the surface. If there’s noticeable distortion, reassess the seams and unwrap. Adding seams can reduce stretching, but creating more UV islands can make it harder to match island edges in 2D textures. Finally, make manual adjustments in the UV Editor.
Use separate maps if your model needs them. A mesh object can have multiple UV maps. You can create separate maps for different textures or reuse one map across multiple textures. The UV Maps section is in the Data tab of the Properties editor. The map marked as Active Render is used as the default map for rendering; it also has the specified uses in UV Pass and material shading.
Common mistakes
Adding seams indiscriminately: More seams can help reduce stretching, but creating more islands can make it harder to match their edges in 2D textures. Start with a solution that separates the necessary areas using as few seams as possible.
Placing seams on visible surfaces: Prefer areas where seams won’t be seen or will be less noticeable. Still, don’t create excessive stretching just to hide a seam; use a test image to assess both issues together.
Skipping the test unwrap: UV islands may look tidy on screen but still distort on the surface. Use a test image to check for stretching and repeat the unwrap if needed.
Ignoring geometry changes: Adding new faces or splitting existing ones after creating UVs may require additional mapping and editing. If you expect to keep changing the geometry, plan to check the UVs afterward.
Next steps in an architecture and visualization workflow
For architectural models, furniture, or interior objects, UV unwrapping is a key preparation step for placing image textures accurately on surfaces. Placing seams along less visible edges can help make them less noticeable, especially in close-up renders. For complex shapes, you’ll need to balance stretching against the number of seams. Seams are less of an issue in workflows that use 3D painting; matching island edges requires more attention when working with 2D textures.
To move the workflow forward, first identify the model’s surfaces and texturing needs; then review the seams, unwrap, and test image in sequence. If you’re using multiple textures, consider whether you need separate UV maps. Also check how the Active Render selection in the UV Maps section is used for rendering and materials. In the next stage, adjust the UVs and inspect the test image again; if you change the seams, rerun the Unwrap operation.
Sources and licensing
This guide has been adapted into Turkish from the Blender Manual guides “Seams,” “Introduction,” and “UVs & Texture Space.” All three sources are published under the CC BY-SA 4.0 license.
Sources
3 sourcesSource texts are not republished; short quotes are marked, everything else is our own summary and commentary.
For architecture firms and students in Turkey, learning UV unwrapping early makes it easier to prepare model textures with greater control and spot distortion in close-up visuals before it becomes a problem. The guide’s core steps use Blender’s built-in workflow; the sources don’t specify any special account or hardware requirements.
The key is not to apply the same seam layout to every model. Adding seams can reduce stretching, but may make it harder to match island edges in 2D textures. Taking geometry changes and the UV maps you’ll use into account before production can also reduce the need for extra editing later.
Frequently asked questions
Which mode do you use for UV unwrapping in Blender?
UV unwrapping is done in Edit Mode. Select faces in the 3D Viewport, then inspect and adjust the unwrap in the UV Editor.
How do you mark a UV seam in Blender?
Select an edge, then use Mark Seam with Ctrl-E. To remove a seam, choose Clear Seam.
Can a mesh object in Blender have multiple UV maps?
Yes. You can create multiple UV maps for different textures or reuse one map across multiple textures.