In brief
- With Lumion 2026.1, Effect settings can now be saved as a separate .LMS file called a Custom Style and reused in Photo and Movie mode.
- Custom Template saves a project's LSF file, allowing terrain, vegetation and camera setup to be reused in new projects.
- The Post Processing tool in Lumion Cloud saves cropping, color correction, preset and LUT adjustments as a new Version or Variation.
- Custom Style and Template files can be shared across a team by copying the Styles and Templates folders inside the Documents\Lumion 2026 directory.
Three tools arriving with Lumion 2026.1 — Custom Style, Custom Template and the Post Processing feature inside Lumion Cloud — make it easier for an office to maintain the same visual quality and presentation language across different projects. This guide explains how to set up and use these three tools, based on the steps outlined in the official Lumion knowledge base.
What is Custom Style and what is it for?
Lumion has long allowed Effect settings to be saved as an .LME file and carried between projects. Lumion 2026.1 takes this workflow a step further with Custom Style (LMS file), which stores saved visual settings in a separate Style library. A Custom Style only saves the Effect Stack (LME); it does not include imported models, materials or objects. This tool is only available in Photo and Movie mode.
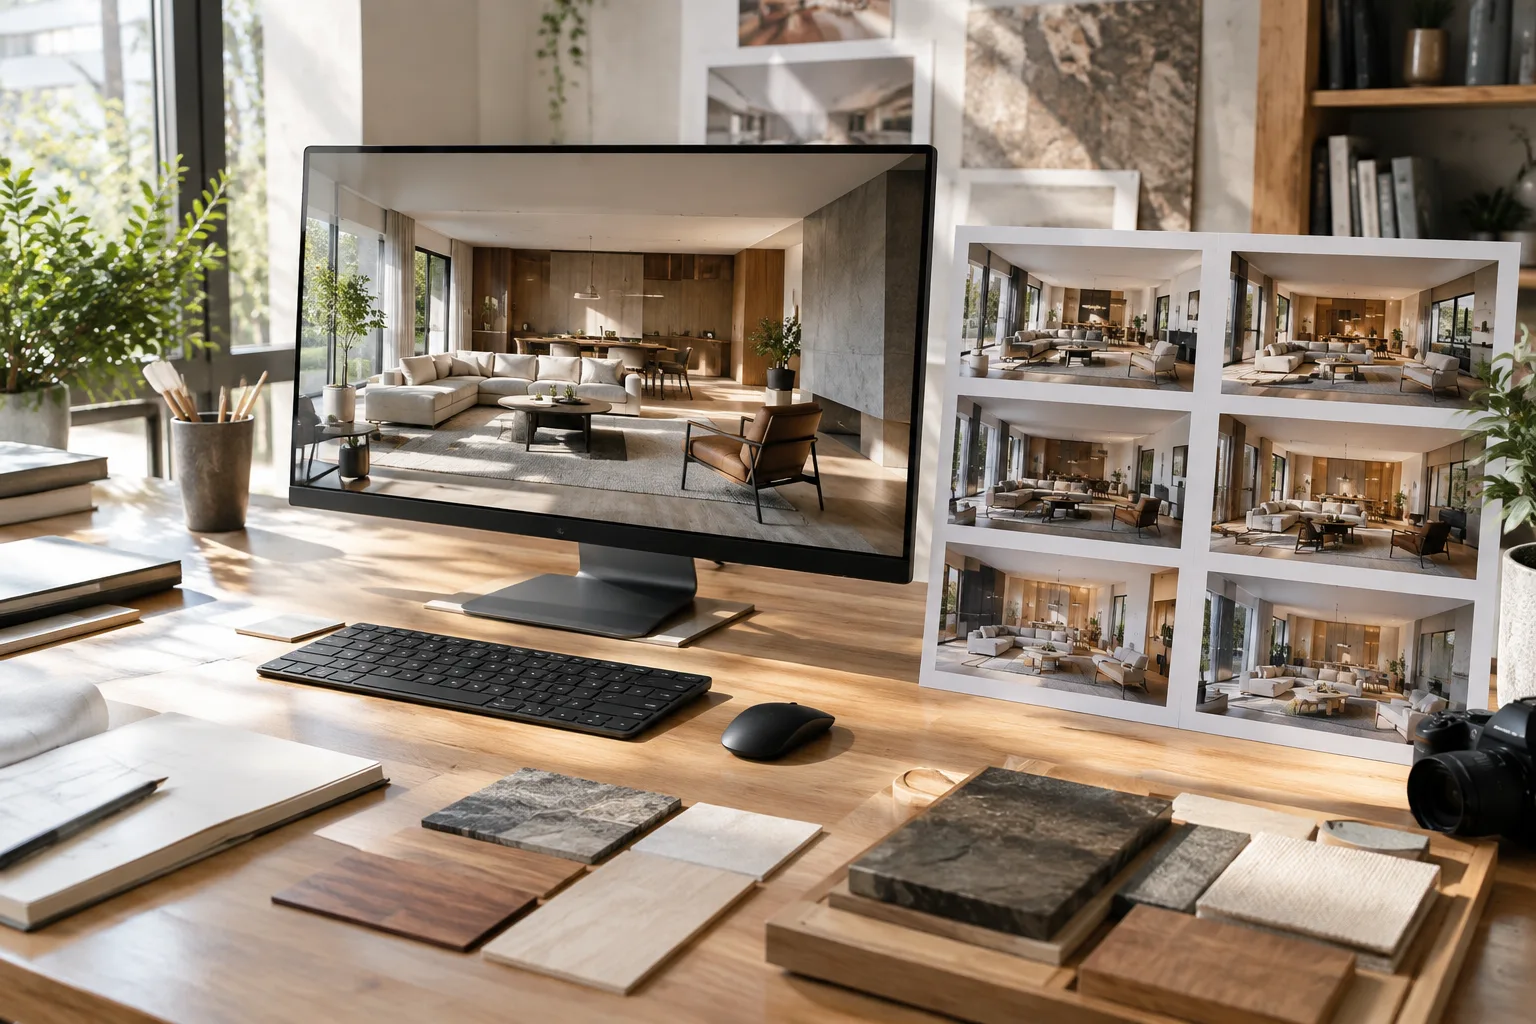
This feature is particularly meaningful for studios seeking brand consistency: a visualization office can save its preferred lighting, atmosphere and color grading as a single Custom Style and apply the same presentation look to every project. Likewise, a presentation standard specific to a particular client can be stored as a separate Style.
How to save and apply a Custom Style
Adjust the visual settings of a Photo or Movie until you achieve the desired result.
Go to
Effect list › ⋮ (three-dot menu) › Save as custom style.Enter a unique name for the Style and click the checkmark (✓) to save it.
The saved Style appears under
Select Style window › Custom taband can be applied to another Photo or Movie whenever needed.
To delete a Custom Style, select Remove style from the ⋮ menu; this only removes it from the Style library and does not affect any Photo or Movie the Style was previously applied to. An important detail: Custom Styles cannot be overwritten — to update one, you need to save a new Style under a different name. Also, since a Style's thumbnail is generated from the Photo or Movie frame it was saved from, it's recommended to set the aspect ratio to 16:9 before saving for the best appearance; otherwise the thumbnail will look stretched.
Reusing project setup with Custom Template
Custom Template stores a project's entire setup — including terrain, vegetation, environment settings and camera angles — as a separate project snapshot, available for reuse under Create new project › Custom tab. For example, in a residential project where every new project starts with a similar terrain and camera setup, this setup can be prepared once and saved as a template; the template is then loaded in a new project, the model is imported, and work continues from there.
To save it, the project's LSF file is added via the Add a custom template from disk option. To update a template, the updated LSF is added again under the same file name; Lumion detects that a template with the same name already exists and asks whether you want to replace it. To delete a template, select Delete from the ⋮ menu; this only removes the template and does not affect the original LSF project it was derived from.
One point to watch: if imported models or assets within the template no longer exist, these elements may not load correctly. Since heavy templates containing a large number of imported models can take longer to load, it's recommended to strip templates of unnecessary heavy assets for better performance.
Presentation touch-ups with Post Processing in Lumion Cloud
A render is usually just the first step of a presentation; before sharing, it may need cropping, color correction or style application. The Post Processing tool in Lumion Cloud allows these touch-ups to be made within the same review workflow, without going back to Lumion Pro or using a separate image-editing program. The tool is divided into three tabs:
Crop: cropping, resizing, rotating, flipping and straightening.
Adjust: fine-tuning with ready-made presets or individual controls such as Brightness, Contrast, Saturation, Temperature, Tint, Highlights, Shadows, Sharpness, Vignette.
Filters: applying Lumion LUTs or imported custom LUTs with Intensity control.
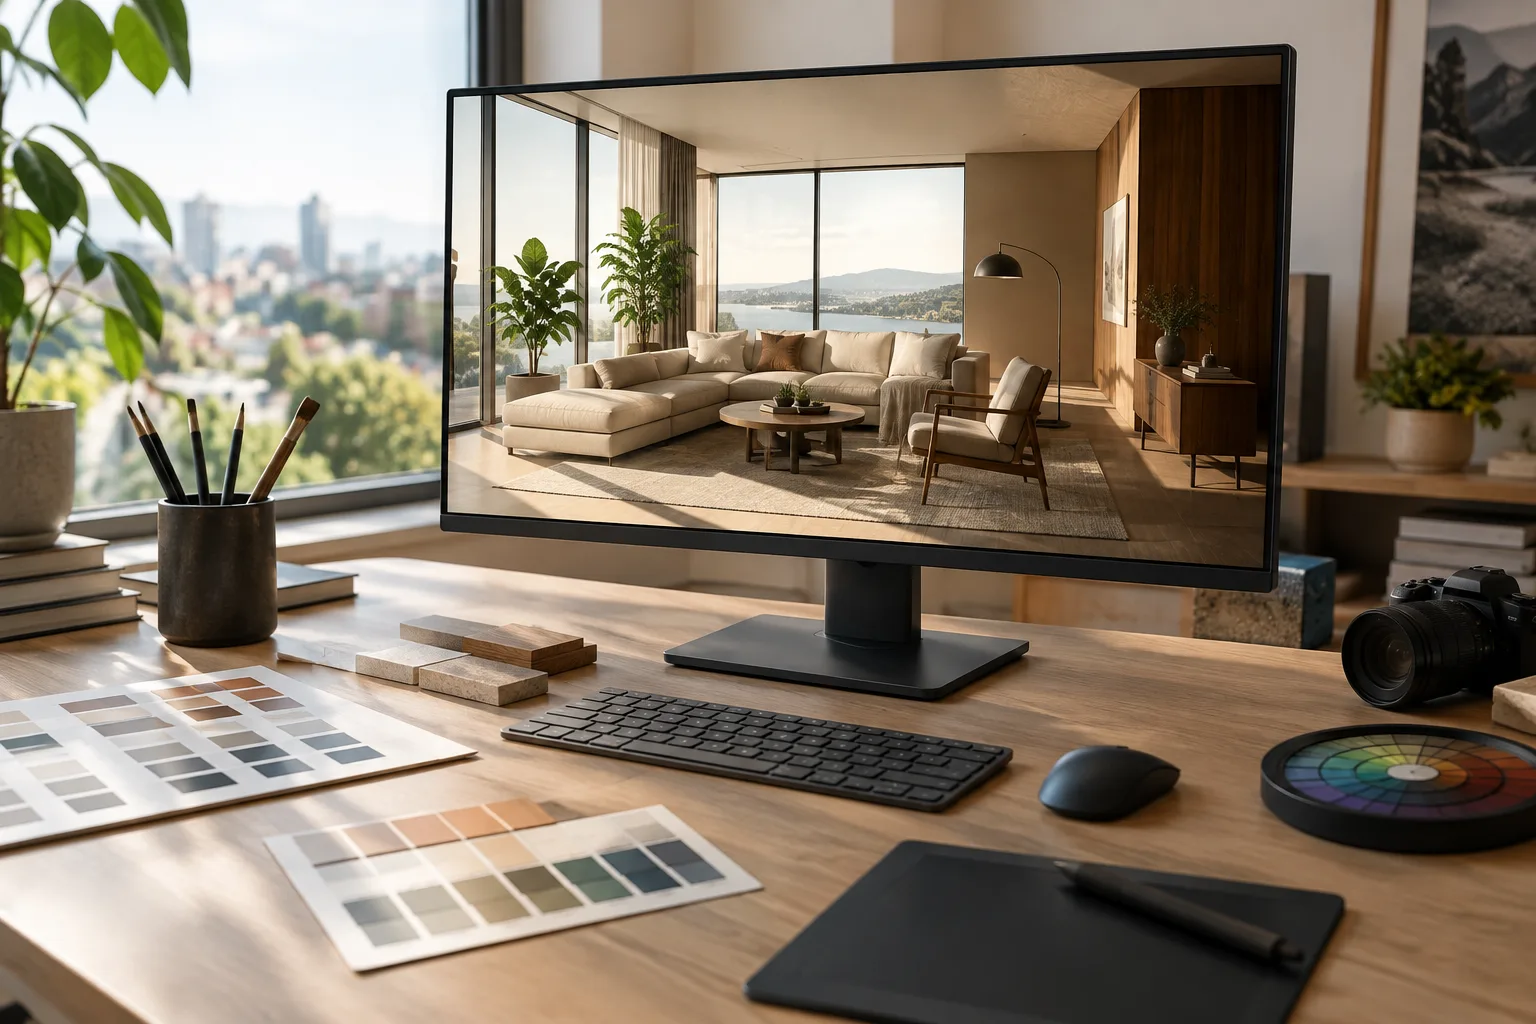
If feedback during a review process calls for tighter cropping or a warmer image, alternatives can be produced with the Crop and Adjust tools without changing the original camera position or taking a new render. Once changes are complete, Save stores them either as a new Variation tied to the current active Version, or as a new Version representing the project's next stage.
What this means for architectural presentation workflow
Used together, these three tools mean an office no longer has to recreate the same terrain and camera setup (Custom Template), the same lighting and color grading (Custom Style), and the same presentation touch-ups (Cloud Post Processing) for every project. Style and template files can easily be distributed to other computers on the team by copying the Styles and Templates folders inside the Documents\Lumion 2026 directory — a significant time saver for offices where multiple visualizers work on the same project.
Common mistakes
Saving a Custom Style with an aspect ratio other than 16:9 causes the thumbnail to look stretched.
Trying to save a new Custom Style under the same name; since Styles cannot be overwritten, a different name must be used for updates.
Filling templates with unnecessary heavy imported models, which lengthens loading times and reduces performance.
Deleting imported models or assets from a project and then trying to reload the Custom Template, which causes some elements to fail to load due to missing files.
Sources
3 sourcesSource texts are not republished; short quotes are marked, everything else is our own summary and commentary.
For visualization offices in Turkey, Custom Style and Custom Template are practical, time-saving tools, especially in situations where multiple people work on the same project or repeat production for the same client. Instead of rebuilding lighting and atmosphere settings every time, a Style file prepared once and shared across the team guarantees visual consistency; the same logic applies to terrain and camera setup through Template.
Meanwhile, Post Processing in Lumion Cloud reduces the need to switch to a separate image-editing program during the presentation stage, which is especially valuable for small touch-ups before delivery. Still, it's worth remembering that Custom Style only saves the Effect Stack and doesn't cover models or materials; the performance impact of large templates should also be kept in mind for offices with limited hardware.
Frequently asked questions
What is the difference between Custom Style and Custom Template?
Custom Style only saves the Effect Stack settings (lighting, atmosphere, color) of a Photo or Movie and is stored as an .LMS file; Custom Template stores the entire project setup — including terrain, vegetation, camera and other scene elements — as an LSF file.
Does a Custom Style also save imported models or materials?
No, a Custom Style only saves the Effect Stack settings; imported models, materials or objects are not included in the Style file.
Do Post Processing changes in Lumion Cloud alter the original render file?
No, when edits are saved, they are stored either as a new Variation tied to the current Version or as a new Version representing the project's next stage, which preserves the original image.