In brief
- AI Render is available in SketchUp for Desktop, iPad, and Web.
- The Auto preset takes the model’s content into account and aims to preserve its materials, geometry, and camera angle.
- The Erase, Paint, and Sketch tools let you work on specific areas of an image.
- Image generation can take 13–20 seconds; the time varies depending on your internet connection and available cloud processing resources.
SketchUp AI Render can turn a SketchUp model view into a new image using text prompts or ready-made styles. SketchUp’s official help documentation describes workflows for desktop, iPad, and web versions. This guide is based on the tools and settings described in the documentation; as no specific SketchUp version number is given in the sources, the steps reflect the interfaces described for these platforms.
1. Open AI Render and prepare your model view
On desktop, AI Render can be opened from the Extensions menu after downloading the extension; you can also use the toolbar. On iPad, access it from the expanded toolset, and in SketchUp for Web, from the expanded toolset there as well. On iPad and web, the AI Render tools open alongside the model view. On iPad, the Scenes, Styles, and Help panels remain visible too.
Before generating an image, adjust the model view and camera. On desktop, changing the model’s camera angle or aspect ratio also updates the model snapshot in the AI Render window. Before using your changes, refresh the view with Refresh in the AI Render window. This ensures generation starts from the current view rather than the previous one.
On desktop, the size of the AI Render window affects the quality of the generated image: a larger window produces higher-quality output. Resizing the window does not change the model’s aspect ratio. However, monitors with unusual aspect ratios or resolutions above 4K can produce distorted results on desktop; if this happens, check your display setup as well.
2. Choose a prompt and a ready-made style
A text prompt describes the image you want to generate. Auto is enabled by default in AI Render. It creates a prompt based on the content of the current model or image and aims to preserve the source model’s materials, geometry, and camera angle. Add further details in the text field to guide the appearance of the output more precisely.
Access presets by selecting Parameters in the text field. To choose a different ready-made style, click the name of the current preset and select one from the list. The options described in the documentation are intended for the following uses:
| Setting | Recommended use | Effect |
|---|---|---|
| Auto | When you want to preserve the model view | Creates a prompt that aims to preserve materials, geometry, and camera angle. |
| Exterior | For an exterior image | Intended to generate photorealistic exterior architectural images. |
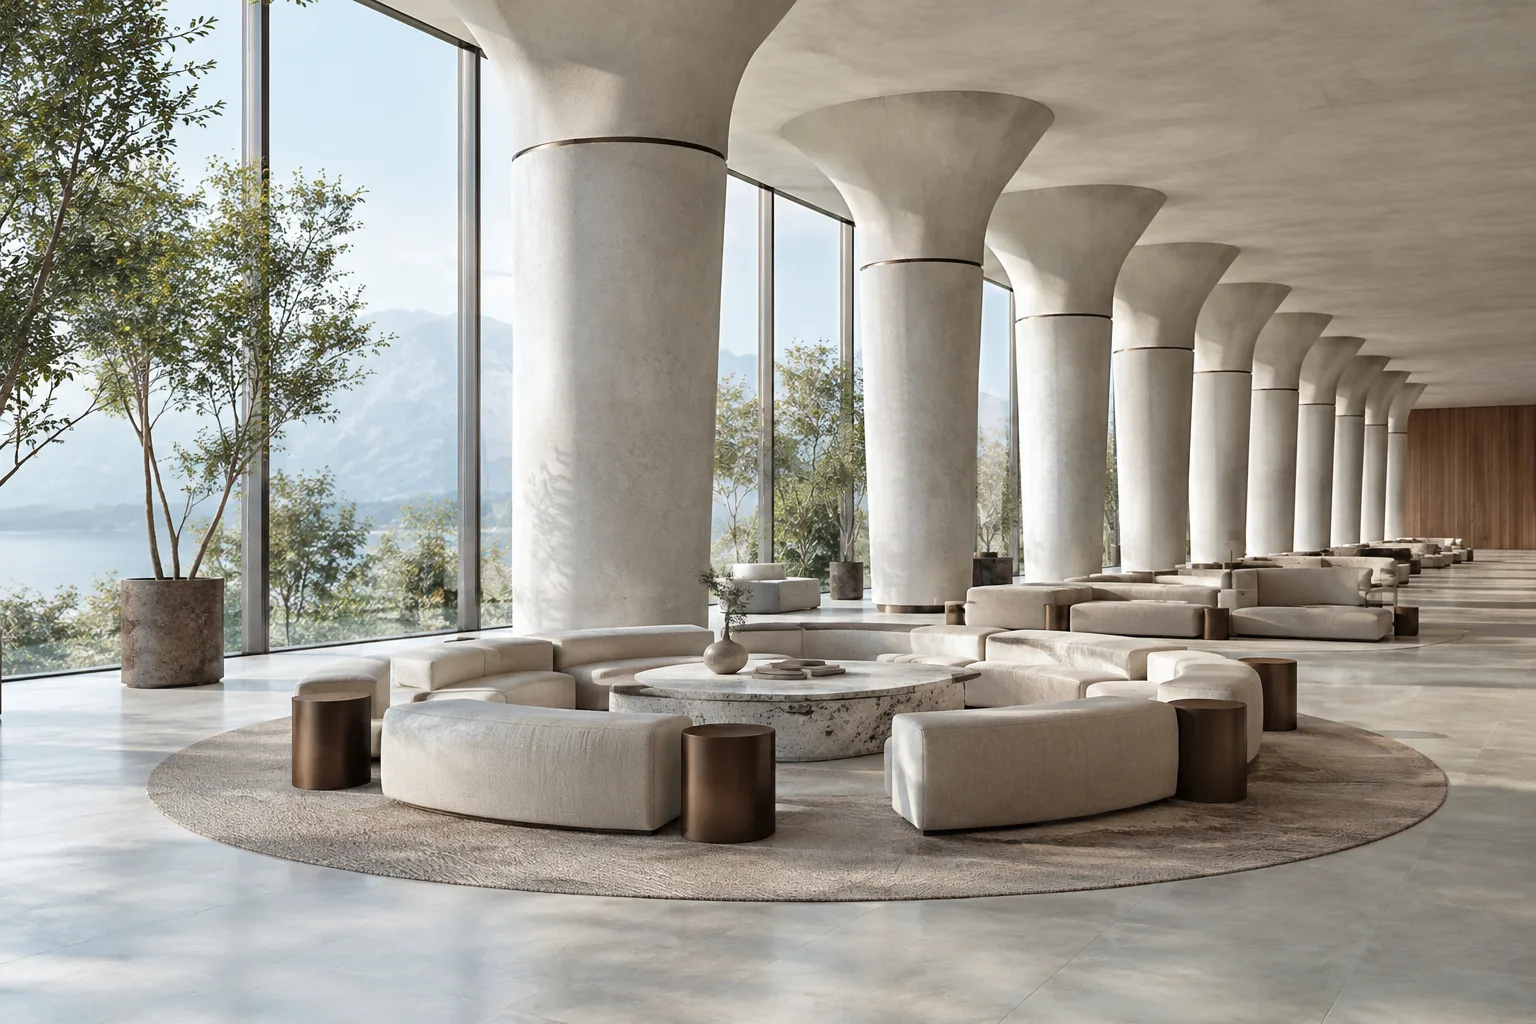
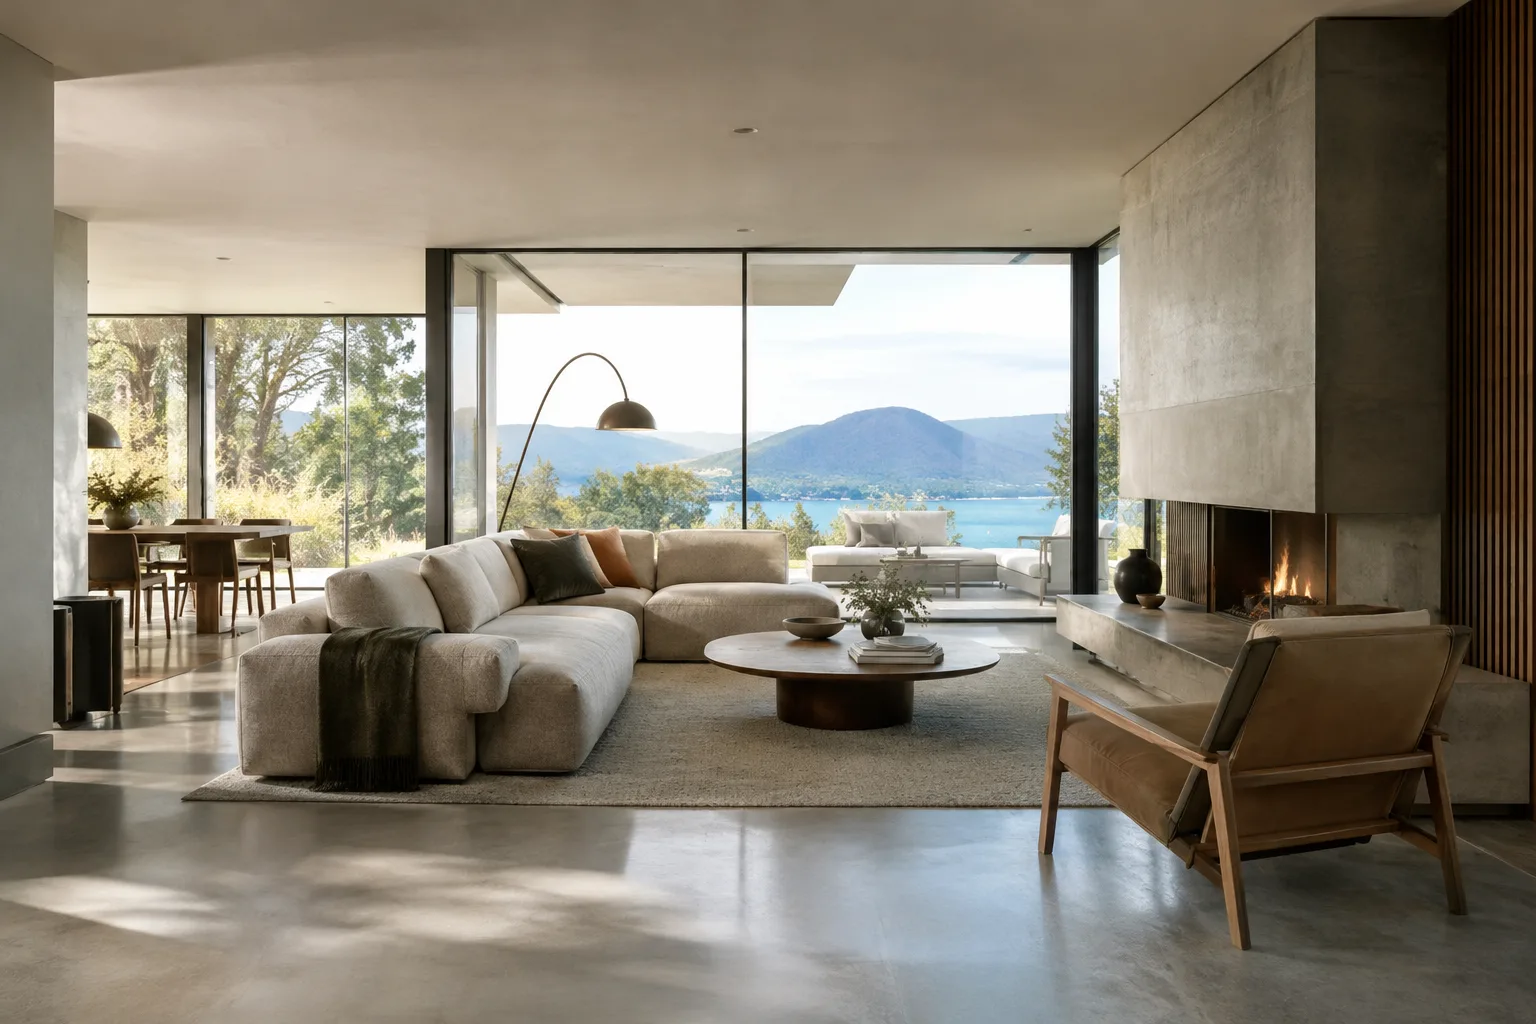
| Interior | For an interior image | Aims to create a photorealistic interior image in daylight. |
| Aerial Masterplan | For an aerial or landscape view | Intended for aerial, masterplan, and landscape images. |
| Pencil Sketch / Watercolor / Illustration | When a stylized presentation is needed | Creates a black-and-white pencil, watercolor, or post-digital illustration look, respectively. |
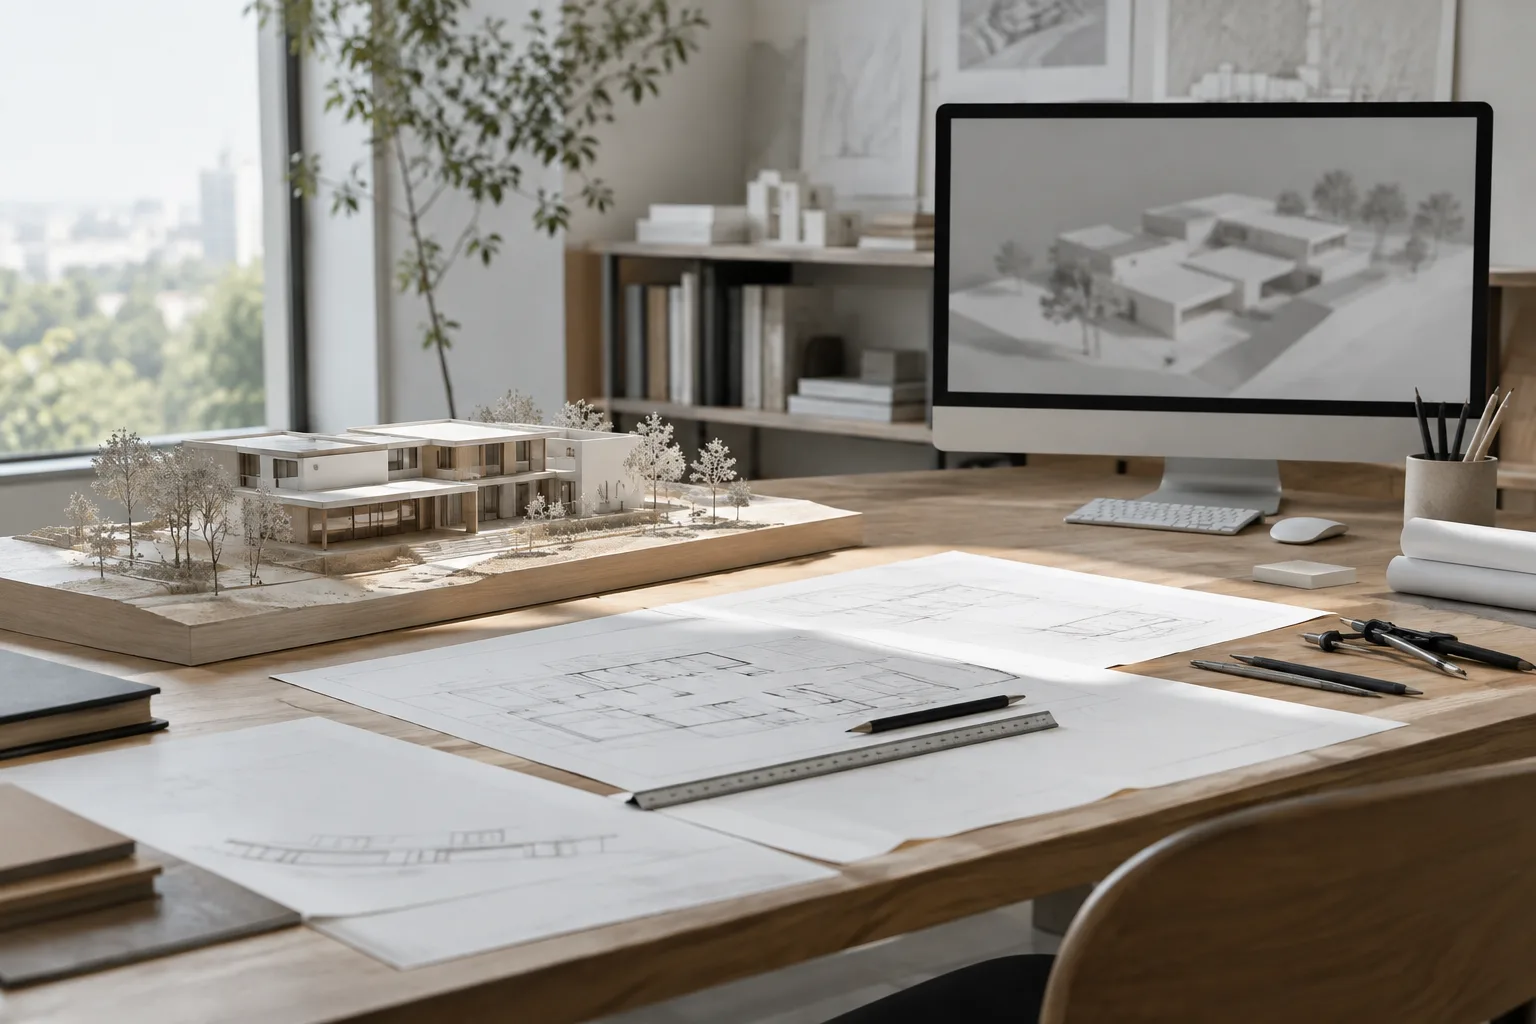
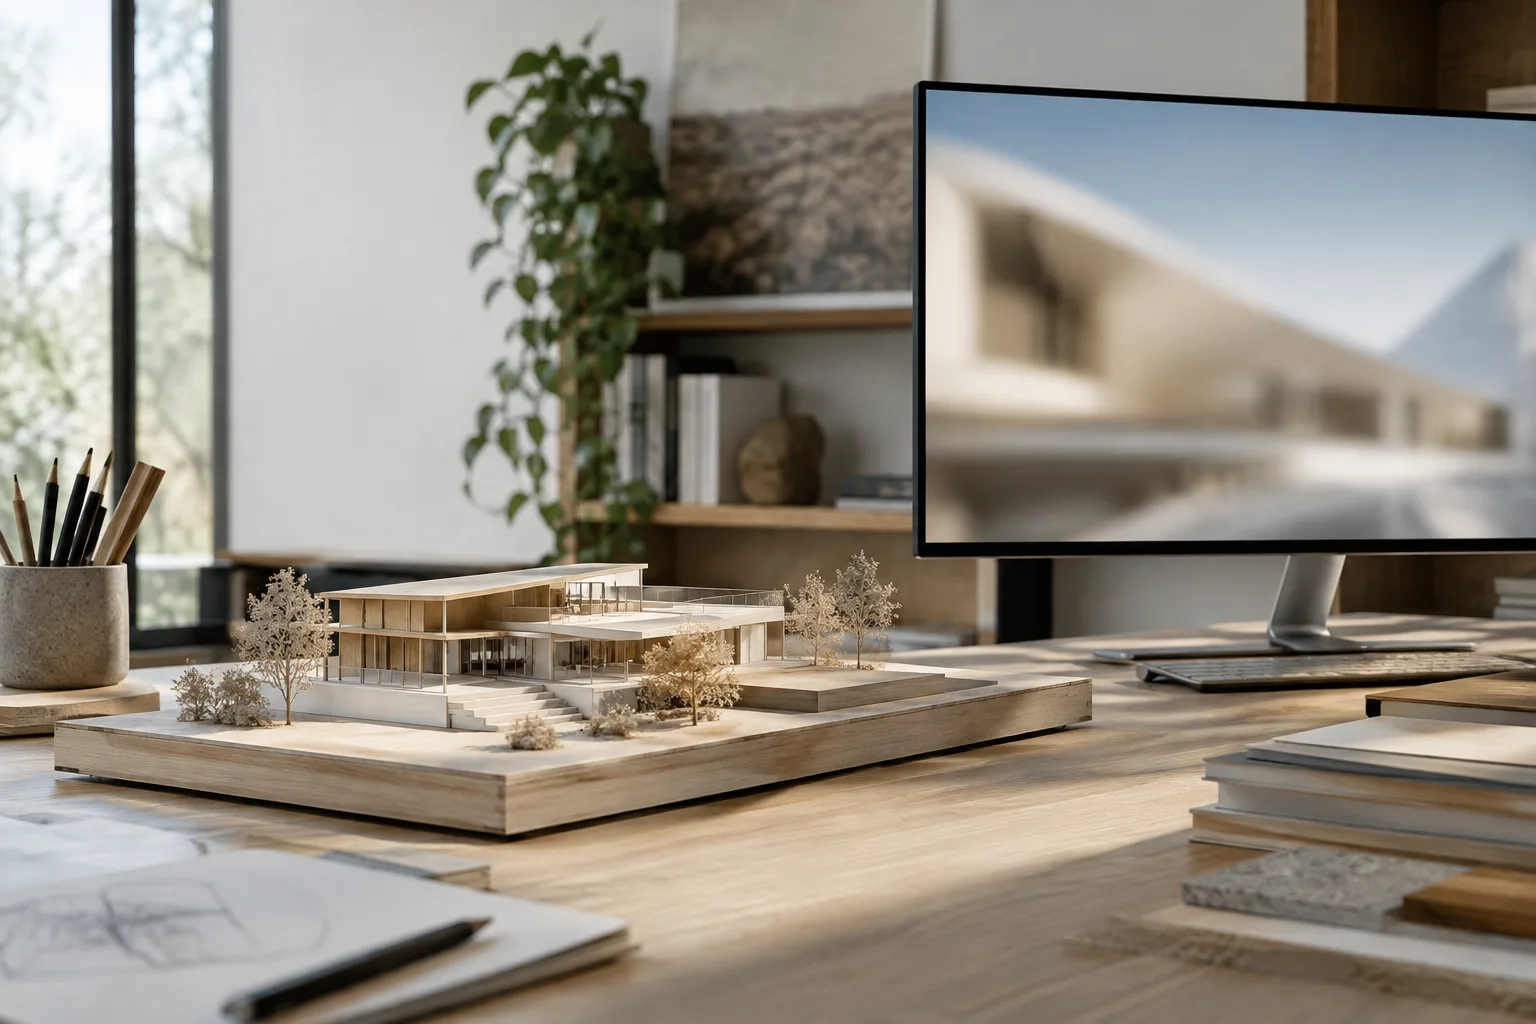
| Physical Model | For a physical model look | Aims to transform the model into a wooden architectural model. |
For a simple starting point, first try the model’s current view with Auto. Then choose a preset that suits your goal and add a short, clear prompt. For example:
Photorealistic daylight interior, preserve the existing model geometry and camera angle, warm natural materials.The models behind AI Render are English-based. You can enter prompts in other languages, but the generated image is not translated. Make sure the prompt clearly describes the desired image, and avoid vague or conflicting instructions.
3. Edit specific areas of the image
After the first result, you can use local tools as needed instead of regenerating the entire image. Erase masks an unwanted area and fills it by drawing on the surrounding area; it does not change the model geometry. On desktop and iPad, you can choose Brush or Lasso as the drawing method in the tool settings. Use Brush to paint over an area or Lasso to outline it. When your selection is complete, click Generate.
Paint applies a new prompt to a selected area. Mark the area, enter your prompt, and start generating. This tool also has an option to add a negative prompt. Sketch aims to add a new element to the image by combining a drawn mark with a text prompt; you can adjust the line weight.
With Erase and Paint, including a little area beyond the part you want to edit can provide more context from the surroundings and improve the result. If the mask is in the wrong place, use Clear and Reset to clear it. Your selection is retained when you exit and re-enter a tool; after generating with Paint or Sketch, the interface may return to the Text tool by default.
4. Save the result and add it to your workflow
Generated images are collected in Gallery. The gallery includes images from the current session and outputs created in the last 30 days. On desktop, you can use Save to save an image to your device. Add Scene adds the current generated image as a scene in the model, allowing you to keep it as a reference within the model. On iPad, you can adjust the opacity of a generated image and access local sharing options.
Generation can take 13–20 seconds; the actual time depends on the speed of your internet connection and available cloud processing resources. Rather than trying many different prompts in a short period, it is more controlled to first settle on the camera and model view, then change one variable at a time to compare results.
Impact on architecture and visualization workflows
AI Render can be useful for architects, interior designers, and students who want to visualize design ideas quickly, explore different atmospheres for interiors and exteriors, or create additional images to support a presentation. Auto’s aim of preserving the view can make it easier to work from the model geometry and camera angle, but the sources do not guarantee that the output will always match the design exactly. It is important to compare the image with the model before a presentation and, if needed, refine specific areas with the masking tools.
Common mistakes
Generating an image without using the updated model view: On desktop, refresh the view in the AI Render window with
Refresh.Asking for a very different style while overlooking Auto’s aim of preserving the source view: Choose a suitable preset and make the instruction clear.
Masking only the boundaries of the object you want to change: Include some of the surrounding area to provide context.
Assuming generation time is fixed: Your internet connection and the availability of cloud resources can affect how long it takes.
The documentation does not explain AI Render’s pricing or licensing terms. These should be verified separately before office use; desktop monitor-related distortion risks and interface differences between iPad, web, and desktop should also be tested.
Sources
3 sourcesSource texts are not republished; short quotes are marked, everything else is our own summary and commentary.
AI Render’s practical value lies in letting users explore ideas and atmospheres directly within a SketchUp view during the design process. Presets and local editing tools may be useful for offices and students looking for quick alternative visuals; still, the output should not be treated as a substitute for design decisions or a controlled visualization process.
Offices in Turkey should confirm pricing and licensing terms before use; the official documentation does not provide this information. On the hardware side, the documentation does not specify a GPU requirement, but internet connectivity and cloud resources affect generation time. It is also worth testing for distortion caused by monitor aspect ratio and high resolutions on desktop before using the tool on a real project.
Frequently asked questions
Which platforms support SketchUp AI Render?
According to the official documentation, it is available in SketchUp for Desktop, SketchUp for iPad, and SketchUp for Web. The steps for accessing it vary by platform.
Which preset should I use for an interior image in AI Render?
The Interior preset is designed for photorealistic interior images in daylight. You can also add details in the prompt field.
How long does SketchUp AI Render take to generate an image?
The documentation says generation can take 13–20 seconds. The time may vary depending on your internet connection speed and available cloud processing resources.