In brief
- Nano Banana 2.1’s API model ID is documented as gemini-nano-banana-2.1.
- The Gemini API supports image generation from text prompts, as well as editing with text and image inputs together.
- Google recommends Nano Banana 2.1 for new projects; the model is positioned for image generation and conversational editing.
- Generated images include a SynthID watermark; you must obtain the necessary usage rights for uploaded images.
What will you learn in this guide?
This guide explains how to use Nano Banana 2.1 for architectural image generation and text-based revisions to an existing render. The goal is not to write one generic prompt and wait for the result, but to establish a controlled workflow by describing the scene, visual style, and limits of the changes. The sample prompts were created for this guide; you can copy them directly and adapt them to your project.
According to the Gemini API documentation, the model can generate images from text and edit images by accepting text and image inputs together. This lets you choose between generating a new concept image and requesting a specific change to an existing render. It’s important to treat generative image output as part of the design exploration and presentation process—not as a replacement for technical drawings, dimensioned models, or construction documents.
Requirements: API access and model selection
You need Gemini API access and an API key to use this workflow. Google’s documentation includes examples in Python, JavaScript, Java, Go, and REST. For those who want to work without code, the source describes conversational image generation and editing with Gemini; however, it does not assume a specific app interface or menu path.
If you’re setting up a new API project, the model ID is listed in the documentation as gemini-nano-banana-2.1. Google recommends Nano Banana 2.1 for new projects. The same documentation describes it as a high-efficiency model for image generation and multi-turn editing. Since the source does not specify pricing, particular hardware requirements, or a separate operating limit for the image resolution used in this guide, none should be assumed.
If you’re editing a reference image, make sure you have the right to use it. One of the examples in the documentation shows a PNG image being sent to the API. For details about supported file types and larger image uploads, see the API’s image understanding documentation.
Architectural image workflow, step by step
Decide whether you want to generate or edit. If you don’t have a reference image yet, start with text-to-image generation. If you want to preserve an existing render while changing a specific aspect, use text and image inputs together. For the second approach, clearly state which elements must remain unchanged.
Describe the scene concretely. Specify the building or space’s purpose, main materials, lighting conditions, framing, and desired atmosphere together. Instead of an open-ended description such as “a beautiful interior,” use qualities that make the design decisions clear. For your first attempt, avoid piling on too many style or material requests that might conflict.
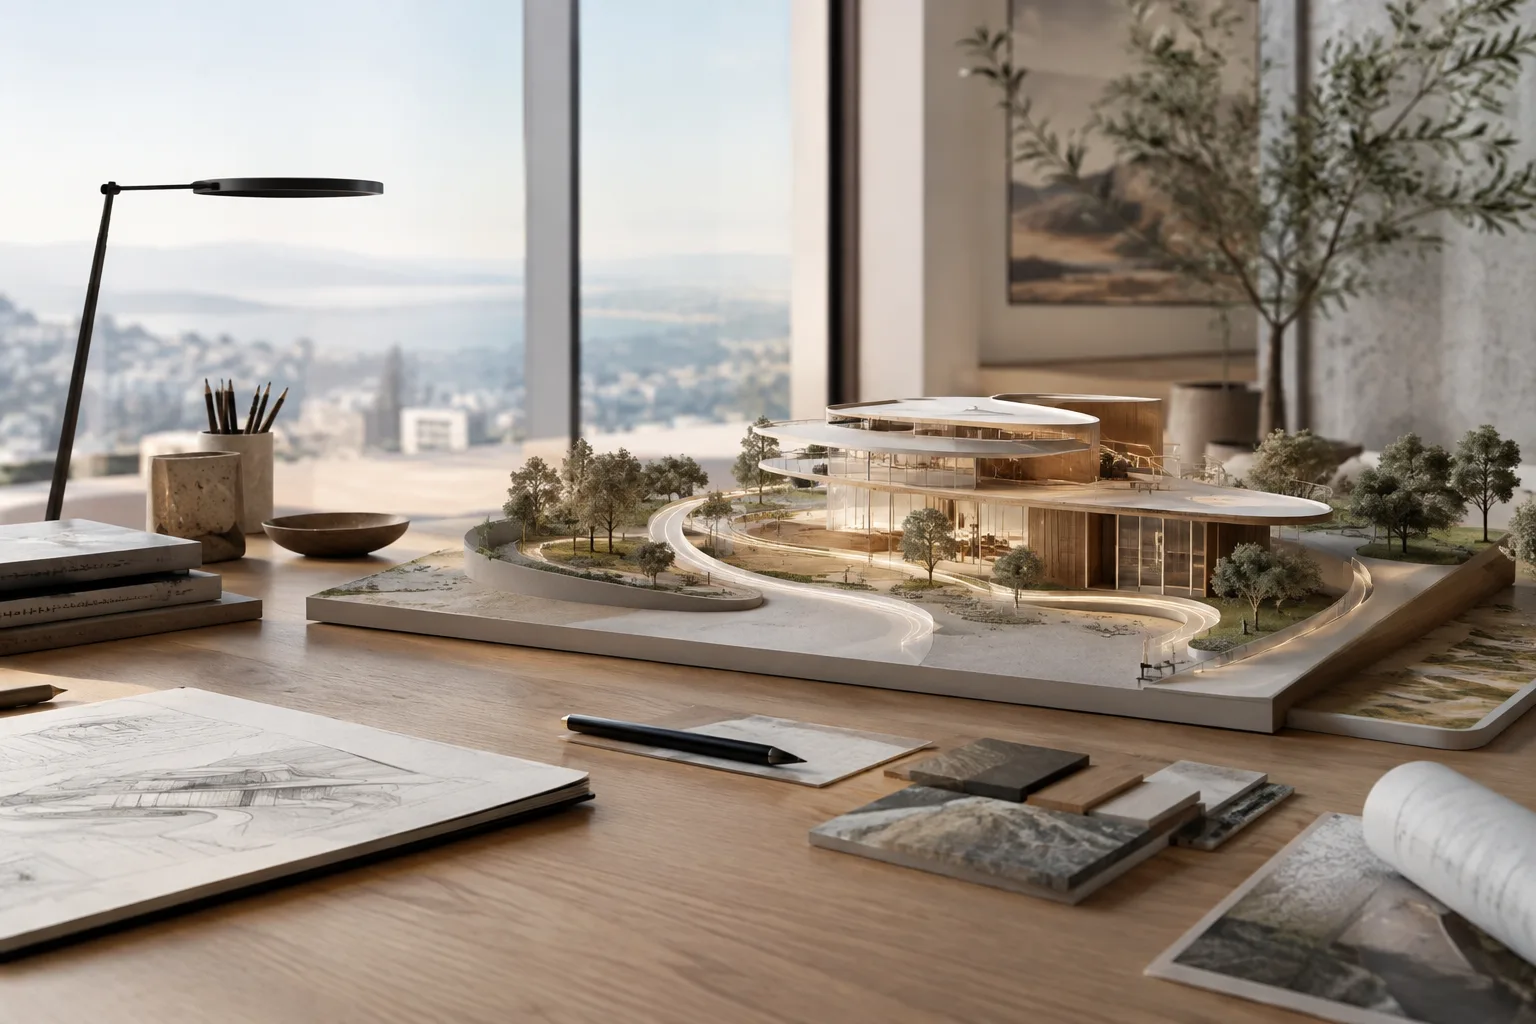
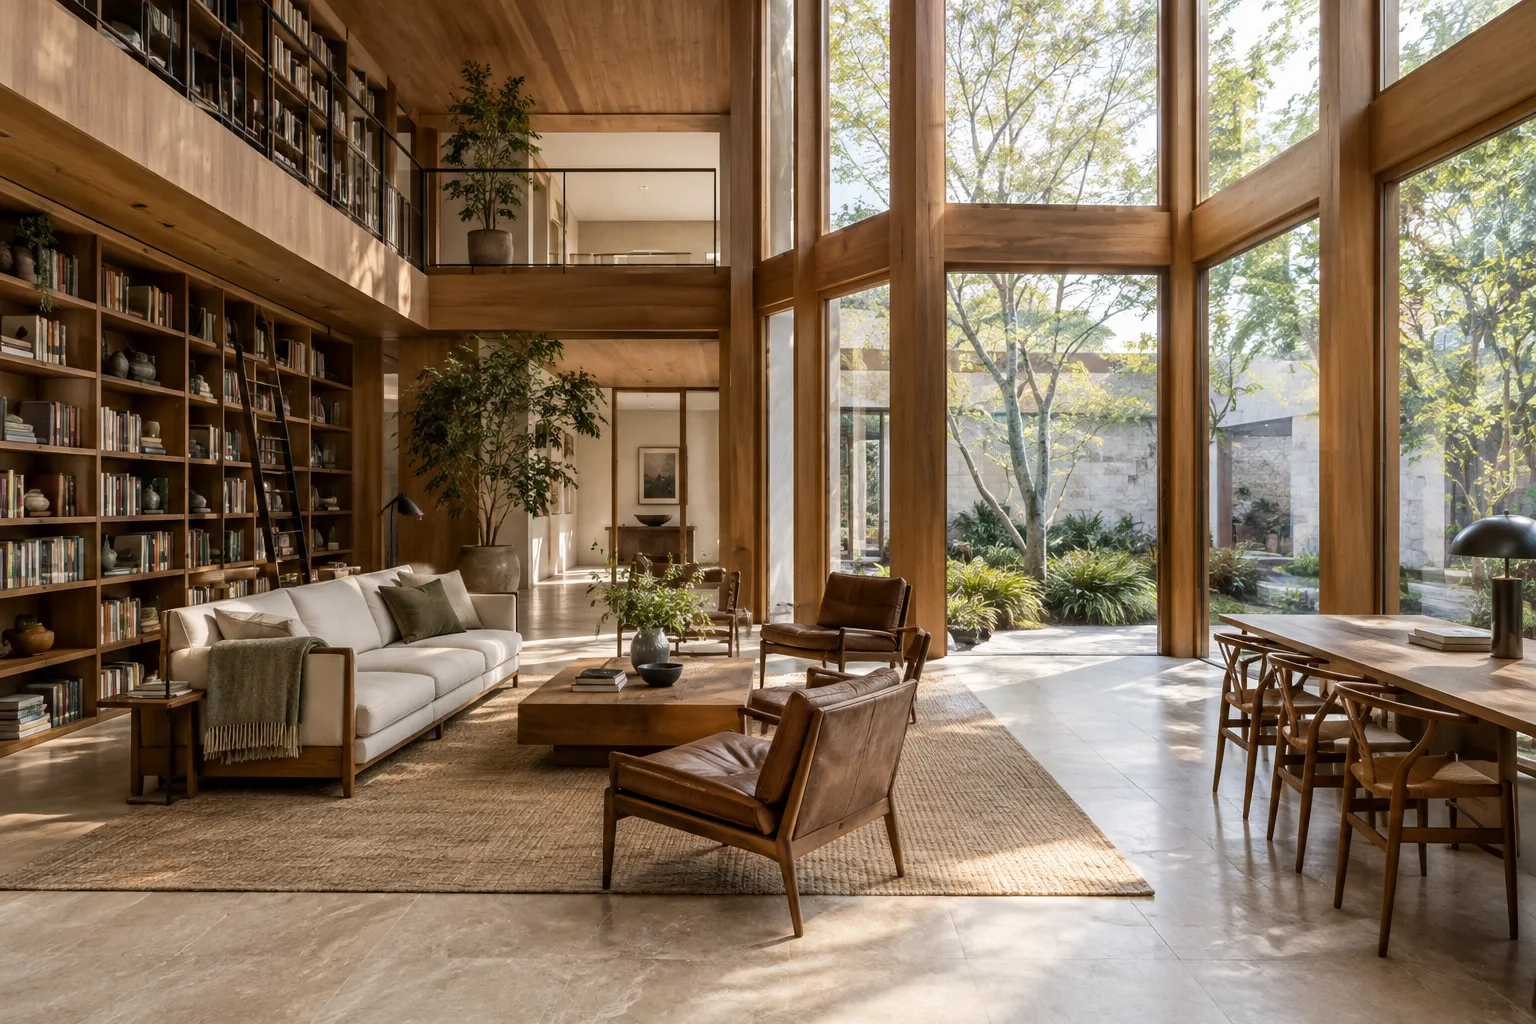
Create an architectural visualization of a compact urban library with a double-height reading hall, exposed timber beams, pale stone flooring, and tall windows facing a planted courtyard. Show the main reading area from eye level with soft overcast daylight. Keep the composition calm and realistic, with no people and no signage.This prompt describes the space’s program, key architectural elements, eye-level viewpoint, and lighting conditions separately. If you want to change a specific element in the result, try a follow-up instruction targeting only that decision rather than rewriting the entire scene description.
Set limits on changes when editing a render. Send the reference image together with text, and split your request into two parts: “what should change?” and “what should stay the same?” This tells the model which aspects of the existing image to preserve rather than simply proposing a new design. That doesn’t mean the model will preserve every detail exactly; you’ll need to check the output and, if necessary, request another round of edits.
Edit the provided interior rendering. Keep the room layout, camera viewpoint, openings, and furniture positions unchanged. Change the wall finish to warm light plaster and make the daylight softer. Do not add new objects or alter the floor plan.In this example, the requested edits are limited to the surface finish and daylight. Compare the result with the source image; if the geometry or furniture layout has changed, narrow the prompt further and try again.
Add visual direction and constraints. Specifying materials and lighting clearly makes it easier to compare different iterations. You can also state presentation preferences such as framing, the number of objects, or whether text should appear. Clear constraints on the type of output you want leave less room for interpretation, but you should still check every result.
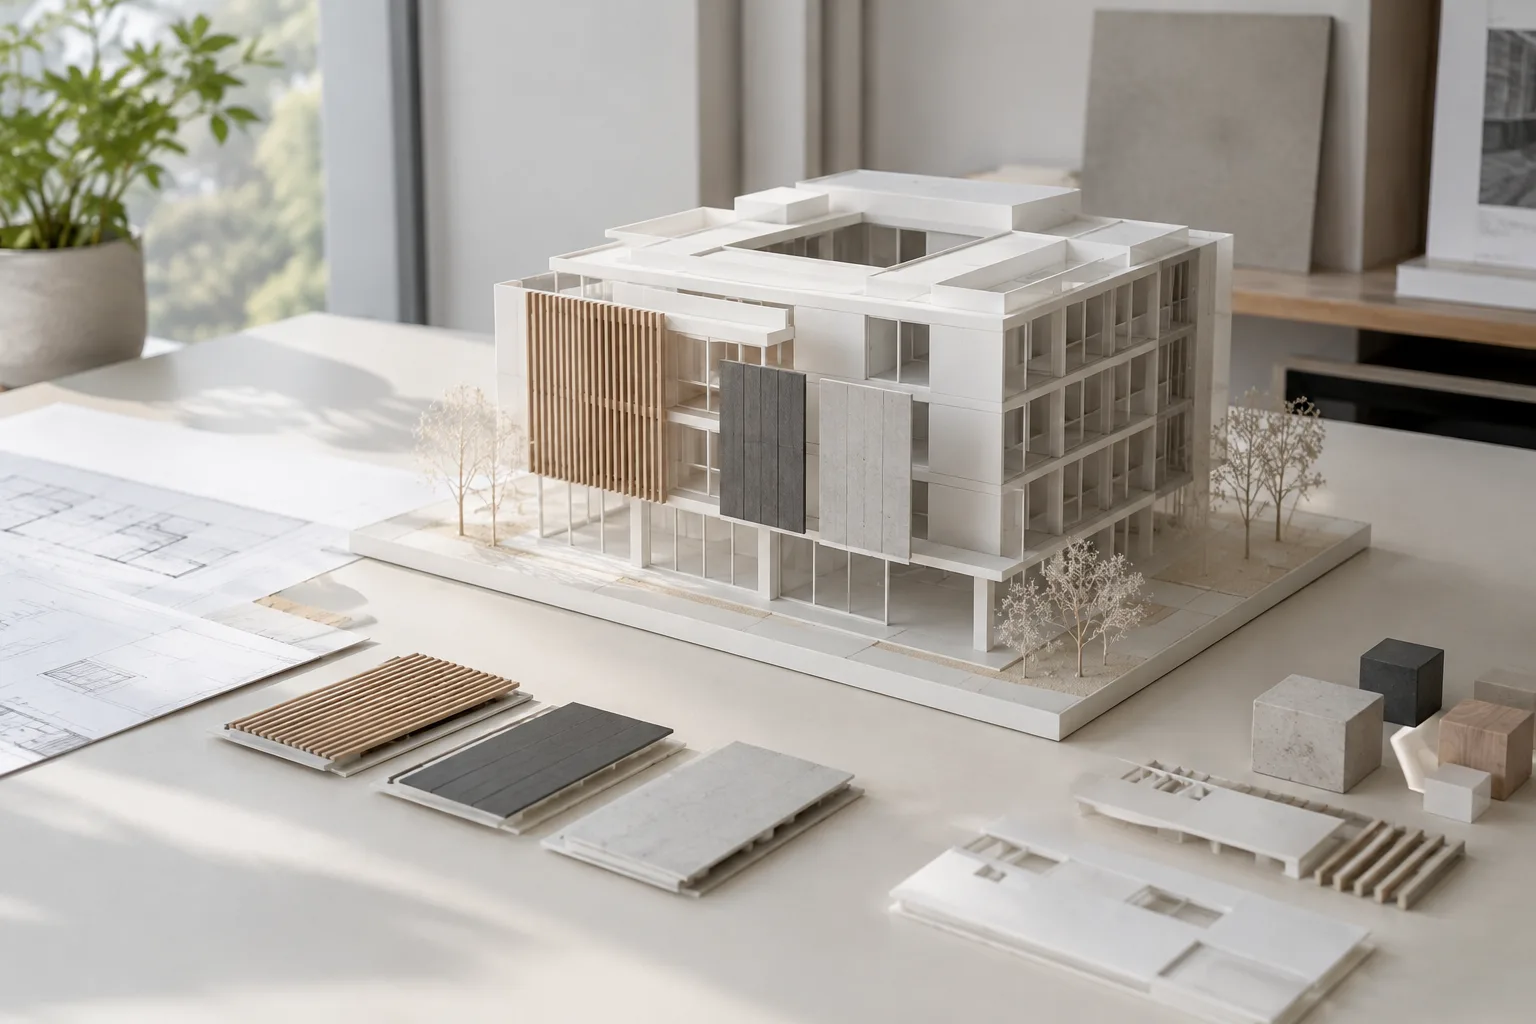
Create a photorealistic exterior architectural visualization of a small community arts center. Use a restrained palette of light brick, dark metal frames, and clear glazing. Show the entrance and public forecourt in a three-quarter view during late-afternoon light. Keep the building massing simple and do not include text, logos, or banners.This prompt describes the building type, material palette, viewpoint, and unwanted elements. If you’re comparing material or lighting options for the same scene, changing one main variable per iteration makes the results easier to evaluate.
Review the result and iterate. Google’s prompt design guide emphasizes clear, specific instructions and treats prompt writing as a process of testing and refinement. Instead of glossing over problems in the output with a general “make it better” instruction, name the difference you observed—for example, say that the window layout that should have been preserved has changed, or that the lighting is too harsh. If you’re using the API, the examples retrieve the resulting image through
interaction.output_image.
Common mistakes
Leaving requests vague: Phrases like “make it more modern” don’t specify which design decision should change. State whether you want to adjust the materials, lighting, or scene layout.
Failing to distinguish changes from elements to preserve: If an editing prompt doesn’t specify the camera angle, plan, or objects that should remain unchanged, it can be harder to assess unwanted differences. Still check the preservation instructions against the result; text instructions don’t guarantee exact preservation.
Changing too many variables at once: If you change the materials, framing, lighting, and room layout all at once, it’s difficult to tell which request affected the result. First settle on the basic scene, then test revisions step by step.
Ignoring image rights: Google reminds users to obtain the necessary rights for uploaded images and not to generate content that infringes on others’ rights. Check the usage terms for project images. Also, according to the API documentation, generated images include a SynthID watermark; keep this in mind when delivering and using the output.
Implications for architecture and visualization workflows
For architects, interior designers, and visualization teams, this approach can help with generating early concept options, exploring material atmospheres, or discussing alternatives for an existing image. Breaking prompts into small revisions can make design intent easier to communicate within a team. However, a model-generated result does not mean the source file or technical model has been updated. The accuracy of project decisions—such as dimensions, junctions, openings, and material behavior—must be assessed separately.
API-based use requires access and an API key; since the sources don’t provide pricing information, you shouldn’t commit to regular use without first calculating costs. This guide doesn’t specify any special graphics card or local hardware requirement. It’s sensible for offices to start with a small test, evaluating output quality, privacy and licensing expectations, and compatibility with their existing presentation workflow. The sources also don’t state that direct integration with drawing and modeling software is available.
Next steps
Try several editing prompts that each target one variable on the same reference image, then compare the results side by side. Saving your prompts alongside project notes can help you track which descriptions produced which visual choices. If you’re using the API, review Google’s image generation and image understanding documentation together. Also keep in mind the note that convenience fields returning only the final image may not cover all content in multi-part text-and-image outputs.
Sources and licensing
This guide was adapted into Turkish using Google Gemini API’s “Nano Banana image generation” and “Prompt design strategies” documentation. Both sources are published under the CC BY 4.0 license. The code and sample prompts were not copied directly from the sources; the examples for architectural and interior use were created specifically for this guide.
Sources
2 sourcesSource texts are not republished; short quotes are marked, everything else is our own summary and commentary.
For offices and students in Turkey, Nano Banana 2.1 is worth trying for generating concept atmospheres and presentation alternatives. The ability to revise an existing render with text could be useful, especially in fast-paced design discussions; however, the output is no substitute for a technical model or construction drawing.
An API key is required, and since the sources don’t disclose pricing, the tool shouldn’t be made part of a regular workflow without first evaluating the cost. Teams should also check usage rights for project images, account for the SynthID watermark on generated images, and test whether the results fit their existing presentation process. These sources do not specify any special local hardware requirement or integration with design software.
Frequently asked questions
What model ID is used for Nano Banana 2.1?
The Gemini API documentation lists the model ID as gemini-nano-banana-2.1. Google recommends Nano Banana 2.1 for new projects.
Can Nano Banana 2.1 edit an existing architectural render?
The documentation includes an example of image editing using text and image inputs together. You can describe what should change and what should be preserved in the prompt; the result still needs to be checked.
Do images generated with Nano Banana 2.1 have a watermark?
According to Google’s Gemini API documentation, generated images include a SynthID watermark.