In brief
- The Attach Hair Curves to Surface node requires valid surface geometry and a Surface UV Map to attach curves to the target surface.
- The transforms of the surface object or geometry must match those of the object with the modifier.
- Curve to Tube creates a circular or custom-profile mesh tube along a curve.
- The tube’s sampling, cap, and UV settings determine the resolution and ends of the generated geometry.
What will you learn in this guide?
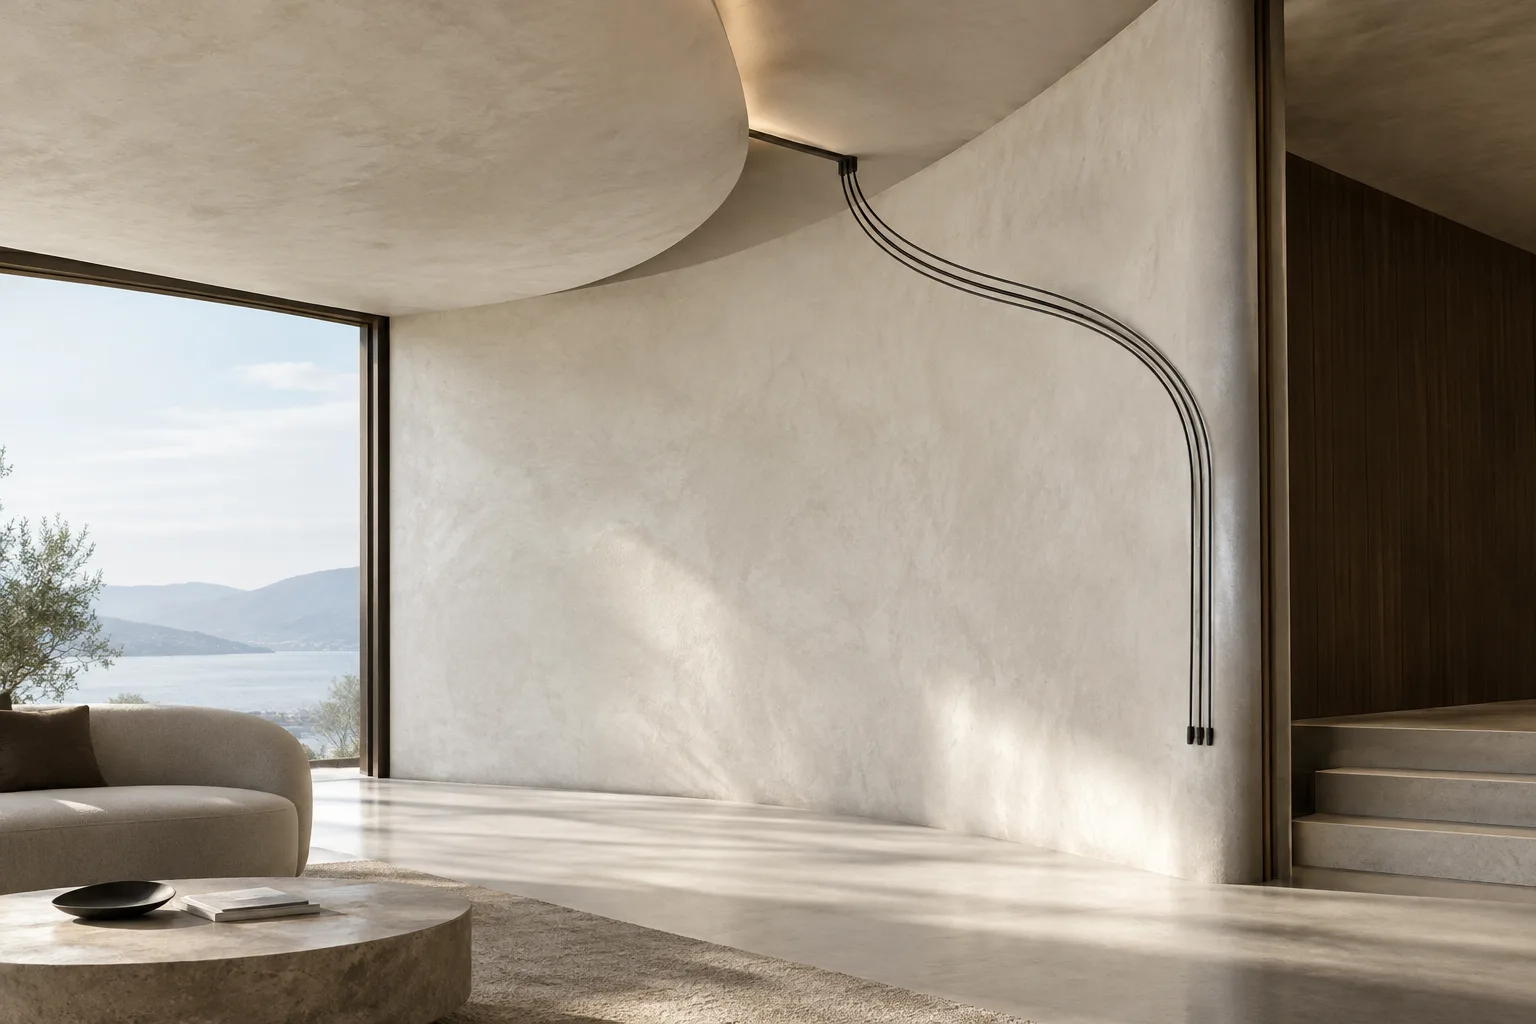
Surface-bound curves can be useful for cables and thin pipes attached to a façade, furniture details, or linear elements routed across a surface in architectural visualization. With Blender’s Geometry Nodes tools, you can attach curve root points to a mesh surface, then generate tube-shaped meshes from those curves.
This guide separates the two operations: the Attach Hair Curves to Surface node handles how curves attach to a surface and align to its direction. The Curve to Tube node converts a curve into tube-shaped geometry. Depending on your needs, you can use only the first node or pass the curve geometry on to generate tubes.
Requirements
You’ll need a Blender file that supports Geometry Nodes and a mesh to use as the target surface. A valid Surface UV Map is also required for attachment. The Blender Manual’s node pages don’t specify compatibility with a particular version, so check the relevant Blender Manual to confirm that the nodes are available in your version. The supplied Blender 5.2 LTS manual content includes a section on curve operations, but that alone does not confirm compatibility of these two nodes. The sources do not specify hardware requirements.
Before you begin, check the target surface’s UV map and the curves’ orientation. If you use a surface object or geometry, its transforms must match those of the object with the modifier. If they don’t, surface attachment may not produce the expected alignment.
Step by step: Attach curves to a surface
Identify the curve and surface geometry. The Geometry input of the Attach Hair Curves to Surface node takes the curves to be attached. There are three options for the target surface under Surface Source: choose Attached to use a surface already attached to the curve geometry, Object to provide an object reference, or Input to supply geometry directly. Select the option that matches your scene setup.
Set the surface and UV map. Provide the target through the Surface Object or Surface Geometry input, then specify the surface’s UV map in the Surface UV Map input. The node stores attachment positions for each curve. This attachment functionality won’t work without a UV map.
Consider the rest position. If the surface will be deformed later, the Resting Surface option puts it in its rest position when the attachment is created. If you use Deform Curves on Surface after the attachment node, enable Surface Rest Position. This ensures that attachment coordinates are taken from the pre-deformation position.
Preserve an existing attachment or snap roots to the surface. Use Existing Attachment samples the attachment point from Surface UV Map and stores UV coordinates for the curves, making the data available to subsequent nodes. Snap to Surface projects each curve’s root onto the nearest point on the surface. Consider this option if you want curve roots to sit directly on the surface.
Adjust alignment and blending. Align to Surface Normal rotates each curve’s root direction to match the surface normal. Stable results may require guide data or consistent curve orientation. Blend along Curve applies the alignment or deformation effect gradually from root to tip. Use this setting when you don’t want the effect to have the same strength along the entire curve.
The node outputs geometry with updated attachment information. Surface UV Coordinate and Surface Normal values at the curve attachment points are also available for subsequent operations.
Step by step: Create a cable-like tube from a curve
Use the Curve to Tube node. Connect the curve to be converted to the node’s Curve input. The Scale value is multiplied by the curve’s radius attribute to determine the tube radius, so consider the curve radius and this multiplier together to get the desired thickness.
Choose a cross-section profile. The Round profile creates a circular cross-section. Custom uses an object or geometry as a custom profile. With the Round profile, Resolution also determines the number of points around the circle and the resolution of Round caps. To give the resulting mesh smooth shading, use Shade Smooth.
Adjust sampling along the curve. Resample resamples the curve before generating the tube and helps produce a more evenly distributed geometry. Evaluated uses the curve’s existing evaluated points; Auto automatically determines a suitable sampling length; Count uses a fixed number of samples; and Length uses a fixed distance. In Auto mode, Scale affects the automatically calculated sampling length.
Set the ends and UVs. Caps closes the open ends of the tube. Flat creates caps with a single polygon, Round creates semicircular caps, and Custom uses user-provided geometry or an object. Under UV Map, enter the name of the UV map to create or modify on the output mesh. The Parameter setting controls whether UVs are generated using factors, actual length, or indices along the curve and profile. Enable Consider Curve Radius if changes in the curve radius should affect UV generation.
Common mistakes and next steps
If surface attachment isn’t working, first check that the target surface geometry and UV map are valid. If alignment is incorrect, compare the transforms of the surface and the object with the modifier. If curves appear detached from the surface, try Snap to Surface; if attachment is inconsistent on a deformed surface, review the rest-position settings. If Align to Surface Normal produces unstable results, also check the curve orientations and any required guide data.
If the tube’s cross-section looks too angular, try increasing the Resolution value for the Round profile, but bear in mind that higher resolution increases mesh density in the scene. If the ends remain open, check the Caps setting. If UVs are distributed differently than expected, compare the Factor, Length, and Index options.
In architectural, interior, and archviz workflows, this method is useful for modelers who want to adjust linear details attached to surfaces parametrically rather than positioning each one by hand. It’s important to keep surface UVs, transforms, and tube resolution consistent in the project file. The sources don’t specify performance or hardware requirements; check the geometry count in your own project when working with dense scenes. As a next step, try the curves on different surfaces and generate tube meshes only where needed.
Sources and license
Adapted into Turkish based on the Blender Manual pages “Attach Hair Curves to Surface” and “Curve to Tube Node.” Both sources are licensed under CC BY-SA 4.0. The Curve Operation Nodes content in the Blender 5.2 LTS manual was considered in the context of version notes.
Sources
3 sourcesSource texts are not republished; short quotes are marked, everything else is our own summary and commentary.
This approach can be useful for offices and students who want to create repeated cables and thin linear details in a controlled way across different surfaces. In particular, the options for preserving attachment points through UVs and aligning to surface normals can reduce repetitive work compared with placing curves by hand.
However, the sources don’t provide information about performance, hardware requirements, or licensing costs. Before starting a project, confirm that the nodes are available in the Blender version you’re using and test the impact of high-resolution tubes on the scene. UV layout and consistent transforms are essential checks for reliable results.
Frequently asked questions
What do you need to attach curves to a surface in Blender?
The Attach Hair Curves to Surface node requires valid surface geometry and a Surface UV Map. The transforms of the surface object or geometry must match those of the object with the modifier.
What does the Curve to Tube node do?
It generates a tube-shaped mesh along a curve. You can configure the circular or custom profile, sampling, end caps, and UV generation.
How do you snap curve roots to a surface?
Snap to Surface on the Attach Hair Curves to Surface node projects each curve’s root onto the nearest point on the surface.