In brief
- Scenes can save the camera position, visible tags, active section planes, and view settings.
- The Scenes panel lets you add, update, rename, and reorder views.
- Animations can be played in SketchUp or exported as a video file or image sequence.
- Video export includes preset resolutions of 1080p Full HD, 720p HD, and 480p SD.
SketchUp’s official help documentation describes scenes as a way to save different views of a model and the properties associated with those views. Each scene created in the Scenes panel appears as a tab at the top of the modeling window. This guide follows the workflows in the scene-creation documentation, updated on 29 October 2026, and the animation documentation, updated on 29 September 2026. Since the documentation does not specify a particular SketchUp software version, these steps cannot be tied to a version number.
1. Set up the view before creating a scene
A scene can save more than the camera angle: it can also store various properties currently displayed in the model. So before adding a scene, set up the camera, the geometry you want visible, and the view settings. The documentation recommends setting styles, fog, shadows, and section planes before creating a scene. Deciding in advance which geometry to hide and which tags to show also helps control what is visible when you switch to the scene.
Set the model to the desired angle and decide which design decisions the view should represent.
If needed, adjust styles, fog, shadows, and section planes.
Check the geometry and tags that should remain visible; hide anything unnecessary.
Open the Scenes panel and add a scene using Add Scenes.
Use Show Details to name or describe the scene and review which properties will be saved.
This preparation makes it possible to use scenes for different viewing purposes. For example, you could create separate scenes in the same model for an overall view, an interior perspective, and a section view. These are workflow suggestions; users determine which scene properties to save.
2. Manage saved properties and scene order
The options in scene details determine which properties are preserved when the view changes. The Camera Location option saves camera properties such as the viewing angle, zoom distance, and field of view. Separate options are also available for visible tags, hidden geometry or objects, and active section planes. In models with multiple section planes, saving the active planes to a scene lets you control which sections are active when the scene opens.
| Setting | Recommended value | Effect |
|---|---|---|
| Camera Location | Enabled if required by the scene’s purpose | Preserves the viewing angle, zoom distance, and field of view. |
| Visible Tags | Enabled if tag visibility varies by scene | Saves the scene’s tag visibility settings. |
| Active Section Planes | Enabled when using a section view | Saves the active section planes to the scene. |
| Style and Fog | Enabled if the style or fog is specific to the scene | Applies style and fog settings. |
| Shadow Settings | Enabled if the shadow appearance is specific to the scene | Saves shadow-related information, including time and date. |
| Environment Settings | Enabled if the environment appearance is specific to the scene | Saves environment settings such as sun position and the skybox. |
The activation guidance in the “Recommended value” column does not mean that every option should be enabled for every model. The documentation explains which properties each option saves; it does not prescribe one mandatory set of options for every project. Use Update Scene in the Scenes panel to update an existing scene. The context menu also lets you add, rename, or delete scenes. You can change the scene order in the panel using the up and down options, and move the tabs along the top using Move Left or Move Right.
3. Turn scenes into an animation
First, create your scenes and arrange them in the order you want for the presentation. To play them in SketchUp, select the starting scene and go to View > Animation > Play. To change transitions and how long scenes stay on screen, go to View > Animation > Settings or Window > Model Info. Scene Transitions creates a transition from one scene to the next; you can set its duration in seconds. Scene Delay determines how long the current scene is displayed before advancing. The documentation does not recommend specific durations, so choose them to suit the presentation’s pace.
Besides playing an animation in SketchUp, you can export it as a video file or as a set of images that can be turned into an animation using video software. Video export offers options such as resolution, aspect ratio, frame size, line weight, and frame rate. Preset resolutions are 1080p Full HD, 720p HD, and 480p SD. When you choose a custom resolution, you can set the aspect ratio and width and height yourself. Preview Frame Size lets you check the selected frame.
| Export option | Value specified in the documentation | Effect |
|---|---|---|
| Resolution | 1080p Full HD, 720p HD, or 480p SD | Higher resolution looks better on a large screen but also increases file size. |
| Aspect ratio | 16:9, 4:3, or custom for custom resolutions | Determines the output frame’s proportions. |
| Frame rate | Default: 24 frames per second | A higher frame rate produces smoother video and a larger file. |
| Codec and format | H.264 / .mp4, uncompressed / .avi, VP8 / .webm, Theora / .ogv | Offers different output options for the target playback or editing environment. |
4. Use in architecture and visualization workflows
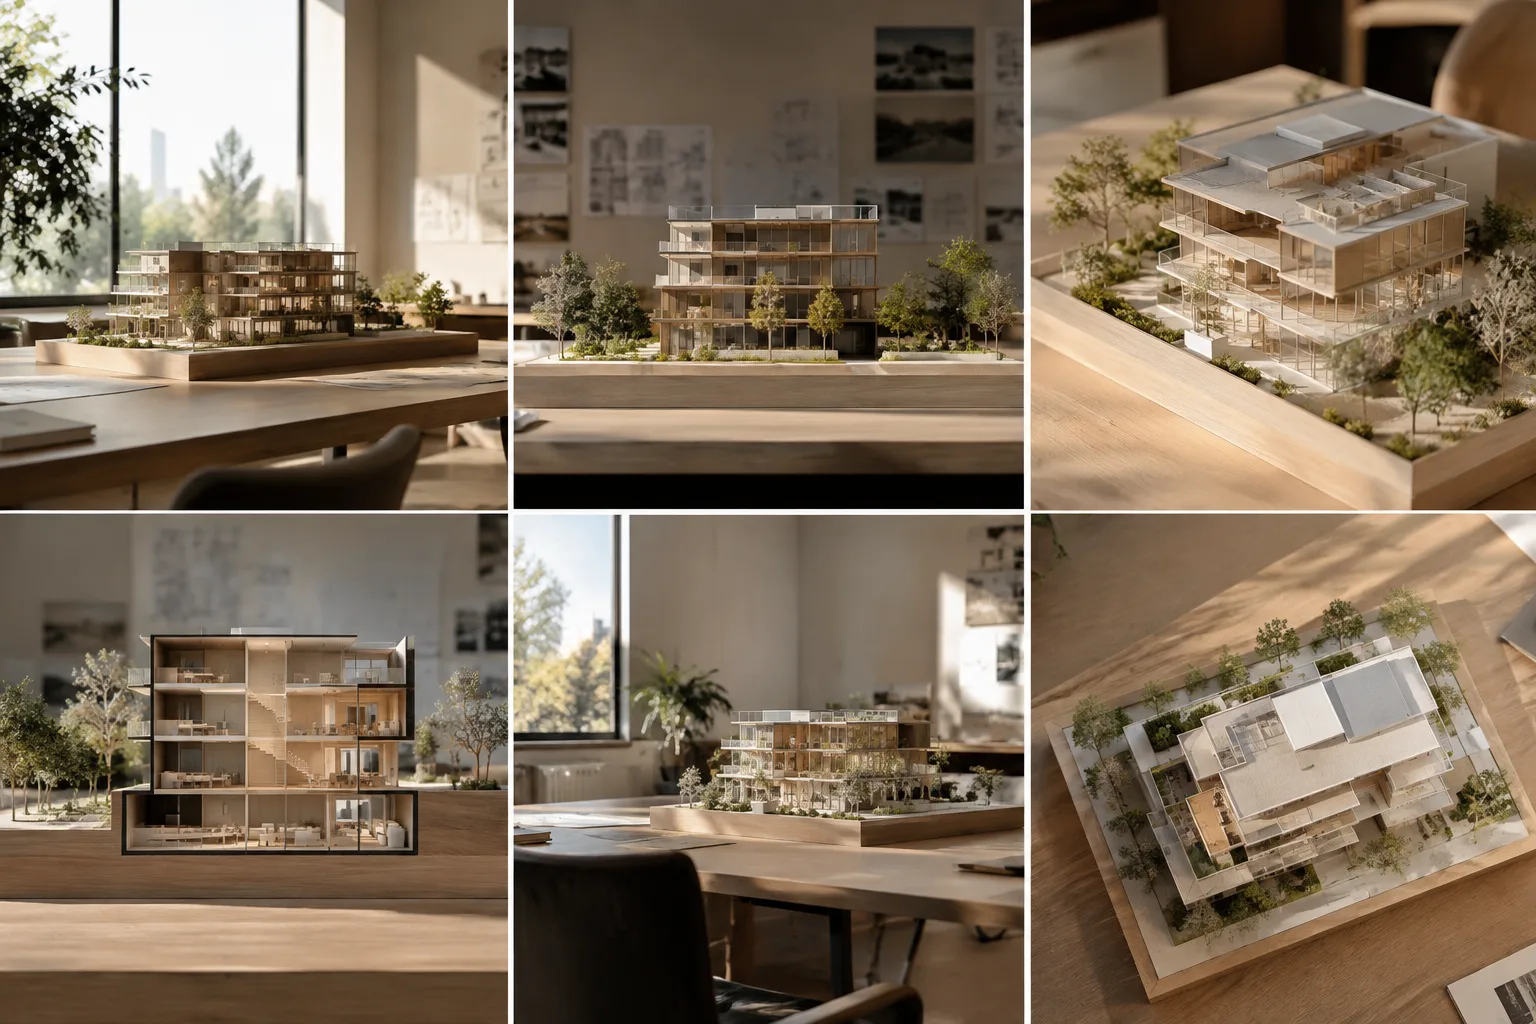
Architects, interior designers, and visualization teams can use scenes to organize and present different views and visibility states of the same model. Since camera position, tags, section planes, and shadow settings can be saved to a scene, teams have more control over the conditions in which each presentation view opens. An animation connects ordered scenes with transitions to show the model from different angles. This can be useful when a project presentation calls for a sequence rather than a set of still images.
Before exporting, choose the resolution and format to suit the target screen or delivery requirements. The official documentation notes that higher-resolution output creates larger files and that increasing the frame rate also increases file size. Uncompressed AVI may be suitable for use in editing software, while MP4 is described as a compressed format with broad support. Since sharing and archiving requirements vary between offices, choose a format in light of the delivery requirements. The source documentation does not provide information about hardware requirements or licensing terms.
Common mistakes
Not checking whether visible tags or hidden geometry are saved in a scene after adding it.
Overlooking whether a scene saves the active section planes when using multiple section planes.
Playing the animation before arranging the scene order; the animation follows the scene sequence.
Exporting without accounting for the fact that higher resolution or frame rate may increase file size.
Exporting at a custom resolution without checking the aspect ratio, width, and height.
Sources
2 sourcesSource texts are not republished; short quotes are marked, everything else is our own summary and commentary.
SketchUp scenes provide a practical organizational layer for offices that want to save camera and visibility settings in specific scenes rather than repeatedly rebuilding presentation views. Being able to save active section planes and tag visibility to a scene can help maintain consistent views during presentations, especially when explaining a design through sections.
For teams in Turkey, the main export considerations are file size and delivery format. Since higher resolution and frame rates can produce larger files, balance quality expectations with sharing requirements. The documentation does not specify hardware requirements or licensing terms, so no assumptions should be made about those points. Checking the scene order, section planes, and preview frame before exporting can help reduce the need to export again.
Frequently asked questions
How do you create a scene in SketchUp?
First, set up the view and the model properties you want to save. Open the Scenes panel and click Add Scenes; you can edit the scene details using Show Details.
Which formats can SketchUp animations be exported in?
The documentation lists H.264 codec with MP4, uncompressed AVI, VP8 codec with WEBM, and Theora codec with OGV. You can also export the animation as a set of images to turn into a video in another application.
What is the default frame rate for SketchUp animations?
The official animation documentation gives a default of 24 frames per second. A higher frame rate produces smoother video and a larger file.