In brief
- LightMix lets you change light color and intensity from the Corona VFB during or after rendering.
- Setup can be automated, or LightMix and LightSelect render elements can be added manually.
- Each LightSelect layer uses RAM based on resolution; grouping lights helps manage memory use.
- Corona 12 and VFB 2.0 allow you to create multiple LightMix setups in a single render.
What will you learn in this guide?
Corona LightMix lets you try out different lighting looks without rendering a scene repeatedly. Adjust light intensity and color in the Corona VFB, either while rendering is in progress or after it has finished. This means you don’t have to return to the scene and start a new render every time you want to reduce daylight, bring artificial lights forward, or change the light color in the same interior scene.
This guide explains how to enable LightMix in 3ds Max and Cinema 4D, group lights, configure denoising, and account for RAM use in high-resolution work. Since menu names can differ between the two applications, the relevant software path is specified for each step.
Requirements and version notes
LightMix is a feature used with Corona. Chaos’s 3ds Max documentation describes the setup path through Render Setup, while its Cinema 4D documentation points to the Corona > Multi-Pass menu. The sources do not specify an account type or account-creation requirement. They also do not state the minimum Corona version required for LightMix.
The sources do include a specific version note for creating multiple LightMix setups in one render: this feature is available starting with VFB 2.0, introduced in Corona 12. If you plan to create multiple setups in a single render, check version and VFB compatibility. The sources do not provide a fixed minimum version number for the other basic LightMix steps.
Step-by-step LightMix setup and use
Organize your lights before setup. Grouping the lights in a scene by purpose makes the VFB controls easier to understand. For example, pendants, recessed lights, and ambient lighting can be handled as separate groups. The Cinema 4D documentation also recommends combining lights into fewer passes instead of creating a separate LightSelect pass for every light. This makes the list easier to navigate and helps keep the number of layers in check.
Open the setup path for your application. In 3ds Max, go to Render Setup > Scene and click Setup Interactive LightMix under General Settings. In Cinema 4D, open Corona > Multi-Pass; enable the Multi-pass option in the middle column, then click Setup Interactive LightMix in the Multi-pass area. In both applications, the setup window offers options for grouping lights and including hidden lights.
Choose a grouping method that suits your needs. Automatic setup offers the options instanced lights, individual lights, grouped lights, and layers. The individual lights option places each light in a separate channel; with the group or layer approach, the contribution of related lights is combined in a shared channel. The instanced lights option treats instances of the same light together. The right choice depends on how the scene is organized and how much individual control you want in the VFB.
Check the memory estimate and denoising options. The setup window shows the estimated RAM usage of the LightMix layers; this estimate is based on the final render resolution. You can also choose during setup whether denoising is applied to LightMix and LightSelect elements. Keeping each light contribution separate can give you more control, but remember that memory requirements increase with the number of layers and the resolution.
Generate the automatic setup. Confirm your selections and click Generate to add the required LightMix element and light controls. You can then start a standard or interactive render. Switch to the LightMix tab in the Corona VFB to change light color and intensity. Adjustments can be made while rendering is in progress or after it finishes.
Set up LightMix manually if needed. In 3ds Max, add at least one CShading_LightMix and one or more CShading_LightSelect elements under Render Setup > Render Elements to control the lights. Assign the light sources you want to control to the relevant LightSelect element; use the include environment light option to manage environment lighting. In Cinema 4D, enable Multi-pass under Corona > Multi-Pass; add a LightMix pass from the LightMix category, followed by the LightSelect passes you need. Add light sources to the relevant list for each pass. For grouped or nested light objects, you can use Cinema 4D’s Include children option.
Adjust and save the look in the VFB. Change the color and intensity of each light from the LightMix tab. The interface controls can apply the current color and intensity values to the lights in the scene, and also offer options to save and restore settings in a configuration file. This makes it easier to switch between different lighting alternatives. You can also drag a color swatch onto another light to copy it, or right-click to reset it to white.
Common issues
The LightMix tab is missing: Check whether the required LightMix element has been created. For a manual setup, you need at least one LightMix element and a LightSelect element to control the lights.
Some lights can’t be adjusted separately: Check whether the relevant lights have been added to the correct LightSelect element. Lights not assigned to any LightSelect element may remain in the Rest (unassigned) section. To save or denoise these lights, use a LightSelect element with the relevant option enabled.
Denoising results are not as expected: If you want denoising across the entire LightMix output, make sure it is enabled for all LightSelect elements. A setting on one element does not apply to the others.
The scene uses a lot of memory: Consider using meaningful groups instead of creating a large number of separate light layers, and pay attention to the RAM estimate in the setup window. Resolution affects the memory required by each layer.
Emissive materials can’t be selected: The documentation states that objects using Corona Light Material with light emission disabled can’t be added to a LightSelect element. A similar limitation applies to materials with the self-illumination channel enabled.
How this affects architecture and archviz workflows
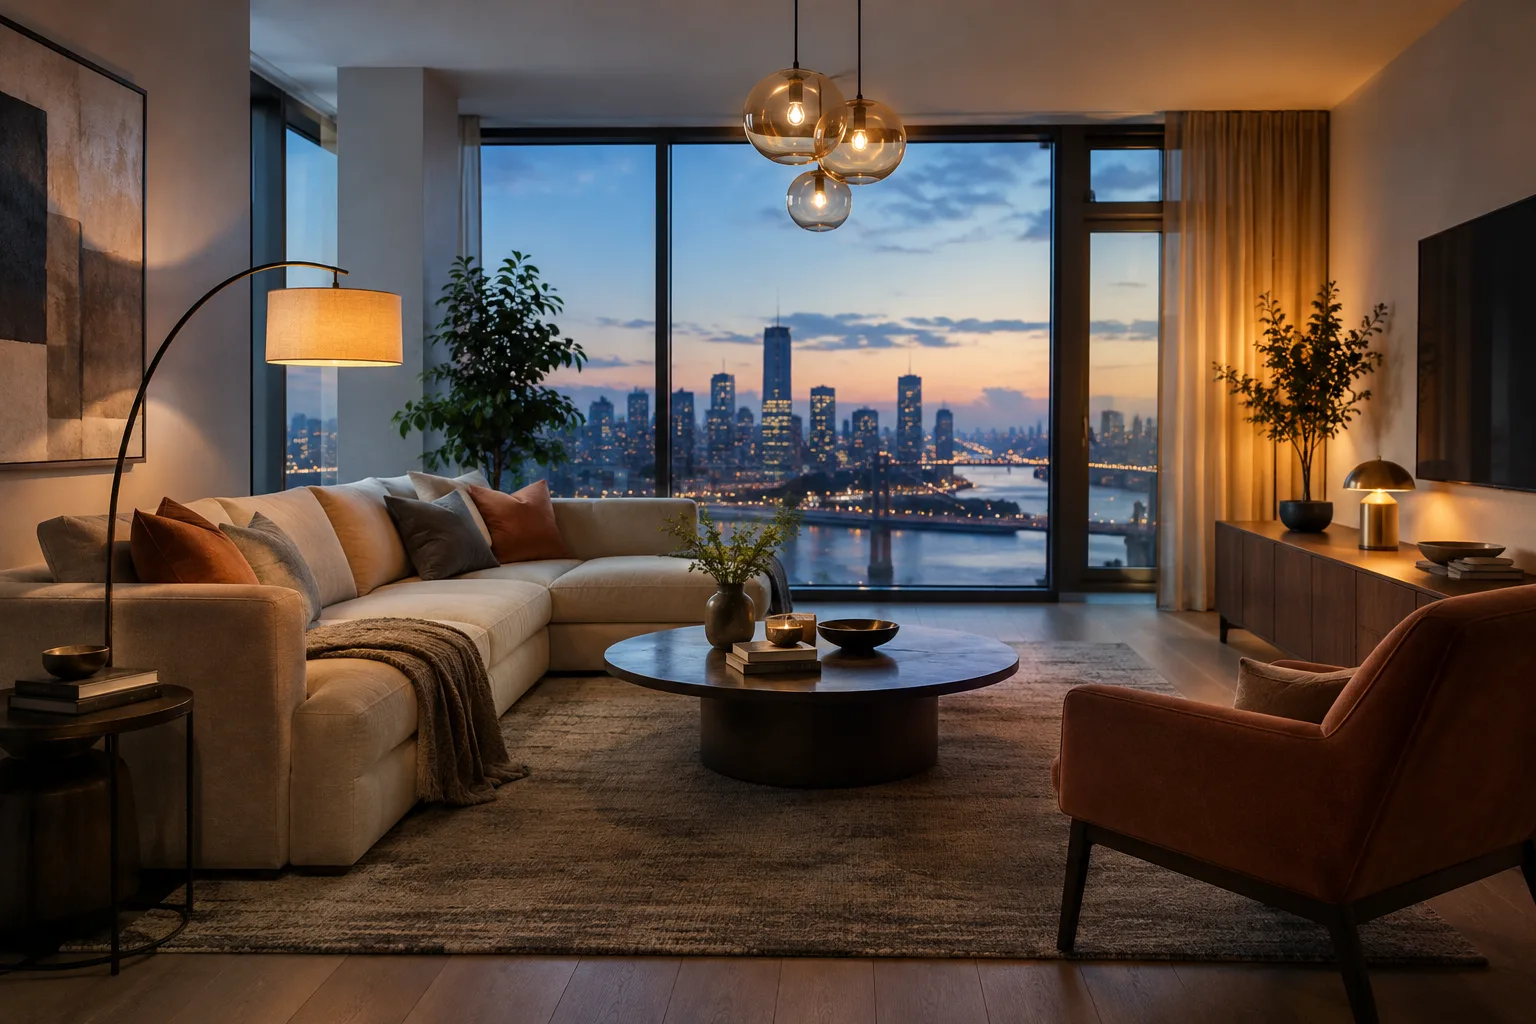
For interior visualization, LightMix can make it easier to quickly prepare alternatives of the same scene with daylight, evening lighting, or different balances of artificial light. Architecture firms and visualization teams that present lighting options to clients can get more manageable VFB controls by naming and organizing light groups clearly. However, this approach does not eliminate the memory required to store render data and light layers.
For high-resolution final outputs, one possible workflow is to establish the lighting balance at a lower resolution first, apply the values to the scene lights, and then produce a clean final render. Once settings have been applied to the scene, LightMix and LightSelect elements can be disabled before the final render. The software version used in architectural production, the organization of the scene lights, and available RAM all affect how practical this approach is; the sources do not provide a specific hardware minimum.
Next steps
For your first test, divide the lights into a small number of meaningful groups and use the automatic setup. Save a few different lighting looks and compare them in the VFB. Add LightSelect passes manually when you need more specific control. If you may need to reopen and edit important renders later, consider the Corona EXR (.CXR) format and Corona Image Editor; according to the sources, LightMix can also be used on Corona EXR files outside the 3D software.
Sources and license
This guide has been adapted in original wording from Chaos’s LightMix documentation for 3ds Max and Cinema 4D, including setup and usage information, and the LightMix workflow guide published on the Chaos blog. The source records state that the license information is “free”; no specific license type is named here.
Sources
3 sourcesSource texts are not republished; short quotes are marked, everything else is our own summary and commentary.
For architecture firms and students in Turkey, LightMix’s practical value lies in being able to evaluate different lighting scenarios for the same scene without waiting for a new render. In interior presentations, this can make it easier to compare design decisions and respond to client revisions. The benefits depend on organizing the lights in advance and fitting the feature into the scene workflow.
Since high resolutions and a large number of separate LightSelect layers can increase RAM use, teams would be wise to measure their hardware limits using test scenes. The sources do not explain pricing or licensing terms, so current Corona license terms should be checked separately when calculating costs. The multiple-setup feature, which requires Corona 12/VFB 2.0, also makes it important to check version compatibility.
Frequently asked questions
What is Corona LightMix used for?
It lets you change light color and intensity in the Corona VFB during or after rendering. This means you don’t always need to render again to change the lighting.
How do you open Corona LightMix in 3ds Max?
Click Setup Interactive LightMix under General Settings in Render Setup > Scene. For manual setup, add LightMix and LightSelect elements in the Render Elements section.
Why can LightMix use a lot of RAM?
The memory required by each LightSelect layer depends on the render resolution. Check the number of layers and how the lights are grouped during setup.