In brief
- In Lumion 2024, Ray Tracing is added as an effect in Photo or Movie Mode and requires a graphics card that supports ray tracing.
- Photo Mode presets use 16 samples for Fast, 64 for Balanced, 256 for High, and 512 for Extreme.
- Around 16 samples may often be enough for well-lit interiors; dim scenes may need more.
- Lumion’s sun, sky, and artificial-light controls let you adjust a scene’s directional lighting, softness, and color temperature separately.
Lumion’s official support documentation offers a range of controls for managing lighting and Ray Tracing settings in interior visualizations. In Lumion 2024, Ray Tracing is enabled as an effect in Photo or Movie Mode and requires a graphics card that supports ray tracing. The steps below focus on balancing lighting, noise, and render time, particularly in interiors.
1. Start by defining the scene’s lighting character
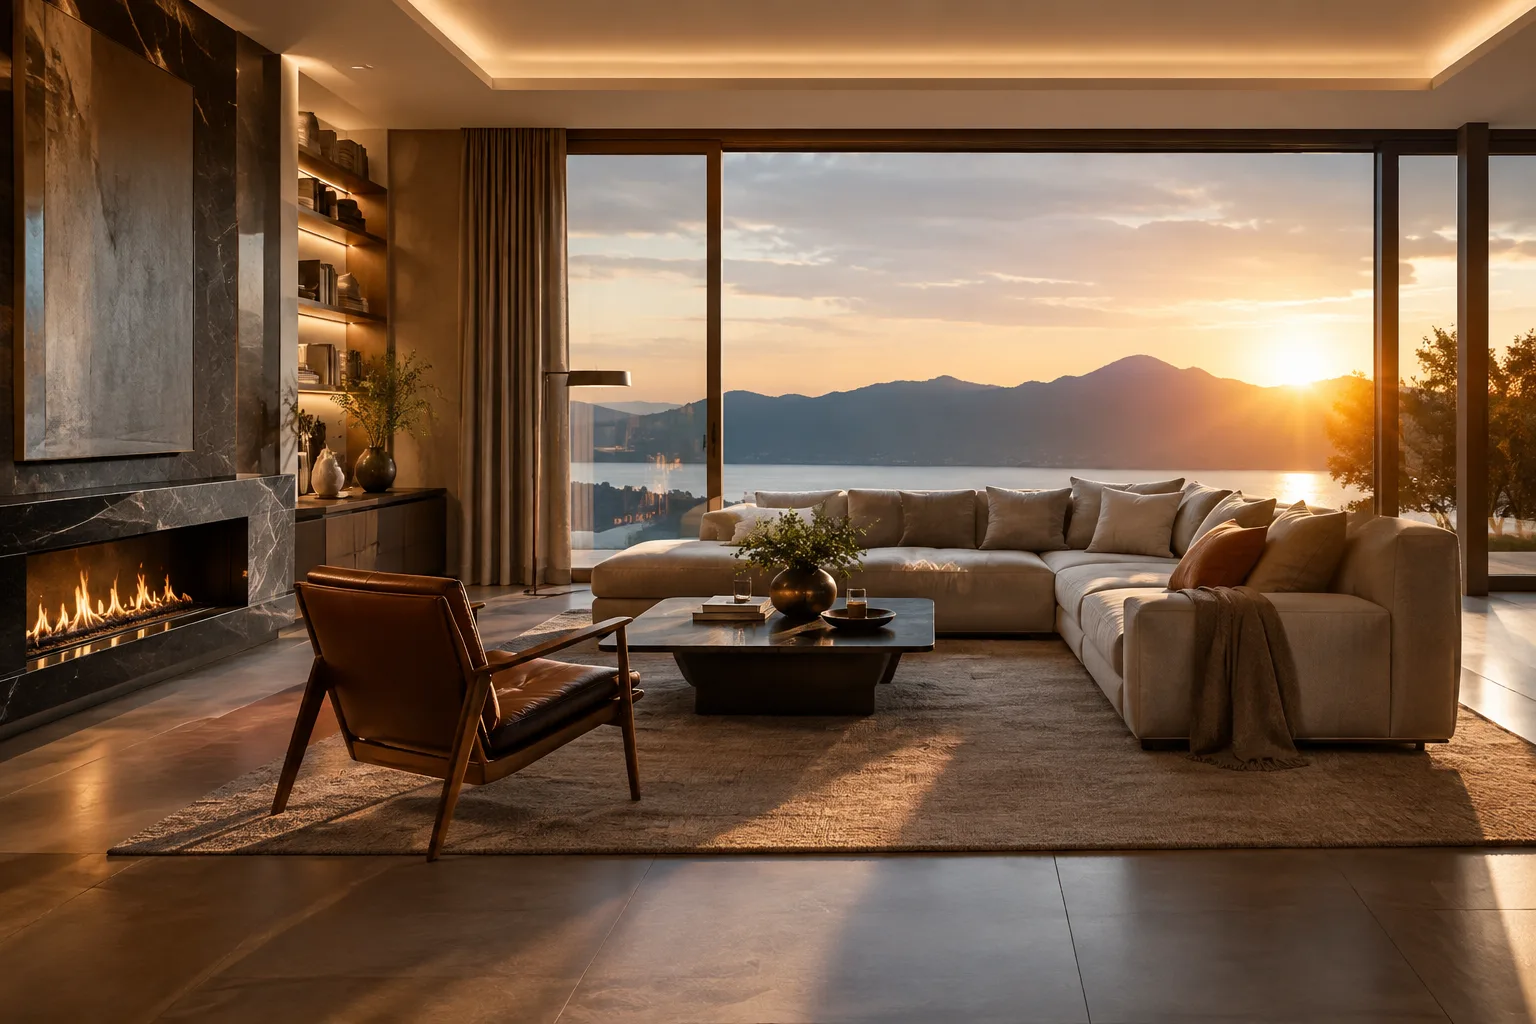
Before adjusting render settings, decide whether the scene will be dominated by daylight, skylight, or artificial lighting. In Lumion, you can adjust the sun’s position and intensity from the Weather tab in Build Mode. The sun’s position in the sky affects the light’s warmth and the character of the shadows: a sun closer to the horizon creates warmer tones, while a higher sun produces more neutral colors and sharper shadows.
You can set the sun for an individual camera using the Sun and Sun Study effects for a Photo, Clip, or Panorama. Sun Study lets you simulate real-world sun and shadows by selecting a geographic location, date, and time. To test the direction of light entering an interior through the windows, adjust the sun’s position first, then fine-tune its intensity.
2. Evaluate sun and sky brightness separately
Increasing Sun Brightness strengthens direct sunlight, increasing contrast and shadow sharpness. Lowering it softens shadows and makes the light more diffuse. You can also use this setting to control how much sunlight enters the interior.
Sky light provides cooler, softer, nondirectional illumination. Increasing Sky Brightness makes the scene appear brighter and cooler; lowering it brings sunlight and defined shadows to the fore. Background Brightness can be used to adjust the visibility of the Sky Map; this control affects only the sky map, not the lighting in the scene.
Real Skies offers ready-made HDR Sky Maps that represent different times of day and weather conditions. However, the sun position and cloud formations are fixed in these maps. So, if you need to control the sun’s direction freely, take Real Skies’ fixed setup into account and adjust brightness separately.
3. Enable Ray Tracing and choose the sample count for the scene
Add the Ray Tracing effect in Photo or Movie Mode. In Lumion 2024, the quality presets adjust the sample count and number of light bounces together. Photo and Movie Mode values are not the same, so it’s important to choose the right render mode.
| Setting | Recommended value | Effect |
|---|---|---|
| Photo Mode – Fast | 16 samples, 3 bounces | Quick starting point; the lowest sample count in the presets |
| Photo Mode – Balanced | 64 samples, 5 bounces | Balanced preset |
| Photo Mode – High | 256 samples, 7 bounces | More samples and light interactions |
| Photo Mode – Extreme | 512 samples, 8 bounces | The highest values among the presets |
| Movie Mode – Fast | 1 sample, 5 bounces | Quick preset for video |
| Movie Mode – Balanced | 4 samples, 6 bounces | Balanced preset for video |
| Movie Mode – High | 16 samples, 7 bounces | Video option with a higher sample count |
| Movie Mode – Extreme | 64 samples, 8 bounces | The highest values among the video presets |
The sample count improves render accuracy by increasing the number of rays calculated per pixel; the trade-off is a longer render time. Lumion’s documentation notes that around 16 samples may often be enough for well-lit interiors, exteriors, and quick drafts. Dim interiors may show noise more often, so you may need to increase the sample count. If you don’t see a noticeable improvement in the image, lower the value to save time.
4. Manage light bounces and noise in interiors
Bounces affect how light interacts with surfaces and contributes to indirect illumination in the scene. Higher values can improve overall lighting; interiors where realistic light reflections are important may need more bounces. However, don’t assume that a higher value is necessary in every scene: check the result with a test render.
You can use the Denoiser to reduce noise in Ray Tracing. In Photo Mode, the preview is cleaned up with NRD; if the denoiser is enabled for the final output, OIDN is used. In Movie Mode, you can choose NRD or OIDN for the final render. According to Lumion’s documentation, NRD is designed for speed and efficiency; OIDN can deliver higher-quality results, but may require more processing time or resources.
Firefly Filter helps reduce isolated bright pixels that can appear in dim scenes, on reflective surfaces, or around very bright lights. If you notice these artifacts, which can be mistaken for noise, enable the filter and compare the result.
5. Set up lights according to their type
A Spotlight emits light in a cone in a specific direction; you can adjust its direction and Cone Angle. In Lumion, the brightness of these lights is measured in lumens, and 30 Spotlight IES Profiles are available; you can also import custom IES profiles. An Omnilight emits light in all directions, making it suitable for sources such as pendants, bulbs, and fireplaces. Lumion includes 10 Omnilight IES profiles, and custom profiles can also be imported.
An Area Light emits light in one direction from a large surface; its brightness is controlled in nits, and its width and length can be changed. It can be used to represent large areas, ceilings, or indirect lighting elements. According to the documentation, Area Lights cast shadows only when Ray Tracing is in use. Choosing a light type that matches the behavior of the fixture in the scene helps reduce unexpected shadows and uneven lighting.
6. Check compatibility and effects before rendering
To use Ray Tracing, your computer must have a compatible graphics card, and its operating system must meet the minimum requirements for the relevant Lumion version. The source documentation points to the Lumion 2024 and 2025 system requirements pages for hardware details; no specific graphics card model should be assumed here.
When Ray Tracing is enabled, some raster-based effects are disabled. The Lumion 2024 documentation lists the Global Illumination, Hyperlight, Reflection, Skylight, and Shadows effects; it also notes that Global Illumination is no longer available in Lumion 2024. Don’t assume these effects will work alongside Ray Tracing when setting up a scene.
Common mistakes
Setting the sample count to the maximum for every scene: if there’s no visible improvement, render times may increase unnecessarily.
Assuming Photo and Movie Mode use the same values: preset sample and bounce counts vary by mode.
Confusing Sky Brightness with Background Brightness: the latter affects only the Sky Map.
Failing to check graphics card compatibility for Ray Tracing: the effect can’t be enabled without a GPU that supports ray tracing.
Sources
3 sourcesSource texts are not republished; short quotes are marked, everything else is our own summary and commentary.
For architecture firms and visualization teams in Turkey, the practical benefit lies in choosing render settings according to the lighting conditions rather than aiming for the highest quality in every scene. Test renders starting at around 16 samples can help avoid unnecessary wait times in well-lit interiors; in dim scenes, it’s better to increase the value while checking the quality.
Because Ray Tracing availability depends on graphics card compatibility, confirm the hardware and Lumion version requirements before adopting it in your workflow. Also, since some raster effects are disabled when Ray Tracing is enabled, assuming that existing scene settings will work unchanged can be risky. Short test renders and an effects check before rendering can reduce rework across the team.
Frequently asked questions
Which modes support Lumion Ray Tracing?
In Lumion 2024, enable Ray Tracing by adding the effect to Photo or Movie Mode. You’ll need a graphics card that supports ray tracing.
How many samples should I use for an interior render in Lumion?
The official documentation says around 16 samples may often be enough for well-lit interiors and quick drafts. Dim scenes may need more samples to reduce noise.
What’s the difference between NRD and OIDN in Lumion Ray Tracing?
NRD focuses on speed and efficiency, while OIDN can be used for higher-quality denoising and may take more processing time. In Photo Mode, OIDN is used for the final output if the denoiser is enabled.