In brief
- Nano Banana 2 is the name of the Gemini 3.1 Flash Image model; its model ID in the Gemini API is gemini-3.1-flash-image.
- You can generate images from text prompts, or add one or more reference images to a text prompt for editing.
- Google lists 4K generation, multi-reference image processing, and consistency across images among Nano Banana 2’s features.
- According to the source guide, generated images include a SynthID watermark.
What will you learn in this guide?
We’ll cover how to structure prompts for architectural concept images with Nano Banana 2, how to request edits using an existing image as a reference, and how to assess the results in your workflow. The examples focus on describing design decisions such as façades, interiors, materials, and lighting. These prompts were written for this guide; they are not copied from Google’s documentation.
Nano Banana is the name used for Gemini’s built-in image generation capabilities. In Google’s API documentation, Nano Banana 2 is listed as Gemini 3.1 Flash Image, with the API model ID gemini-3.1-flash-image. Google positions the model for general-purpose use, as well as 4K generation, processing multiple reference images, and consistency across images. These are claims made by the provider; the results should not be treated as a substitute for project standards or technical validation.
Requirements and preparation
This guide uses the Gemini API to generate and edit images. In Google’s examples, prompts are sent through the Interactions API using the selected model ID. Using the API requires an API key; Google AI Studio is also listed in the documentation as an option for trying prompts and managing keys. The sources do not specify any particular computer hardware requirements, so it is not possible to give a minimum local GPU or system memory requirement.
Before you start, decide whether your goal is design exploration, a presentation image, or controlled editing of an existing image. Be as clear as possible about the following in your generation prompt:
The type of space and its intended use.
The desired spatial layout, key architectural elements, and framing.
Materials, color palette, and lighting.
The image’s purpose—for example, concept development or atmosphere exploration.
If you are using a reference image, which features to preserve and which to change.
You must have the necessary usage rights for images uploaded for editing. Google also advises against content that could infringe rights or mislead, harass, or harm people.
Step by step: four architectural prompt examples
1. Generate an interior concept from text
For your first attempt, describe a single type of space and make clear design choices. You can give the following prompt to Nano Banana 2 as text input:
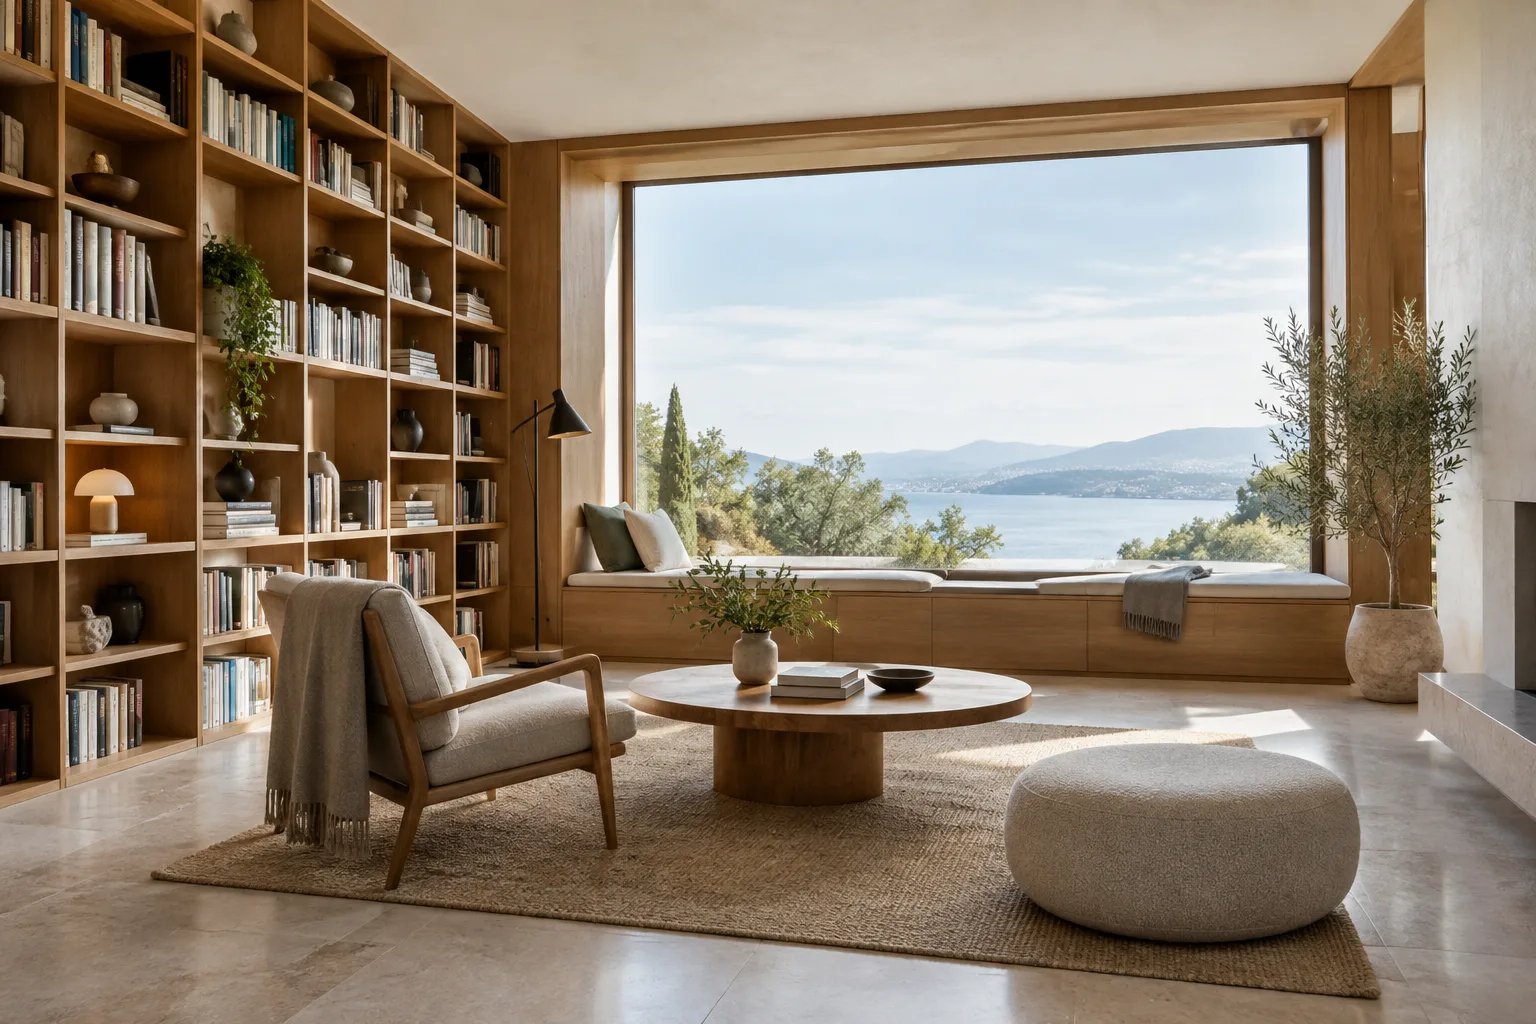
Create a photorealistic architectural concept image of a compact urban reading room. Show a clear view from the entrance toward a full-height window, with built-in oak shelving, a pale stone floor, muted warm-white walls, and soft overcast daylight. Keep the furniture minimal and the circulation path unobstructed. Use a calm, editorial interior-architecture composition.This prompt describes the space’s function, viewpoint, materials, and lighting separately. If the initial result gets the layout right, refine one aspect—such as materials or lighting—in later iterations rather than changing many features at once.
2. Develop a façade concept
For façade work, describe the massing, openings, materials, and relationship to the surroundings. This example is for visual concept generation; it does not assume that the output will exactly preserve an existing project drawing:
Create a photorealistic architectural visualization of a small civic pavilion in a public garden. Use a simple low-rise volume, a deep entrance canopy, large glazed openings, and a restrained palette of light stone and timber. Frame the building at eye level with planting in the foreground and soft morning light. Present it as a design-concept image, not as a construction document.The phrase “concept image” is a reminder not to treat the output as a technical drawing or construction document. Do not assume that its dimensions, connections, or structural system are accurate.
3. Edit an existing image
To edit an image, submit it along with your text prompt. Google’s documentation explains that you can provide an image and text together to request edits such as adding, removing, or changing elements. In the example below, attach an interior image that you have the right to use as a reference:
Using the attached interior image as the reference, change the wall finish to a soft warm-white plaster and replace the loose seating with a simple timber bench. Keep the room layout, camera viewpoint, window positions, and overall daylight character as close to the reference as possible. Do not add signage or decorative text.The prompt specifies both the features to preserve and the elements to change. There is no guarantee that the model will follow every instruction in every detail, so compare the result with the reference and, if needed, request a more narrowly scoped edit.
4. Explore materials and atmosphere with multiple references
According to Google, Nano Banana 2 is designed to process multiple reference images and maintain consistency. Clearly stating what information to use from each reference makes the task easier to interpret:
Use the first attached image as the reference for the room layout and camera view. Use the second attached image only as a material and color reference for the timber and stone. Create a calm contemporary lobby concept with soft natural light. Keep the room proportions readable and do not copy any logos, signage, or text from the references.When attaching multiple images, describe the role of each one. However, the consistency feature cited by the provider does not technically guarantee project geometry or material properties. Verify important design decisions separately against the source model, drawings, or material samples.
Common mistakes and checks
Making too many decisions in one prompt: Changing the space program, camera, materials, lighting, planting, and atmosphere all at once can make it difficult to understand why the result changed. Establish the basic composition in the first generation, then request a specific change in each iteration.
Failing to specify what should stay the same: When working with a reference image, “edit this” alone is not specific enough. Clearly identify the features you want to preserve, such as framing, layout, or window positions. Check them in the output regardless.
Treating the image as technical validation: Generated results can be useful for design discussion and exploring atmosphere, but the sources do not say that dimensions, construction details, or technical compliance are validated. Compare the output with project data before presenting it.
Ignoring rights and the watermark: Make sure you have the right to use any images you upload. According to Google’s guide, generated images include a SynthID watermark; take this into account when delivering and sharing them.
Next steps
Build on a prompt you like, changing just one variable in each new attempt. Trying different material or lighting descriptions with the same reference image can make it easier to compare design options. If you are working through the API, follow Google’s image generation documentation for the model ID and guidance on image inputs. The source materials used for this guide do not provide pricing, so it is not possible to give usage costs here; check the latest API pricing before starting production. Test features such as 4K output, multi-reference support, or text handling on the specific task you need them for.
For architecture and interior design teams, the most productive approach is to treat the tool as a visual exploration assistant that quickly opens up options for discussion—not as a final drawing generator. Students can explore alternatives in atmosphere and materials, while visualization teams can develop different directions before discussing the concept with a client. However, decisions about geometry, dimensions, and project standards should be checked against existing design data.
Sources and license
This guide is adapted into Turkish based on Google’s “Nano Banana image generation” Gemini API guide and information in the general Gemini API documentation. Both pages use the CC BY 4.0 license unless otherwise noted. The prompt examples were written specifically for this article.
Sources
3 sourcesSource texts are not republished; short quotes are marked, everything else is our own summary and commentary.
For architecture firms and students in Turkey, Nano Banana 2’s practical value lies in quickly opening up alternatives in atmosphere and materials for discussion during the early design stages. Text-based generation and reference-image editing can help teams share ideas before visualization, but they are no substitute for dimensioned modeling or project drawings.
Firms should also assess API costs and usage rights; the cited sources do not provide pricing. The hardware requirements are not specified either, so it would be unwise to draw conclusions about local system investments. When working with references in particular, it is important to check consistency in geometry, materials, and framing, and to account for the SynthID information in outputs during delivery.
Frequently asked questions
What is Nano Banana 2’s Gemini API model ID?
Google’s image generation documentation identifies Nano Banana 2 as Gemini 3.1 Flash Image. The API model ID is `gemini-3.1-flash-image`.
Can I edit an existing architectural image with Nano Banana 2?
Yes. The Gemini API guide explains how to submit an image with a text prompt to add, remove, or change elements. You must have the necessary usage rights for any images you upload.
Do Nano Banana 2 outputs include a watermark?
According to Google’s image generation guide, all generated images include a SynthID watermark.