In brief
- Nano Banana 2 is paired with the `gemini-3.1-flash-image` model in the Gemini API documentation.
- The model can work with image inputs as well as text, and you can request changes to an image using text.
- Clear, specific instructions and output constraints are among the core principles of prompt design.
- Google says that generated images contain a SynthID watermark.
What will you learn in this tutorial?
This guide explains how to give Nano Banana 2 clear instructions for creating concept images in architecture and interior design. You’ll first see how to create a new scene from text, then how to use a reference image as input and change specific visual features. The goal isn’t to get a perfect render in one go, but to describe the desired scene, evaluate the result, and improve the prompt step by step.
Google’s Gemini API documentation associates Nano Banana 2 with the gemini-3.1-flash-image model. The same documentation shows image generation from text input and image editing using text and image inputs together. The architectural prompts below are original examples designed to make use of these techniques; they don’t guarantee a specific design outcome.
Requirements and preparation
This tutorial covers an approach to image generation and editing via the API. Google’s examples use Python, JavaScript, Java, Go, and REST. The code examples initiate interaction with the Gemini API client; in the REST example, the API key is sent in the request header. The interface and access requirements may vary depending on the method you choose. No particular price, account plan, or software version is assumed here.
For image-editing experiments, prepare a plan, sketch, material reference, or existing concept image that you have the right to use. You can send a reference image to the model alongside text input. Google notes that you must have the necessary rights to uploaded images and must not generate content that infringes on the rights of others.
Before writing a prompt, decide what you want to explore: a massing study, an interior atmosphere, or a material alternative? Rather than requesting many unrelated changes in a single prompt, focus each attempt on one design decision. This makes it easier to evaluate the result and understand which instruction worked.
Step by step: writing architectural prompts
1. Describe the scene and visual language
In your first prompt, specify the project type, key spatial features, viewpoint, and visual atmosphere. Use observable details rather than general phrases. For example, instead of saying “a modern interior,” describe the materials, lighting, and elements that should appear in the frame.
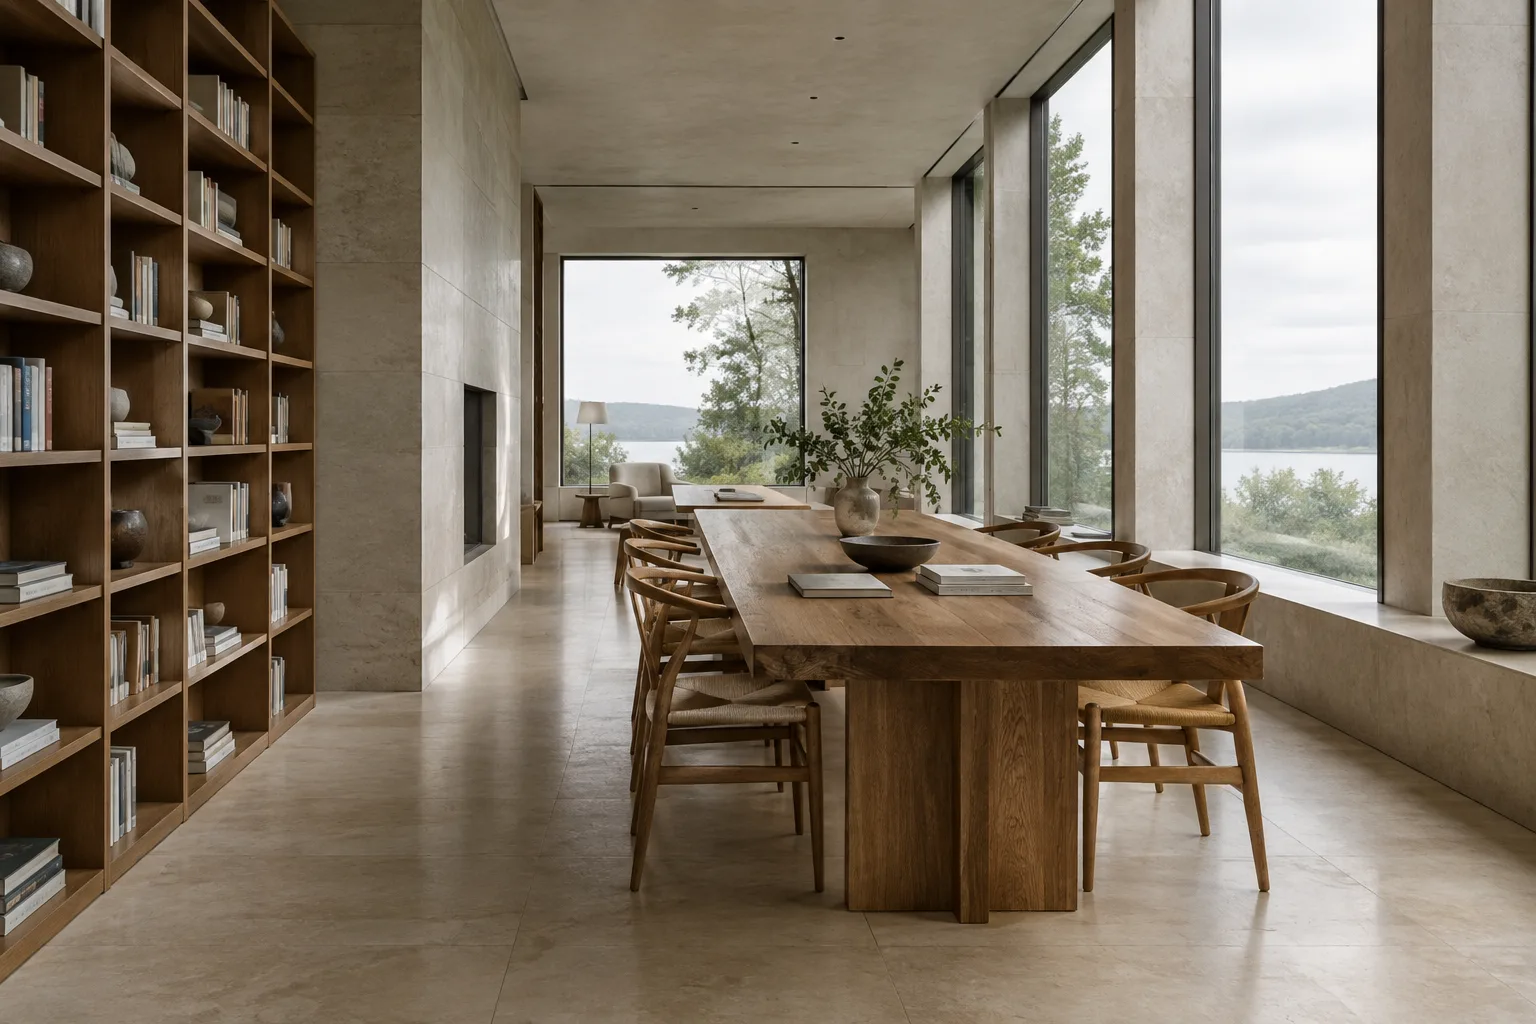
Create an architectural concept image of a small public library reading room. Show a long communal table, built-in bookshelves, a large window, pale timber surfaces, and soft overcast daylight. Use a calm, natural material palette and a realistic architectural visualization style. Keep the camera at eye level and make the room the clear focus.This starter prompt focuses on a single type of interior and clearly defined visual elements. After reviewing the first result, prepare another attempt to change, for example, the wood tone or lighting character; you don’t have to rewrite the entire scene description from scratch each time.
2. Try changing one variable in a reference image
If you have a sketch or concept image, send it along with text input. State the change you want directly and narrowly. The example below aims to change the material character of an existing interior image.
Using the provided interior image as the visual reference, change the main floor finish to warm terrazzo with subtle, small aggregate. Keep the furniture arrangement, window positions, camera viewpoint, and overall room layout visually consistent with the reference. Do not add new furniture.This instruction can be used to explore a new material option. Compare the result side by side with the reference; if the layout or openings have changed, be more explicit in your next attempt about what should remain. The ability to edit with text doesn’t mean every detail in the reference will remain unchanged.
3. Change the lighting atmosphere in a separate attempt
Combining a material test with a lighting change in the same prompt can make it difficult to understand why the result changed. First, keep the scene fixed and change only the lighting description.
Using the provided architectural interior image as a reference, create a version with warm late-afternoon sunlight entering through the existing windows. Preserve the visible room layout and furniture arrangement as closely as possible. Keep the materials and color palette otherwise unchanged.This example explores an alternative daylight feel for the same space. When evaluating the image, check separately how the lighting affects the space and how well the other elements have been preserved.
4. Request a material alternative for a facade concept
For exterior images, it’s also useful to focus on a single design decision. Rather than generating an entirely new facade image, the prompt below is intended to test a cladding approach on the provided reference.
Using the provided building image as a reference, explore a facade option with light-colored stone panels and narrow vertical timber accents. Keep the building massing, visible openings, and camera view visually consistent with the reference. Present the result as a realistic architectural concept image.This is an example for generating visual ideas around a material alternative; it isn’t a substitute for construction detailing or technical validation. Treat the output as a concept for evaluation, separate from project drawings and actual material decisions.
5. Set limits on what you want in the output
It can be useful to specify not only what you want in a prompt, but also what you don’t want or what should be preserved. State constraints clearly and specify the desired output format. This approach is consistent with the principles of clear instructions, constraints, and response formats described in Google’s prompt guide.
Create a quiet courtyard concept for a small cultural building. Show a stone-paved path, simple planting beds, a shaded seating area, and soft daylight. Keep the composition uncluttered and focus on the relationship between the courtyard and the surrounding architecture. Do not include people, signs, or readable text.This example sets boundaries for the scene content and composition. Instructions added to a prompt are intended to guide the generation; they don’t guarantee that every detail will be implemented exactly. Review the result and, if needed, try again with clearer constraints.
6. Compare variations in a controlled way
When developing an image, change one or two elements per round rather than introducing many new decisions at once. For example, address the material first, then the lighting in the next attempt. Google’s prompt design guide describes prompt writing as an iterative process and recommends refining instructions based on the results of each attempt.
Create a second concept variation of the provided lobby image. Keep the overall layout and camera viewpoint visually consistent, but explore a cooler palette with pale stone and muted blue-gray accents. Avoid changing the main furniture arrangement.When evaluating variations with your project team, note which prompt was used to generate each image. This makes it easier to track which design decision led to the preferred result. If you plan to experiment with multiple references, check the documentation for the model and API method you’re using as well.
Common mistakes
Using vague descriptions: General phrases such as “create a better render” don’t explain the design decision you’re aiming for. Specify the type of space, the elements that should appear in the image, and what you want to change.
Packing too much into one prompt: Changing materials, lighting, framing, furniture, and the facade at the same time can make the result difficult to interpret. Break changes into stages.
Assuming the reference will be preserved exactly: Although editing with image input is possible, always check the output. In particular, look at how the layout, openings, and framing you wanted to preserve appear in the result.
Treating a concept image as a technical document: Use generated images for design communication and exploring ideas. The sources don’t describe this method as technical drawing or implementation validation.
Overlooking image usage rights: Check that you have the right to use a reference image before uploading it. Google also states that its prohibited use policy must be followed.
Next steps
Start by choosing a single project scene and testing material, lighting, and color alternatives separately against the same reference. Use the outputs as concept options for internal team reviews; complete feasibility checks and design decisions through the other stages of the project process. If generating images through the API, consult the latest examples and access requirements in the Gemini API documentation. According to Google, generated images contain a SynthID watermark.
Sources and license
This tutorial has been adapted into Turkish based on Google’s Gemini API image generation and prompt design guides. Both sources are provided under the CC BY 4.0 license. The prompt examples were written specifically for this tutorial.
Sources
2 sourcesSource texts are not republished; short quotes are marked, everything else is our own summary and commentary.
For architecture firms and students, the practical value of this approach lies in quickly visualizing material and atmosphere alternatives during the concept stage. Using an existing sketch or image as input can help produce experiments that are closer to the project context than text-only generation. However, the result should not be treated as the design decision itself or as technical validation.
Teams in Turkey should check API access and current terms of use before getting started; the sources don’t provide pricing information. These documents also make no claims about hardware requirements. Before adding this to a workflow, it’s best to run small tests using references with clearly established rights and agree within the team on how the images will be used.
Frequently asked questions
Can Nano Banana 2 generate architectural images?
Image generation through the Gemini API can be done using text input. For architecture and interiors, you can use prompts that clearly describe the space, materials, lighting, and framing.
Can Nano Banana 2 edit an existing image?
Yes. Google’s documentation explains how to edit images using image and text inputs. You must have the right to use the uploaded image.
Do Nano Banana 2 images contain a watermark?
According to Google’s Gemini API image generation documentation, generated images contain a SynthID watermark.