In brief
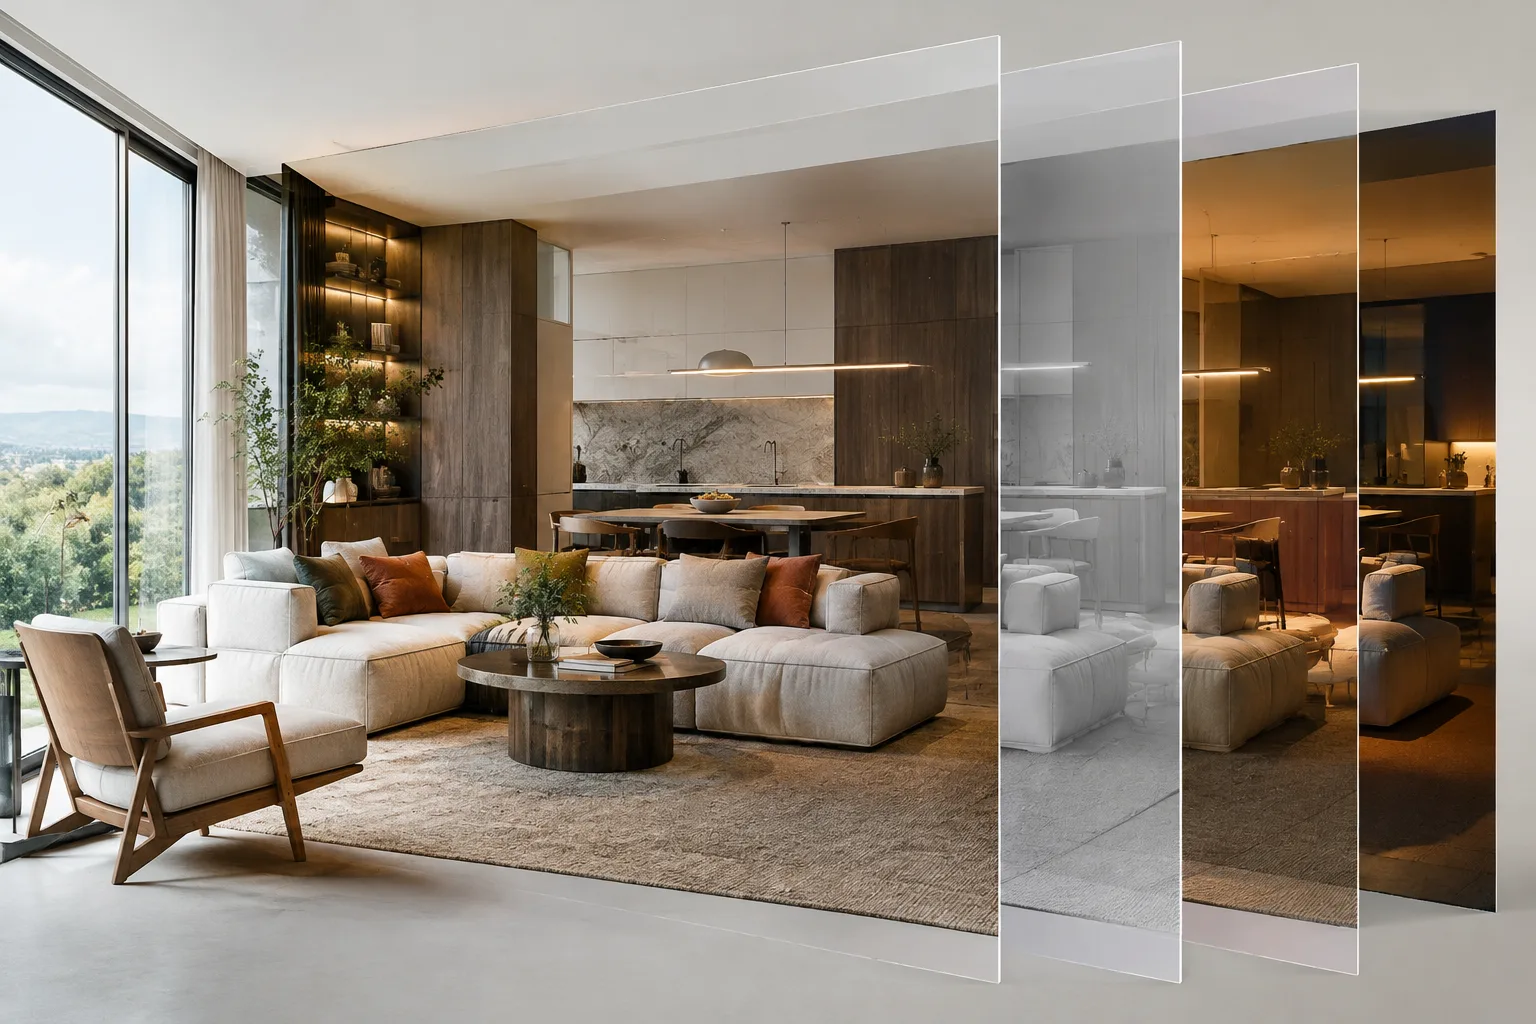
- USD combines different scene layers to create a single stage.
- Stronger opinions in higher layers can override values for the same property in lower layers.
- Solaris LOPs apply operations to a USD scene through nodes.
- SideFX’s training series covers materials, lighting, variants and rendering workflows with Karma and MaterialX.
When building a USD scene in Houdini Solaris, keeping geometry, materials, lights and changes in separate layers can make the scene easier to manage as a team. SideFX’s USD documentation and Solaris Essentials training series explain this approach using LOP networks, references and MaterialX. The sources do not specify a particular Houdini version; this guide is based on the Solaris and USD concepts covered in the documentation.
1. Think of the scene as USD layers
Identify the parts of the scene. In USD, a layer can represent an object, character, lighting setup or another part of a scene. For example, a kitchen scene can be assembled from layers containing assets such as chairs and tables, lighting and other components. In architectural visualization, planning the building, furniture and lighting as separate parts also makes it easier to track who is editing which section.
Treat the combined result as a stage. A USD file can create a stage when loaded on its own, or when used as a layer in another scene. In other words, there is no definitive distinction inherent to the file itself between a “stage file” and a “layer file.” A stage is the name for the scene graph formed by combining layers.
Don’t confuse file extensions.
.usdais a human-readable text format;.usdcindicates a binary format. The.usdextension can be used for either text or binary files. SideFX notes that the.usdextension allows switching between the two representations without changing asset tracking or version control. A.usdzarchive can contain multiple layers.
2. Use references and layers in a LOP network
Add existing files to the scene. In Solaris, each LOP node takes the incoming USD scene, modifies it and produces a new scene. To include an existing layer in a scene, you can use
Sublayer LOP; to reference a layer created in memory with LOP nodes, you can useReference LOP. These tools do not serve the same purpose: one loads an existing sublayer into the layer stack, while the other adds a reference.Keep changes in separate layers. A key benefit of USD is that you can edit non-destructively by adding a new layer over an existing scene. Unless the new layer is included in the scene, its edits won’t change the work of others using that same scene. Changes in other layers can also be reapplied when an asset or lighting layer is updated. This setup helps teams work on a shared scene without directly changing one another’s data.
Check layer strength. If the same property has different values in different layers, the layer with the stronger opinion takes precedence. For example, a box’s size can be referenced from one file and changed in another layer. So if you see an unexpected value, check not only the object’s parameters but also which layers are included in the scene and in what order.
3. Set up assets, materials and lighting
Bring geometry into the scene graph and assign materials. SideFX’s Solaris Essentials series demonstrates bringing an animated scene from an OBJ/SOP context into LOPs for further work. The material assignment workflow uses
Material Library LOP,Karma Material SubnetandMaterialX Standard Surface, then assigns the material to geometry. This is a documented setup approach, not a mandatory recipe for every project.Handle lighting and render preparation separately. The training series sets up lights and render settings to keep the scene graph organized; it also demonstrates environment lighting and
Karma Render Settings LOP. Since the sources don’t provide specific numerical settings, no example render time or quality value is recommended here. Assess the settings you need based on the scene and intended output.Use variants to manage alternatives. The series creates different material options with
Reference LOP, anAdd Variantblock andSet Variant LOP, then writes them to separate USD files. This approach can be useful for teams looking to manage material alternatives for the same asset in a single scene workflow.
4. Inspect the scene and adapt the workflow
Validate the scene result. To view the stage produced by a LOP node, right-click the node and select
LOP Actions › Inspect Flattened Stage. This lets you inspect the USD content at the node’s output usingusdasyntax. The documentation describes this view as a way to check scene structure; it does not recommend manually writing USD code as the normal workflow.Use the right tools for heavy or repetitive tasks. The training series demonstrates
SOP Modify LOPfor editing geometry in the scene from the LOP context, andSOP Create LOPfor adding new objects. TOPs automation can be used for repetitive render tasks, such as processing different frames, image sizes or material assignments. The series also compares keeping geometry as packed primitives, using Point Instancer or Native Instances, and fully unpacking the geometry; choose based on the intended use.
What changes in an architectural visualization workflow?
A layered setup can keep furniture, materials and lighting work separate in an interior project, and make it possible to test alternatives independently of the rest of the main scene. In particular, small teams working on a shared USD scene can track which layer contains each change and merge updates in a more controlled way. Solaris’s LOP approach makes operations on the scene visible in a node network.
The sources provide no specific minimum hardware requirements or performance comparisons. The training series’ render example uses Karma CPU; this does not mean the same render time or result will be achieved on other hardware. The stated download size for the project files is 3,7 GB; teams may find it useful to factor this example into their file and asset management planning. The sources provide no information about licensing or purchase costs, so no cost assumptions should be made.
Common mistakes
Assuming the
.usdextension always means text format; it can also be used for binary files.Treating adding a reference and adding a sublayer as the same operation;
Reference LOPandSublayer LOPserve different functions in Solaris.Overlooking layer strength and composition relationships when investigating why a value changed.
Making manual USD coding the default workflow; SideFX demonstrates
Inline USD LOPmainly for situations such as debugging.
Sources
2 sourcesSource texts are not republished; short quotes are marked, everything else is our own summary and commentary.
For architecture and visualization studios in Turkey, one of the most practical benefits of USD layers is that they can keep scene updates separate. Editing furniture, material and lighting options independently can make changes easier to track, especially for teams where multiple people work on the same project. Solaris’s LOP approach also makes operations visible in a network.
However, networks built without understanding USD and layer priority can produce unexpected results; it’s best to start by testing with a small scene. The sources don’t provide clear information about hardware requirements, licensing costs or version compatibility. Before investing, it’s therefore worth validating the workflow with your current Houdini setup and taking file sizes into account.
Frequently asked questions
What is a USD stage in Houdini Solaris?
A stage is the scene graph composed from USD layers. A USD file can also create a stage when loaded on its own.
What is the difference between USD and USDA files?
`.usda` is a human-readable text format. The `.usd` extension can be used for text or binary files; `.usdc` indicates a binary format.
How can you inspect a USD scene in Solaris?
Right-click a LOP node and select `LOP Actions › Inspect Flattened Stage` to view the stage it produces in `usda` syntax.