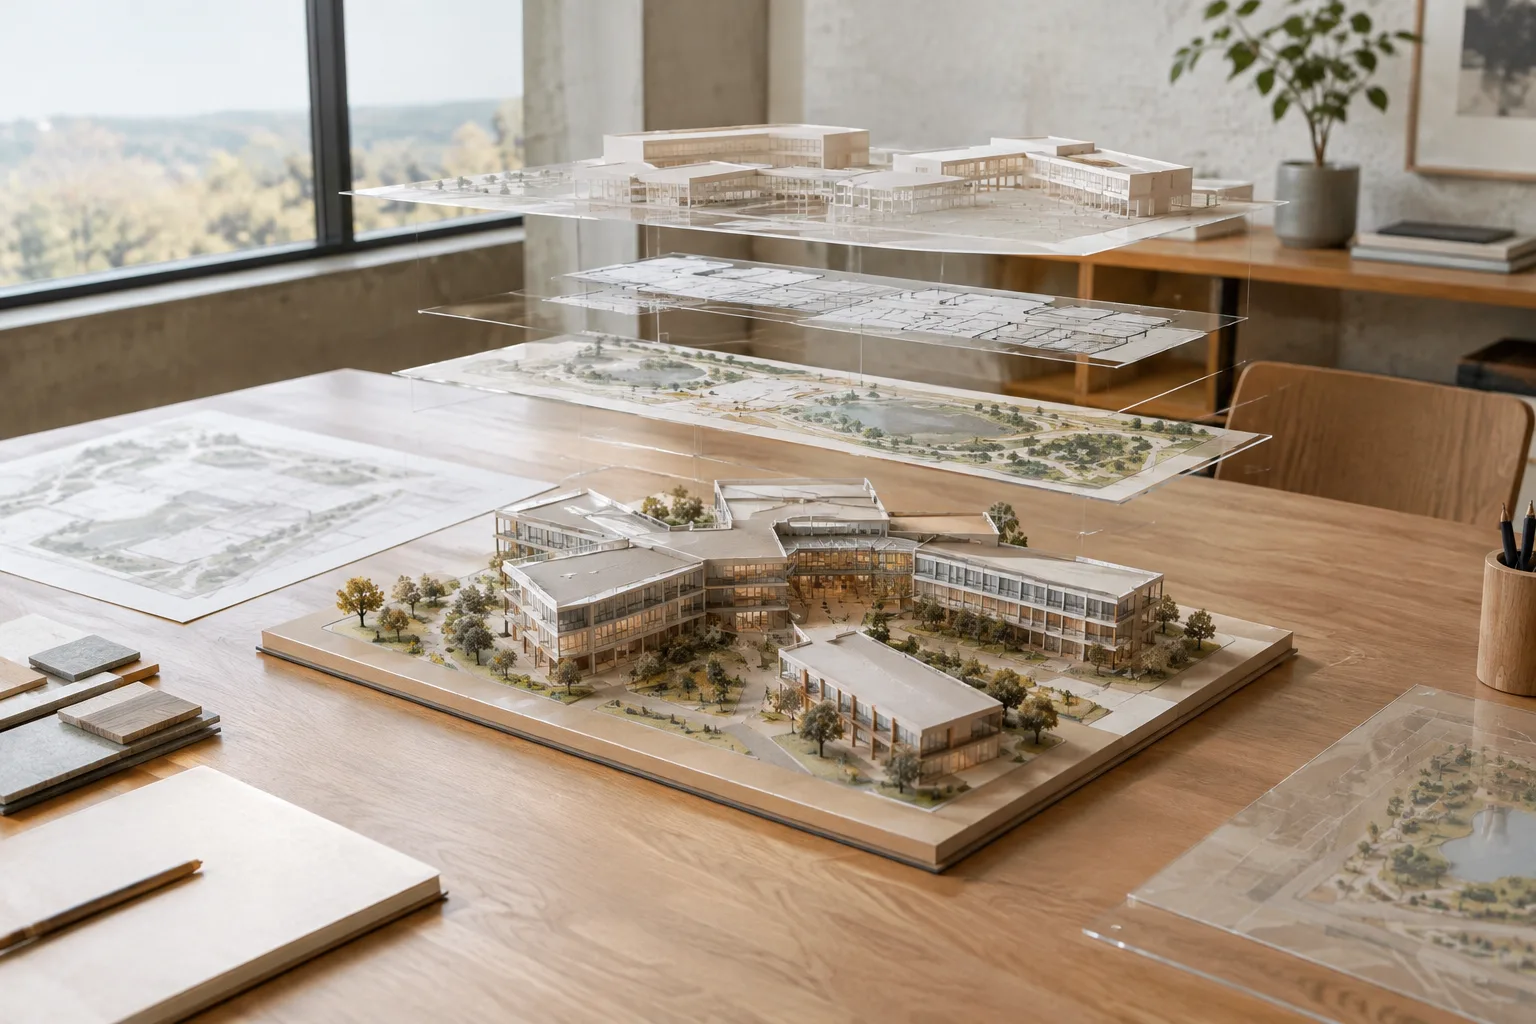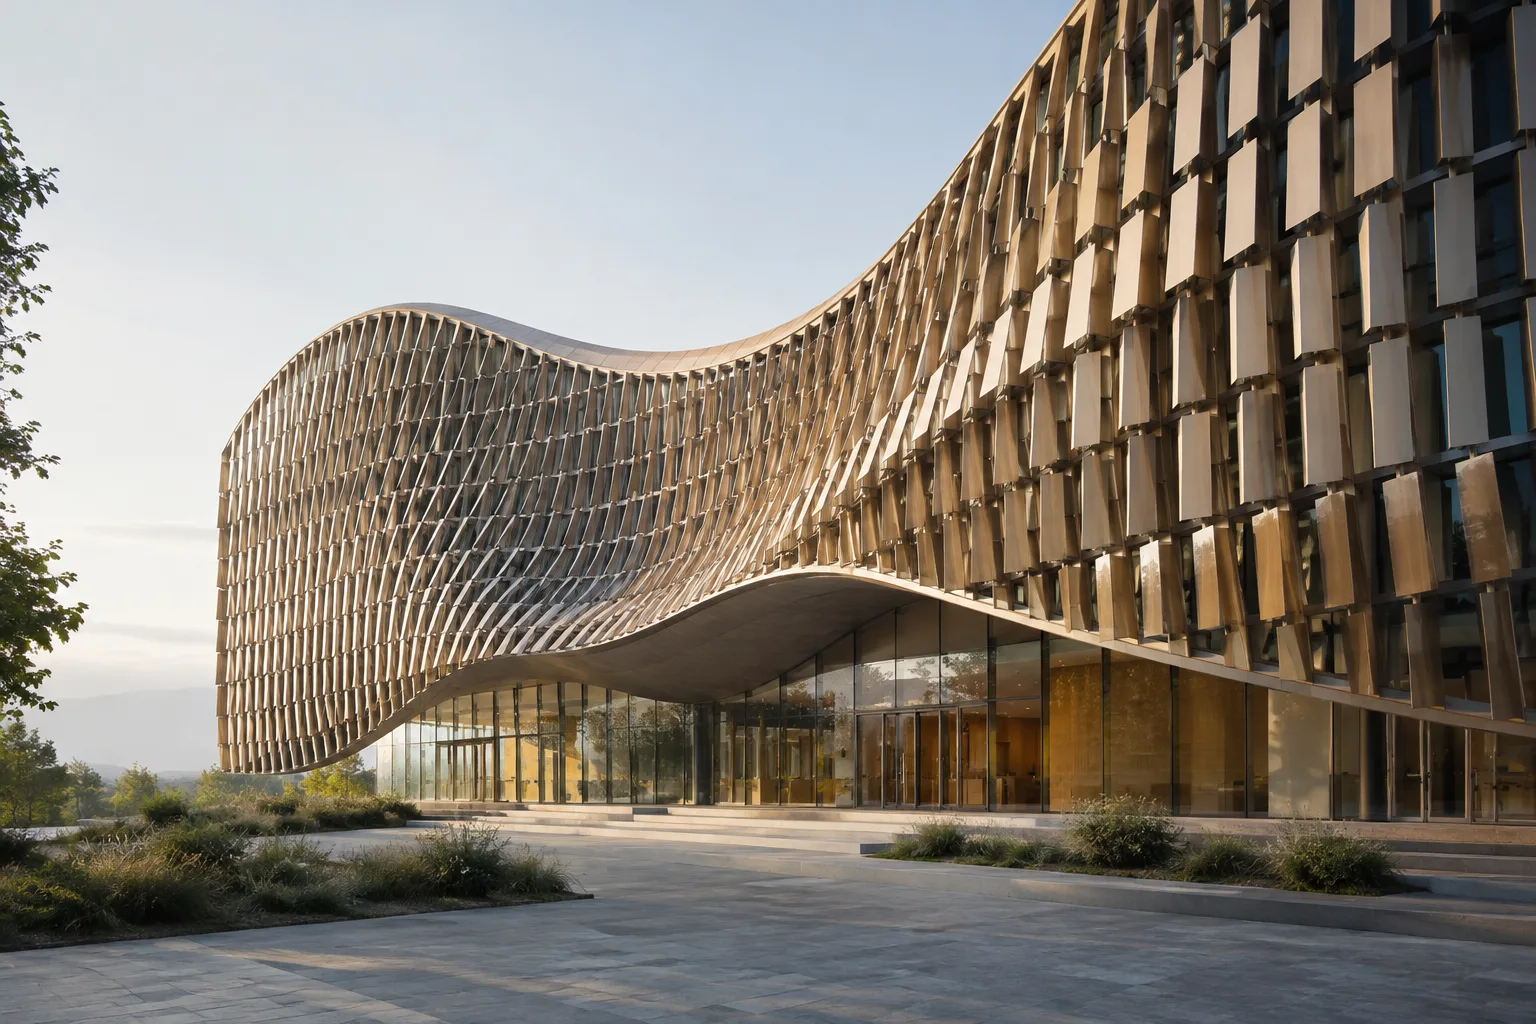
In brief
- Graphisoft’s toolset connects Rhino and Grasshopper models to Archicad’s BIM environment.
- To follow the exercises, you need Archicad, Rhino, Grasshopper, and the Grasshopper–Archicad Live connection installed.
- Grasshopper nodes can create native BIM elements such as walls, slabs, columns, zones, and shells.
- Graphisoft’s solution page lists Archicad 18–29; the training content recommends using the latest Archicad version.
Using Rhino, Grasshopper, and Archicad together can make it easier to move from freeform modeling to BIM documentation. Graphisoft’s Rhino–Grasshopper–Archicad Toolset is designed to convert geometry created in Rhino into native BIM elements in Archicad through Grasshopper, while providing a live, bidirectional link between the models. Graphisoft’s solution page lists the toolset for Archicad 18–29. The company’s training content requires Archicad, Rhino, Grasshopper, and the Grasshopper–Archicad Live connection to be installed before starting the exercises, and recommends using the latest Archicad version.
1. What to prepare before setting up the connection
First, confirm that the three applications and the connection tool you plan to use work together. To follow the exercises on Graphisoft’s training page, you need Archicad, Rhinoceros, Grasshopper, and the Grasshopper–Archicad Live connection. The source specifically notes that Archicad, Rhino, and Grasshopper must be installed before setting up the connection. The installation order therefore matters: install the main applications first, then set up the Live connection.
Graphisoft’s product page lists the toolset among the solutions supported on macOS and Windows. However, the documentation does not provide compatibility details for every listed software version on each operating system. Before installing it on a project workstation, check that your software versions are compatible with the toolset.
It is also worth distinguishing between two separate licensing details. Graphisoft’s page says the solution’s download link is free, while the same page labels the partner solution “Paid.” So, do not interpret the free-download statement to mean that Rhino, Grasshopper, or Archicad licenses are free. Check the provider’s information for current licensing terms and usage rights.
2. Creating BIM elements with Grasshopper nodes
The connection’s main purpose is to bring a parametric definition into Archicad’s BIM environment rather than leaving it as visual geometry alone. Graphisoft’s training content covers the functions of Archicad nodes in Grasshopper, working through different examples, and creating basic BIM elements. The documentation lists examples for creating walls, slabs, columns, zones, and shells.
A good starting workflow is:
Prepare the geometry in Rhino. Create the massing, surface, or base geometry of the design in Rhino. In Graphisoft’s case study, a doubly curved structure was modeled in Rhino, then edited by manipulating its control points.
Define the rules in Grasshopper. Translate the relationships that generate the geometry and the behavior of repeating elements into an algorithmic definition. Facade panels, structural grids, and shading systems are among the use cases mentioned in the sources.
Create BIM elements using Archicad nodes. The training content covers Design, Settings, Deconstruct, and Document node types in different workflows. Use them with the goal of converting the resulting geometry into native BIM elements that suit the project requirements.
Update the model and review the results. Check how changes to the parameters affect the geometry and the linked BIM model. The live connection supports transferring design changes in both directions, so it is important to check the consistency of the model and documentation after updates.
These steps do not mean that the same definition will work for every project. Node selection and model structure depend on the elements to be created and the design logic. Graphisoft’s course recommends basic Archicad experience and beginner-level knowledge of Rhino and Grasshopper; teams unfamiliar with Grasshopper may find it challenging to jump straight into the exercises.
3. Moving from parametric design to documentation
The toolset’s practical value lies in its potential to reduce the need to rebuild a model from scratch when the design changes. In Graphisoft’s case study, Grasshopper was used to divide a doubly curved surface into more regular panel groups. According to the source, this approach aimed to improve manufacturing efficiency and reduce construction costs by reducing the number of panels with different geometries. These are the results and goals described in the company’s case study; they are not guaranteed for every project.
The same example describes how updates made in Rhino and Grasshopper could be reflected in the BIM model through the live connection, and how changes in Archicad could flow back the other way. As the model develops, parametric elements can be refined, while documentation such as schedules and quantity takeoffs can be generated from the Archicad model. Converting structural elements into Archicad beams and transferring them to structural software via IFC are also among the workflows shown in the case study.
The connection is particularly relevant to teams that want to consider design logic and BIM output together. However, not every parametric geometry automatically produces accurate documentation. Review regularly how elements are represented in BIM, what information they contain, and how they appear in project documents.
4. Impact on architecture, interior design, and visualization workflows
This approach may be useful for architects, facade designers, and computational design teams working on variable facade modules, shading elements, repeating components with adjustable dimensions or positions, and non-standard geometries. The same method may also be worth considering for interior design projects involving components suited to parametric editing and multiple design alternatives. However, the sources do not provide ready-made templates or custom settings for a specific interior design workflow.
Working with native BIM elements in Archicad helps connect design geometry with project documentation and coordination processes. For visualization teams, the connection may be valuable because design changes can be transferred without remodeling; however, the sources provide no information about render performance, hardware requirements, or compatibility with a specific render engine. Therefore, do not base purchasing or hardware upgrade decisions solely on this connection.
The training content is listed as a 45-minute, self-paced course in English. The videos were produced in the international language version; Graphisoft cautions that the interface and some content may differ in other language environments. Keep this in mind if menu names or screens look different during use. The best way to get started is to test the connection with a small facade or massing example, then check the model updates and BIM output.
Common mistakes
Trying to install the Live connection before installing Archicad, Rhino, and Grasshopper.
Assuming that a free download of the toolset means the licenses for the connected applications are also free.
Treating geometry from a Grasshopper definition as a BIM model ready for documentation without checking it.
Expecting the international interface shown in the training videos to match the localized version exactly.
Bringing assumptions about version compatibility, hardware, or render performance into a project without verifying details not specified in the sources.
Sources
3 sourcesSource texts are not republished; short quotes are marked, everything else is our own summary and commentary.
For architecture and visualization offices in Turkey, the main value of this connection is the ability to update variable geometry according to defined rules and bring it into BIM documentation, rather than rebuilding it manually each time. A small pilot file can help teams measure the actual time savings, particularly for facade and modular systems.
Before making an investment decision, clarify software versions and licensing terms; do not assume that the free-download information covers licenses for other software. Since the sources do not specify special hardware requirements, test whether the existing workstation is adequate using a project example. The most common risk is assuming that parametric geometry is represented correctly in BIM without checking the documentation.
Frequently asked questions
Which Archicad versions does the Rhino–Grasshopper–Archicad connection support?
Graphisoft’s solution page lists the toolset for Archicad 18–29. The training page recommends using the latest Archicad version.
What do you need to set up the Grasshopper–Archicad Live connection?
According to Graphisoft’s training content, Archicad, Rhino, and Grasshopper must be installed first; then install the Grasshopper–Archicad Live connection.
Which BIM elements can you create in Archicad with Grasshopper?
The training content covers examples for creating walls, slabs, columns, zones, and shells. The elements you can create depend on the Grasshopper definition you use.