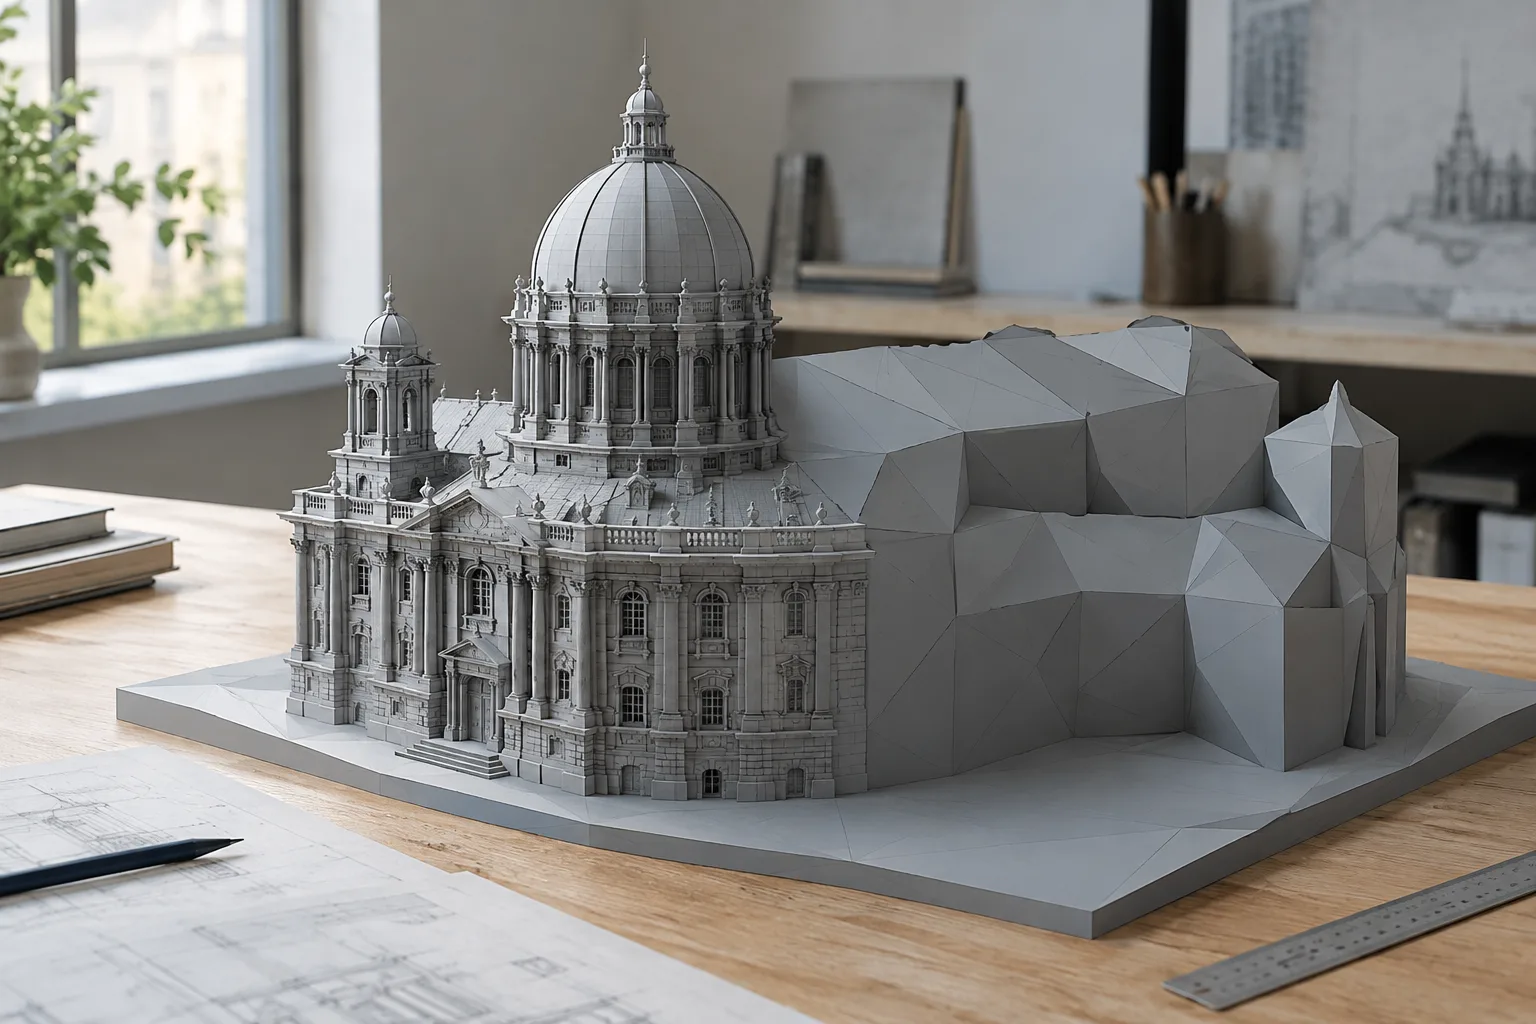
In brief
- Voxel Remesh creates a new manifold mesh based on the volume of the existing mesh.
- A smaller voxel size preserves fine details but produces denser geometry.
- Decimate Geometry reduces the face count of selected geometry while trying to preserve its shape as much as possible.
- Remeshing can cause object data layers associated with the original mesh to be lost.
What you’ll learn in this guide
We’ll walk through the steps for rebuilding a messy or dense mesh in Blender, then cleaning up its geometry. Voxel Remesh in Sculpt Mode creates a new mesh from the model’s existing volume. Clean Up tools in Edit Mode can remove disconnected geometry, reduce the face count, merge nearby vertices, and fill holes.
These operations can be useful, especially when working with a model that has a high face count or is difficult to edit. However, remeshing is not a fix that preserves the existing topology as is: it creates new geometry and can cause some object data layers to be lost. Before you begin, consider which data needs to be preserved.
Requirements and checks before you begin
You’ll need Blender and a mesh to work on. The remesh steps take place in Sculpt Mode, while Clean Up operations are performed in Edit Mode. The official manual pages don’t specify a version number or account requirements; the steps below are based on the tools and options described in Blender’s online manual.
Before remeshing, check which data on your model needs to be preserved. According to the Blender manual, Voxel Remesh causes all object data layers associated with the original mesh to be lost. It also doesn’t account for geometry generated by modifiers, shape keys, or rigging, and it doesn’t work with the Multiresolution Modifier. If any of these conditions apply, assess in advance whether remeshing will produce the result you expect.
Voxel remesh, step by step
Assess the model in Sculpt Mode. Remesh settings are available in the Sculpt Mode tool settings. The manual gives the relevant menu path as Tool Settings > Remesh. Voxel Size is the primary setting that determines the detail density of the new geometry.
Set Voxel Size to suit your needs. Smaller values preserve finer details, but produce much denser topology. Larger values create a coarser resolution. The manual uses 0.5 m as an example to explain that this setting defines the voxel size in object space. This is not a recommended setting; it simply illustrates what voxel size means.
Sample the density from the model or adjust it interactively. Sample Voxel Size lets you select an area of the mesh and set the voxel size based on the polygon density after remeshing. The R shortcut in the viewport also lets you adjust voxel size interactively; a grid representing the result appears on screen. Moving toward the center of the grid decreases the value, while moving away from the center increases it. Holding Shift helps make finer, smaller adjustments.
Review the volume and topology options. Preserve Volume makes the algorithm try to preserve the original volume; processing can be slower on complex meshes. Fix Poles tries to produce fewer poles for better topology flow, potentially at a performance cost. Adaptivity reduces the final face count by simplifying geometry where detail isn’t needed, but may triangulate some faces. Fix Poles is disabled when Adaptivity is greater than zero.
Apply Voxel Remesh. Check the result and reassess the level of detail you need. The operation creates a new manifold mesh; remember that object data layers associated with the original mesh may be lost. If the face count or shape differs from what you expected, adjusting the voxel size and trying again can help you understand how the setting affects the result.
Mesh cleanup in Edit Mode
After remeshing—or without remeshing—you can use tools under Mesh > Clean Up in Edit Mode to address specific issues. These tools aren’t interchangeable; choose the operation based on the type of geometry you’re working with.
Remove disconnected pieces. Delete Loose removes selected vertices, edges, and, optionally, faces that aren’t connected to anything. Be mindful of how the operation affects geometry outside your selection.
Reduce the face count. Decimate Geometry reduces the face count of selected geometry while trying to minimize changes to its shape. Ratio sets the proportion of the target triangle count: for example, a value of 0.4 means that 40% of the original triangle count will remain after the operation. The tool also offers vertex group, weight, invert, and symmetry options along the X, Y, or Z axis. For a non-destructive alternative, the manual also points to the Collapse mode of the Decimate Modifier, which performs the same operation.
Don’t confuse nearby vertices with short edges. Merge by Distance combines selected vertices that are closer to each other than a specified distance. The Unselected option allows selected vertices to merge with unselected ones. Degenerate Dissolve collapses selected edges below a specified length and may also remove small faces. Vertices that are close together but have no edge between them won’t be merged by Degenerate Dissolve; Merge by Distance is the more suitable tool in that case.
Handle non-planar faces and holes. Make Planar Faces flattens selected faces; if the result isn’t sufficient, you may need to increase Iterations. Split Non-Planar Faces splits faces whose bend exceeds the specified angle threshold. Split Concave Faces separates selected concave faces so that only convex faces remain. Fill Holes fills holes in the selected geometry with faces. The Sides value sets the maximum number of edges allowed for a hole to be filled; 0 fills all holes. Face Fill or Grid Fill may be more suitable for a large hole with many edges.
Common mistakes and next steps
The most common mistake is assuming that a smaller voxel size will always produce a better result. Smaller values preserve detail but create much denser topology, so target the level of detail you actually need. Another mistake is treating Merge by Distance and Degenerate Dissolve as the same operation: the former works on nearby vertices, while the latter deals with short, connected edges.
It’s also risky to assume that remeshing preserves all types of object data. The manual clearly states that the original mesh data layers may be lost, and that modifier-generated geometry, shape keys, rigging, and the Multiresolution Modifier aren’t included in remeshing. For this reason, checking the result on a small section first—or on a working copy without data that needs to be preserved—is a cautious approach to the workflow.
In architecture, interior design, and archviz workflows, these tools can be considered when rebuilding the topology of a mesh for a scene or reducing the face count of selected geometry. When balancing density and detail, in particular, keep the model’s intended use in mind. The sources don’t specify requirements for particular hardware, licenses, or compatibility with other software; rather than making assumptions on these points, check the Blender installation and project requirements in use.
Sources and license
This guide has been adapted into Turkish from the “Remesh” and “Clean Up” pages in Blender’s official manual. Both sources are published under the CC BY-SA 4.0 license.
Sources
2 sourcesSource texts are not republished; short quotes are marked, everything else is our own summary and commentary.
For architecture and visualization teams, the practical value of these tools lies in being able to rebuild a dense mesh or simplify selected geometry. They can be useful when balancing detail and face count in a model intended for a scene; however, the risk of data loss during remeshing makes pre-operation checks essential.
For offices and students in Turkey, the guide explains operations using Blender’s own tools; the sources don’t mention additional licensing costs or hardware requirements. It would therefore be unwise to infer specific speed or performance expectations. Test the result and data preservation on production files first, and verify the options available in the Blender version you’ll be using.
Frequently asked questions
What does voxel remesh do in Blender?
Voxel Remesh creates a new manifold mesh based on the volume of the existing mesh. The operation can cause object data layers associated with the original mesh to be lost.
How does Decimate Geometry reduce the face count in Blender?
Decimate Geometry in Edit Mode reduces the face count of selected geometry while trying to minimize changes to its shape. The Ratio value sets the target proportion of the triangle count.
What’s the difference between Merge by Distance and Degenerate Dissolve?
Merge by Distance combines selected vertices that are close together. Degenerate Dissolve collapses selected edges below a specified length; it doesn’t merge nearby vertices that aren’t connected by an edge.