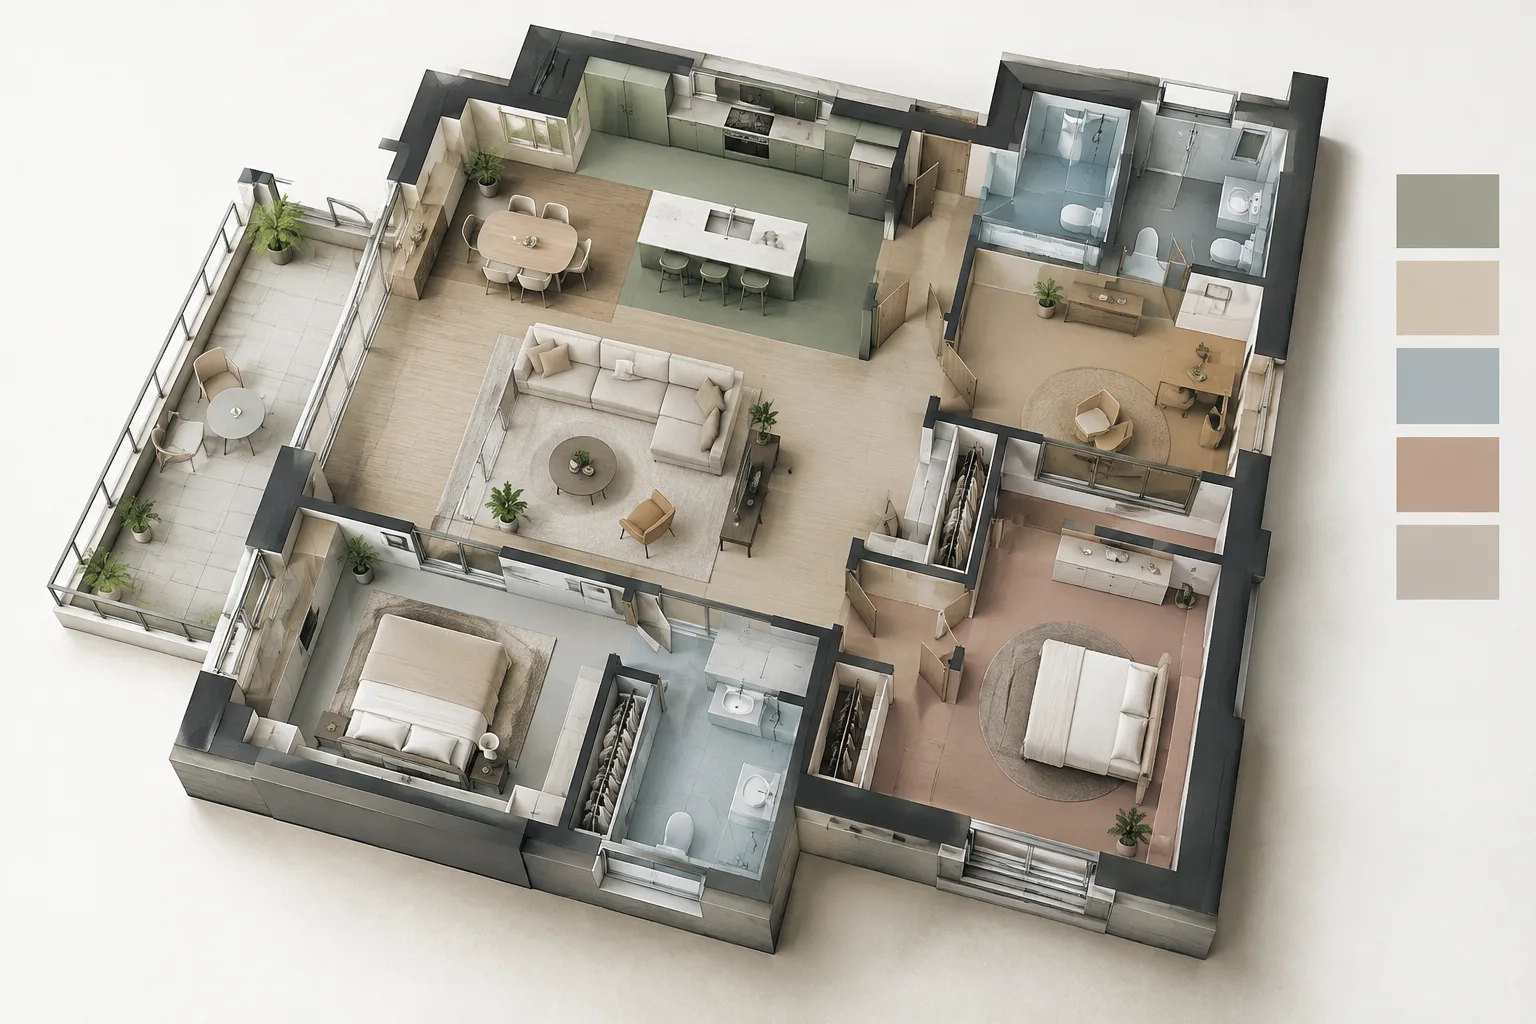
In brief
- Color schemes can be applied to rooms, areas, and MEP categories in plan and section views.
- A scheme can be defined by specific parameter values or, for supported parameters, by value ranges.
- Add a color fill legend to explain what the colors represent.
- The Revit 2025 documentation covers color schemes, while the Revit LT 2024 documentation explains how to create them.
The color schemes described in the Revit 2025 and Revit LT 2024 documentation can be used to color rooms and areas in project views according to specified parameters. The feature works in plan and section views, and supports different categories for MEP elements. You can add a color fill legend to the same view to explain what the colors represent. The steps below cover the basic workflow, from defining a scheme to editing its legend in a view.
1. Prepare the model before using a scheme
Color schemes can be used when rooms or areas are defined in the project. To color MEP elements, the relevant categories—spaces, zones, pipes, or ducts—must also be defined. Before setting up a scheme, check that the category you want to color is present in the model and that values have been entered for the parameter you plan to use. If parameter values are missing, creating a scheme may not produce the intended classification.
The Revit documentation says that schemes can be used for rooms, areas, spaces, and zones, as well as pipes and ducts. You can choose a different color scheme for each view, so plans and sections in the same project can be tailored to different visual analysis needs. The key is to match the coloring criteria to the information the view is meant to convey; the documentation does not recommend a specific palette or a classification that applies to every project.
2. Define a new color scheme
The Revit LT 2024 documentation describes two ways to open the color scheme editing window. Select a color fill legend and use Edit Scheme on the Modify | Color Fill Legends tab, or go to Architecture tab › Room & Area panel drop-down › Color Schemes. The Revit 2025 documentation also gives the second path.
In the
Edit Color Schemewindow, select the category to which the scheme will apply. The documentation lists room and area categories; in Revit LT 2024, the area options includeAreas (Gross Building)andAreas (Rentable).To create a new scheme, select an existing scheme in the list and duplicate it. Then name the new scheme. This uses the existing definition as a starting point and gives the new scheme its own name in the list.
Enter the title to be displayed in the color fill legend in the
Scheme Definitionfield. This title can appear above the legend when the scheme is applied to a view; the legend title can also be shown or hidden separately.Select the parameter that will determine the coloring from the
Colorlist. First, make sure that the values for this parameter have been defined. If necessary, you can add or change values in the Properties palette.Choose the coloring logic:
By Valueuses specific parameter values, whileBy Rangeuses value ranges. The range option is not available for every parameter.
When using By Range, you can edit the range values, legend text, and the displayed unit format. The documentation says you can access formatting options through Edit Format if you need to change the unit format. With By Value, you can reorder the value rows. You can also add values specific to the scheme. These controls let you clearly define which parameter information each color represents.
| Setting | Recommended value | Effect |
|---|---|---|
| Coloring basis | Parameter as needed | Determines which project information the color scheme represents. |
| Application method | By Value or, if supported, By Range | Classifies by individual values or value ranges. |
| Visibility | Values to be shown in the legend | Determines which colored values appear in the color fill legend. |
| Linked model elements | Include elements from links, if needed | Includes rooms and areas from linked models in the color scheme. |
The table summarizes the functions described in the documentation; there is no single parameter or range recommended for every project. If you want elements in linked models to be included in the scheme, select Include elements from links.
3. Apply the scheme to a view and add a legend
After defining the scheme, apply it to the target view. Revit lets you display colors only in the view background or apply them to all model elements in the view. This choice determines the scope of the coloring and directly affects how the plan or section reads. You can also change the setting in the view properties to select a different scheme or remove the color scheme from the view.
Add a color fill legend to explain the colors. The legend acts as a key showing what the colors in the view represent. It can be placed in a suitable location in the view, and you can use more than one legend in the same view. If needed, select and delete a legend; a legend is not required for the scheme to work, but it helps explain the color display.
After adding a legend, you can adjust its size and the size of the color swatches using the drag controls. You can also change the item order, the graphic appearance of the color swatches, and the legend title. These edits help refine the presentation without changing what the colors mean. The Revit 2025 documentation also says that you can view and change legend properties in the Properties palette by selecting the legend.
4. Use in architectural and visualization workflows
For architects and interior designers, color schemes offer a way to visually distinguish room or area parameters in plans and sections. For example, using a parameter defined in the project as the coloring basis and showing its values in a legend helps viewers understand what the colors represent. This is not a rendering setting; it is a tool for presenting model information in a view. The documentation does not mention any specific rendering speedup or performance gain.
MEP teams can also use color schemes for the spaces, zones, pipes, and ducts categories mentioned in the documentation. For linked models, separate options are available to use a scheme from the main model in linked model views or to apply it to rooms and areas in linked models. Before sharing view output, teams should check that the category, parameter values, and legend are working together correctly. Since the source documentation does not specify hardware requirements or licensing conditions, no specific requirements can be inferred on those points.
Common mistakes
Setting up a scheme without checking parameter values: Autodesk recommends defining values for the selected parameter. If values are missing, complete the parameter information in the model first.
Assuming every parameter supports ranges:
By Rangeis not available for every parameter. If the option is unavailable, useBy Valueor choose a suitable parameter.Skipping the legend: Even if the color scheme is visible, viewers may not understand what the colors represent. Add a color fill legend and check its title and item order.
Forgetting linked model elements: If these elements need to be colored, check the
Include elements from linksoption in the scheme definition.Overlooking the view scope: When applying the scheme, decide whether colors should appear only in the background or on all model elements in the view.
These steps are based on the features described in Autodesk’s Revit 2025 and Revit LT 2024 documentation. Scheme names, category contents, and available options depend on the model data and selected parameter, so the best way to check the result is to apply it in the relevant view.
Sources
3 sourcesSource texts are not republished; short quotes are marked, everything else is our own summary and commentary.
For architecture and interior design offices in Turkey, the practical value of color schemes lies in making information already present in the model easier to read in plans and sections. Distinguishing room, area, and MEP categories in a view can make presentations clearer, especially when different teams review the same drawing. This feature does not reduce rendering time; it is a way to visually organize model data.
Checking parameter values and the categories in use before applying a scheme can reduce the need for revisions. If linked models are involved, the relevant option should be checked separately. The documentation does not specify hardware or licensing requirements, so the decision should be based on the office’s existing Revit workflow and the consistency of the project data. The legend should clearly explain what the colors mean.
Frequently asked questions
Which views can use color schemes in Revit?
Color schemes can be used in plan and section views. You can select a different color scheme for each view.
What is the difference between By Value and By Range in a Revit color scheme?
`By Value` colors by specific parameter values, while `By Range` colors by value ranges. `By Range` is not available for every parameter.
What is a color fill legend used for in Revit?
A legend explains what the colors in a view represent. You can edit its size, color swatches, item order, and title.