In brief
- HeightField SOP creates a terrain base that is 1000 × 1000 meters by default, with a Grid Spacing value of 2.
- Use Amplitude and Element Size in HeightField Noise SOP to adjust terrain height and noise scale.
- Masks confine terrain effects to selected areas; the default mask layer is named mask.
- The HeightField Erode node has been available since Houdini 21.0 and simulates rainfall and erosion processes.
In Houdini, HeightFields are a way of storing terrain on a two-dimensional grid of cells rather than as traditional polygon geometry. Height values at grid points define the shape of the base terrain and any layers added later. The core workflow described in SideFX’s official documentation covers creating a base with HeightField SOP, shaping it with HeightField Noise SOP, limiting effects with masks, and adding erosion detail with HeightField Erode. The documentation states that HeightField Erode has been available since Houdini 21.0; the core HeightFields page does not specify a particular software version.
1. Set up a terrain base
Open the Tab menu at Houdini’s
objlevel and create a Geometry OBJ. This object serves as a container for the terrain network; double-click the node to dive inside.Create a HeightField SOP in the network. The node creates a flat terrain plane centered in the scene and oriented along the ZX plane.
For a first attempt, leave Size and Grid Spacing unchanged to start with the standard example from the documentation. Size determines the overall scale of the terrain, while Grid Spacing sets the grid resolution. Reduce Grid Spacing when you need a more detailed surface; keep in mind that this adds detail but also creates a denser grid.
| Setting | Suggested value | Effect |
|---|---|---|
| Size | Default: 1000 × 1000 meters | Determines the overall size of the terrain base. |
| Grid Spacing | Standard value: 2 meters | Sets the distance between grid points and the resolution; the example produces 500 × 500 voxels. |
| Amplitude | No universal value specified | Scales the effect of noise on elevation; it is not specified directly in meters. |
| Element Size | No universal value specified | Determines the size of the noise pattern; smaller values produce sharper, more detailed results, while larger values create smoother results. |
| Roughness | 0.05, in small increments | Adds micro-spikes to the noise; because the parameter is sensitive, SideFX recommends testing with small increases. |
| Erosion Feature Size | At least 3 times the input voxel size | Determines the scale of erosion channels and deposits; smaller features are limited by this threshold. |
2. Define the main form and details with noise
Add a HeightField Noise SOP from the Tab menu and connect its first input to the HeightField SOP output. This node initially creates a randomized terrain shape.
Adjust the strength of elevation variation with Amplitude and the scale of the noise pattern with Element Size. The value used for Amplitude does not directly represent meters. As Element Size decreases, more frequent bumps appear on the surface; as it increases, the terrain looks smoother.
Combine different noise types according to your goals. The documentation describes cellular types and Alligator as suitable for defining the main form, and Perlin, sparse, and simplex types as options for adding detail to terrain. Consider increasing Lacunarity if you need finer structures.
You can also use Combine Mode options to shape the terrain. For example, Maximum can create sea level and islands by clipping values below zero, while Minimum can help create canyon-like shapes. Adjust these effects to suit the purpose of the scene.
3. Limit the area of effect with masks
A mask determines which parts of the terrain an operation affects. This lets noise or another terrain effect alter only masked areas, leaving the rest flat. The default mask layer is named mask, but multiple mask layers with different names can exist in the same geometry stream.
Place a HeightField Mask Noise SOP node between HeightField SOP and HeightField Noise SOP.
Connect the mask node’s first input to the HeightField SOP output; connect the mask output to the second input of HeightField Noise SOP.
Enable the Display/Render flag on the mask node to view the mask. Mountains form in the red areas, while the other areas remain flat. Amplitude on the mask node acts as a multiplier of the mask effect against the height values.
This layered workflow lets you inspect operations individually and temporarily disable them when needed. Using different mask layers at different stages—for example, to control erosion so that it affects only designated areas—helps manage the result.
4. Add erosion with HeightField Erode
HeightField Erode simulates material transport through rainfall and weathering processes. SideFX states that the node is available in Houdini 21.0. For a basic example, create the Terrain: Mountain or Terrain: Canyon preset from the Terrain FX shelf tab. Play the simulation from the start frame, then set Freeze at Frame to the selected frame when you reach the look you want.
Erosion Feature Size determines the scale of channels, slopes, and deposits. Larger values produce broader forms, while smaller values create sharper detail. Three times the input terrain’s voxel size is the smallest feature size you can use. You can chain multiple HeightField Erode nodes to combine finer and broader-scale effects; try a finer Erosion Feature Size on the subsequent node.
With Freeze disabled, the node works incrementally as the frames advance. Chaining multiple unfrozen erosion nodes can prevent them from cooking in sequence, leading to unexpected results or longer computation times. So freeze the output once you have reached the desired level of erosion. HeightField Erode can also produce layers such as height, sediment, debris, flow, and flowdir. These layers can be viewed with HeightField Visualize or used to create textures in Copernicus networks.
Using HeightFields in architectural and visualization workflows
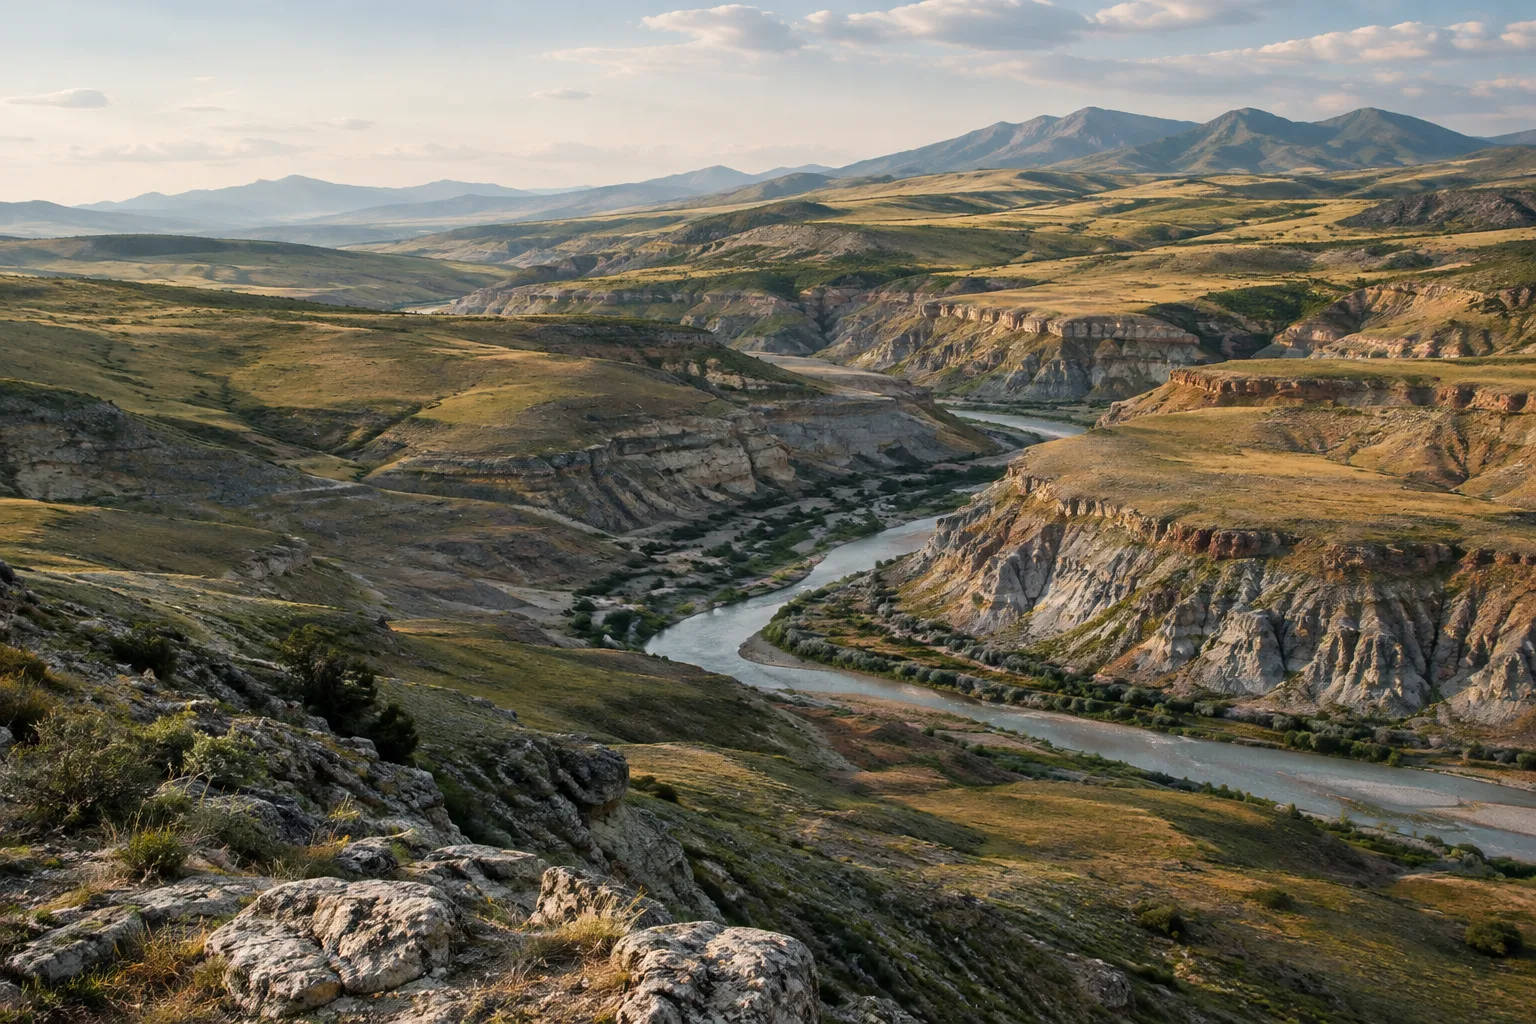
HeightFields can be used to create terrain, coastlines, riverbeds, or surrounding ground for architectural presentations. Masks and separate height layers help you edit different terrain areas independently. High-resolution ground may be suitable for detail and scattering, while distant hills can use less detail. However, the documentation does not specify hardware requirements or processing times, so resolution and erosion settings need to be tested in the actual scene.
Because HeightFields use a flat two-dimensional grid structure, they are not suitable for working on vertical surfaces. Options for adding detail to vertical areas include eroding the terrain, converting it to actual geometry, or scattering objects in those areas. Conversion to polygons is recommended before rendering with Karma or Karma XPU; an automatic conversion may also occur when transferring to Solaris. Manual conversion provides more control over the result, such as baking color and layers onto the terrain.
Common mistakes
Assuming Amplitude represents elevation in meters: it is a scale multiplier.
Keeping Amplitude just as high while reducing Element Size: small-scale noise can produce sharp protrusions, so consider both parameters together.
Chaining erosion nodes without freezing them: sequential calculation order may not be guaranteed, and cooking may take longer.
Assuming HeightFields can represent vertical surfaces in detail: this structure stores elevation on a 2D grid; consider alternatives such as converting to geometry for vertical areas.
Sources
2 sourcesSource texts are not republished; short quotes are marked, everything else is our own summary and commentary.
For architecture firms and visualization teams, the most practical aspect of HeightFields is the ability to control terrain separately through layers and masks. This approach can make it easier to revise specific areas instead of rebuilding the entire surface. The noise and erosion tools offer a strong starting point, especially for landscape design and wide terrain shots.
On the other hand, resolution, voxel size, and simulation steps can affect scene density; the documentation does not provide specific hardware requirements or processing times. It therefore makes sense for offices to first validate the look with a low-detail test network, then increase resolution in the areas that need it. The limitations on vertical areas and the need for conversion before rendering should also be factored into the workflow from the start.
Frequently asked questions
What are the default size and resolution of a Houdini HeightField?
The default size of HeightField SOP is 1000 × 1000 meters. With the standard Grid Spacing value of 2, the example base contains 500 × 500 voxels.
Which Houdini version includes HeightField Erode?
SideFX’s documentation states that the HeightField Erode node has been available since version 21.0.
Should a HeightField be converted to polygons before rendering?
SideFX recommends conversion for rendering with Karma CPU and Karma XPU. Terrain may be converted automatically when transferred to Solaris; manual conversion provides more control over the result.