In brief
- Layout combines model views and annotation elements on a printable page.
- A new Layout can be created with 1 to 4 Detail viewports initially.
- Detail scale links distances on the page to distances in the model; a locked Detail cannot be panned or zoomed.
- Rhino PDF can use the Layout page size and supports layers in PDF files.
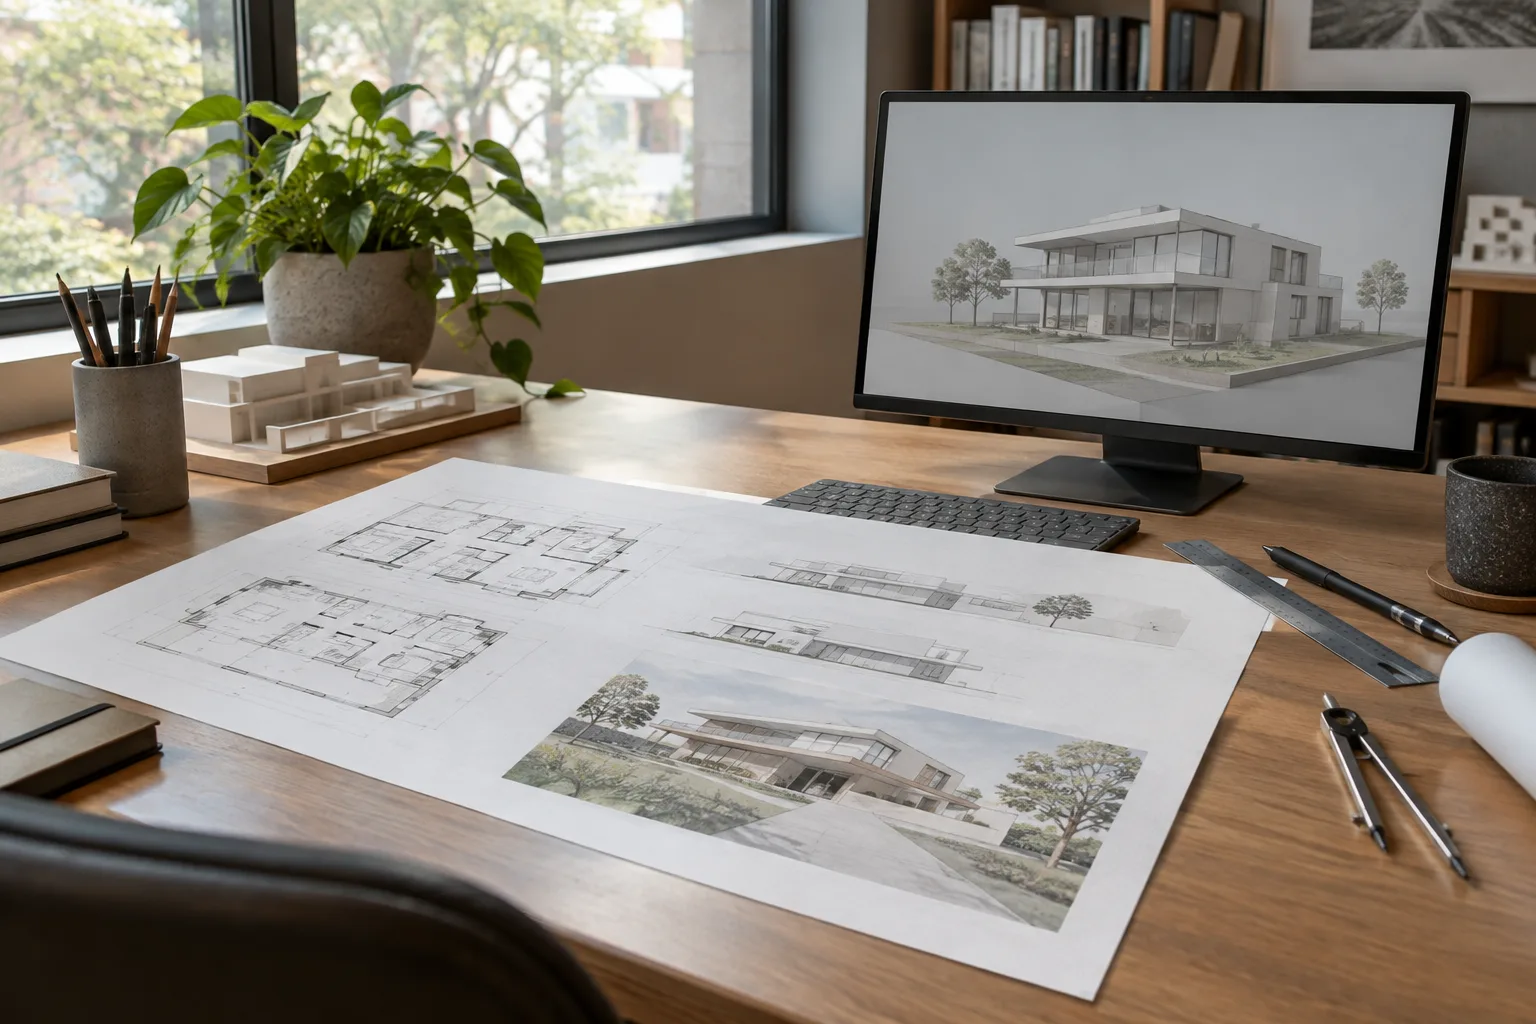
The Layout, Detail and Print tools described in Rhino 8’s official documentation can be used together to place architectural model views on sheets and produce output. A Layout page can contain different model views, a title block, notes, dimensions and scale bars; the page can then be sent to a printer or exported to PDF. The workflow below is based on the tools and options in the Rhino 8 documentation.
1. Create a Layout page
Run the
Layoutcommand and set the page options in the New Layout dialog. A Layout represents a sheet of paper that will be sent to a printer or to a file such as a PDF. You can switch to a Layout page from the tabs below the modeling area; use theViewportTabscommand to show or hide these tabs.Name the page, select the target printer and choose a paper size it supports. Set the orientation to portrait or landscape. The width and height fields define both the paper dimensions and the size of the Layout. If you select a unit different from the document’s Layout unit, the value is converted.
Choose the initial number of Details. A new page can start with 1 to 4 Details; this determines which views are available initially. A four-view Layout can use first-angle or third-angle projection.
Add a border or title block to the page. Place information not directly associated with the model—such as the project name, sheet number and sheet contents—as text. Notes, title blocks and dimensions help explain the model views on the printed page.
To reuse standard title block pages across projects, use ImportLayout to import a Layout from another Rhino file. If there is more than one Layout, select the pages to import from the list. Use CopyLayout to duplicate the current page.
2. Arrange Detail viewports and set view scale
Detail viewports in a Layout show different views of the model on the same page. Use the Add option of the Detail command to add a rectangular Detail; the Projection option lets you choose a top, bottom, left, right, front, back or perspective view. Detail viewports are rectangular. Double-click inside a Detail to activate its view; double-click outside the Detail to return to the Layout.
Adjust the model view, orientation and scale inside the active Detail. Scale links distances on the page to distances in the model; Scale Value in the Detail properties also sets the scale ratio. When the view is ready, lock the Detail with the Lock option. Locking prevents panning or zooming the view and reduces the risk of accidentally changing the framing. You can unlock the Detail when you need to make further adjustments.
| Setting | Recommended value | Effect |
|---|---|---|
| Initial number of Details | 1 to 4 | Sets the number of initial views added to the new Layout. |
| Detail projection | Top, Bottom, Left, Right, Front, Back or Perspective | Selects the view direction shown in the Detail. |
| Detail lock | Lock when the view is ready | Prevents the Detail from being panned or zoomed. |
| Lineweight units | Model lengths or Page lengths | Determines whether lineweight is based on lengths in the model or on the printed page. |
If Detail viewports overlap, double-click near the center of the Detail you want to activate. To preserve selected objects in one Detail while selecting objects in another, hold Shift and double-click the other Detail. To rotate the view contents, activate the Detail and use the RotateView command; to rotate the Detail frame, select its edge and use the Gumball or the Rotate command. These are different operations: the first rotates the view, while the second rotates the frame itself.
3. Check visibility, dimensions and line properties
To hide an object only in the active Detail, use the Active option of the HideInDetail command. The Inactive option hides objects in inactive Details on that Layout. Use HideLayersInDetail to hide layers in a Detail view, and ShowInDetail or ShowLayersInDetail to show hidden objects or layers again. This lets you show the information needed in different sheet views and hide unnecessary elements.
Dimension distances are not the same for objects in the Layout area and model objects inside a Detail. In the example in the official documentation, the radius of a circle in the Layout is 10 Layout units, while the radius of a circle in a Detail is 100 model units, regardless of where the dimension is created. For this reason, it is important to check which area an object belongs to when reviewing the sheet.
Use PrintDisplay or Print Preview in the viewport title menu to check the appearance of lines and colors; LinetypeDisplay displays linetypes in the view. Print settings include an option to match linetype patterns to the values in their definitions or to the current viewport properties. If lineweight uses model lengths, its appearance can change as you zoom in or out; if it uses page lengths, the selected lineweight stays constant on the printed page. For example, the documentation explains that a 2 mm line set to model lengths prints thicker as you zoom in and thinner as you zoom out, while it remains 2 mm when set to page lengths.
4. Print to PDF or a printer using Print Preview
Open the
Printcommand and select a destination. Installed printers and PDF printer drivers are listed. Rhino PDF is Rhino’s PDF printer and supports saving layers in PDF files.When printing a Layout page, use the
Use layout page sizeoption for the Rhino PDF destination to take the paper size from the Layout properties. Otherwise, Layouts are printed at the same paper size. Print resolution is specified in DPI; you can also select the orientation and driver properties.Check the output type and color. Vector output prints lines, curves and filled regions as vectors; Raster output creates a bitmap image and does not support saving layers to PDF. Color options determine whether the output uses print colors, viewport colors or black and white.
Review the page layout and scale in the preview. With a Layout selected, you can select multiple pages to print and use the arrows to navigate the previews of active Layouts. Rhino PDF offers options to save Layouts as separate files, use a filename prefix, or add a page number or page name to the filename.
Impact on architectural and visualization workflows
This setup is useful for architecture and interior design teams that present different views of the same model—such as plans, sections, elevations or perspectives—on a single sheet. Managing each Detail’s view and scale separately helps organize the information on the sheet; locking a Detail helps preserve its framing after final adjustments. The option to import Layouts can also be useful for recurring sheet designs.
Before printing, check the paper size supported by the printer, units, Detail scale, and whether lineweight is based on model or page lengths. The ability to produce layered PDFs with Rhino PDF is an important consideration when choosing an output type; Raster output does not support this feature. Since the documentation does not describe hardware requirements or licensing conditions, this guide makes no recommendations on those topics.
Common mistakes
Treating dimensions in the Layout area and model dimensions inside a Detail as if they use the same units. Objects in a Detail are measured in model units.
Locking a Detail before finalizing the view, or forgetting to unlock it when making edits. Locking prevents panning and zooming.
Selecting Raster output and expecting a layered PDF. According to the Rhino documentation, Raster output does not support saving layers to PDF.
Overlooking the draw order of the Detail boundary or a hatch. A white solid hatch used for a custom-shaped Detail view has draw-order priority over the Detail; use Draw Order to keep text and dimensions on top.
Sources
3 sourcesSource texts are not republished; short quotes are marked, everything else is our own summary and commentary.
For architecture and interior design offices in Turkey, Rhino’s Layout workflow offers a direct way to bring model views together with annotations and dimensions on the same sheet. In particular, arranging Details at different scales on a single page and importing standard Layouts between files can help maintain consistency in sheet production.
The most important check is to verify in the preview how the view on screen will print on the sheet. Locking Details and setting lineweight to use page or model lengths can help prevent unexpected changes in the final output. Rhino PDF’s layer support is useful, but remember that selecting Raster output removes this feature. Since the documentation does not explain hardware or licensing conditions, offices should assess their own setups separately on these points.
Frequently asked questions
How many Detail views can you add to a Layout in Rhino 8?
A new Layout can be created with 1 to 4 Details initially. You can add a rectangular Detail later using the `Add` option of the `Detail` command.
Can Rhino PDF create layered PDFs?
Yes. Rhino PDF supports saving layers in PDF files. However, saving layers to PDF is not supported when Raster output is selected in Print settings.
How do you lock a Detail view in a Rhino Layout?
Select the Detail view and use the `Lock` option. Locking prevents the view from being panned or zoomed.