In brief
- SketchUp Styles bring together edge, face, and background settings.
- Choose ready-made looks from the Styles panel and save styles used in the model file.
- Use the Tape Measure tool to resize the entire model and the Scale tool to resize selected geometry.
- When scaling components, you can edit a single instance or all instances of a component.
Managing a model’s appearance with Styles and keeping its geometry at the right scale are two distinct parts of architectural modeling and presentation in SketchUp. SketchUp’s official help documentation explains that Styles bring together edge, face, and background settings, while the Tape Measure and Scale tools support different scaling tasks, from resizing the entire model to editing components. Since the documentation does not specify a particular software version, this guide covers the SketchUp features described in the sources.
1. Choose a style that suits the way you want to present the model
A Style is more than a visual option for changing line colors: it combines settings for edges, faces, and backgrounds. SketchUp’s built-in options include default Styles with clean lines, hand-drawn looks, and categories that emphasize edge lines. Styles that use ambient occlusion shading can also emphasize the relationship between edges and faces, increasing the perceived depth.
In Windows, open the Styles panel in the Default Tray. On macOS, open the panel from the Window menu.
Click the Select tab in the panel, then choose a Style type from the drop-down list.
Choose an appropriate Style from the options shown. Hover over a thumbnail to see the Style’s name.
If you need to switch between multiple looks, save the Styles you choose in the model file. SketchUp lets you save multiple Styles with a model.
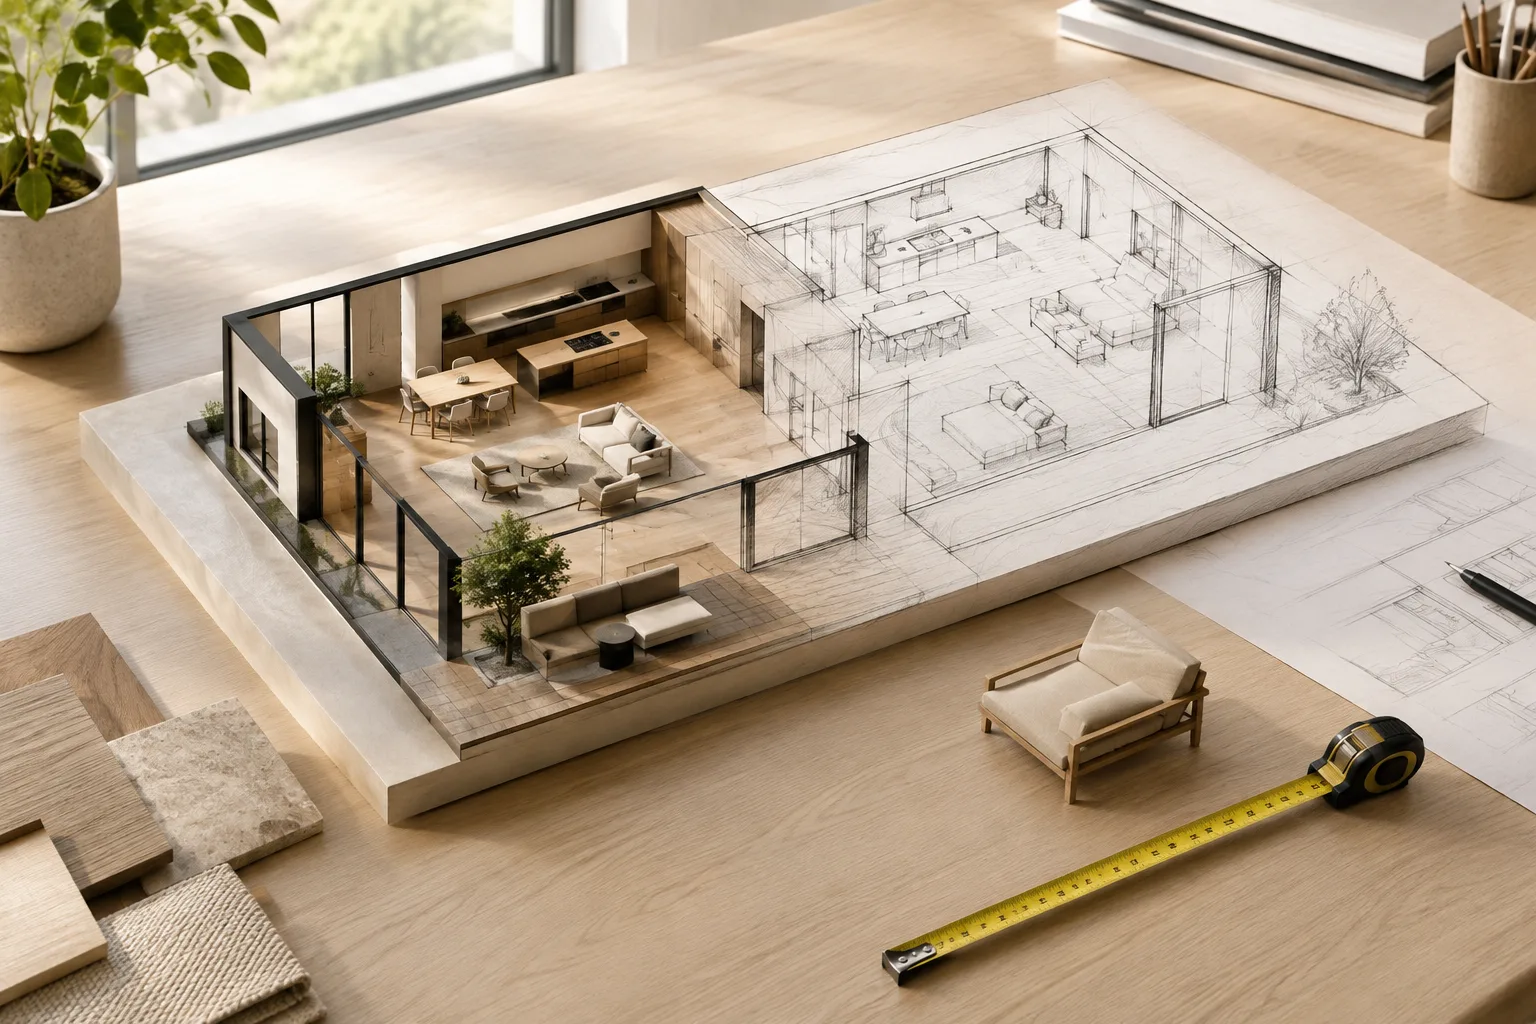
Different visual approaches suit different purposes: sketch-like edges can convey a design’s development stage, while clean lines can create a more orderly presentation. These are the visual possibilities offered by Styles, not a claim that one Style is right for every project.
2. Adjust edge settings to suit your needs
The Edge Settings options in the Styles panel control how lines appear in the model. For example, Profiles emphasize the outlines of major forms, while Depth Cue makes foreground lines stand out against those in the background. Line thickness or length can be specified in pixels; the help documentation does not recommend specific numeric values for any particular project.
| Setting | Suggested value | Effect |
|---|---|---|
| Edges | On or off, as needed | Shows or hides edge lines in the model. |
| Back Edges | On when needed | Displays lines hidden behind other edges as dashed lines; when enabled, the X-Ray face style is disabled. |
| Profiles | Thickness as needed | Defines the outlines of larger forms. |
| Depth Cue | Thickness as needed | Makes foreground lines more prominent than background lines. |
| Extension and Endpoints | Length as needed | Changes how line ends look: Extension carries a line beyond its endpoint, while Endpoints add extra thickness at the ends. |
| Jitter | On or off, as needed | Creates a sketch-like look by drawing lines with slight offsets. |
| Color | All Same, By Material, or By Axis | Determines whether edge color is based on a single color, material, or axis alignment. |
There’s an important distinction between the color options: All Same displays all edges in the selected color swatch, but does not remove colors assigned to edges. By Material uses the assigned material color. By Axis displays edges that are not aligned to the axes in the All Same color; hidden edges do not appear in an axis color. Extension and Jitter change the drawing appearance but do not affect inferencing.
3. Scale the model and selected geometry
If the entire model is at the wrong scale, you can correct it using the Tape Measure tool and a known distance as a reference. Select the tool or press T, then click the two endpoints of the line segment you want to measure. When the measurement appears in the Measurements box, type the target value and press Enter. Select Yes in the confirmation dialog to resize the entire model.
To enlarge or shrink a selected part while preserving its proportions, you can use either the Tape Measure or Scale tool. With the Tape Measure tool, you can set a specific edge of the selected geometry to a target measurement. To do this, first select the geometry, group it using Make Group from the context menu, and open the group. Then identify the two points on the reference line, enter the new measurement, and confirm.
The Scale tool changes a selection by a percentage of its original size. When you select geometry and activate the tool, a yellow box with green handles appears around the selection. Use a corner handle for proportional scaling. According to the source, the Shift key toggles the Scale Uniformly option. Set the new scale with the mouse, or type a measurement in the Measurements box and press Enter.
To stretch or compress a part, select an edge or face handle instead of a corner handle. This lets you scale along a particular axis. The Measurements box displays the axis information and scale value; if you enter measurements for multiple axes, separate the values with commas. To scale from the center, use Ctrl on Windows or Option on macOS. If it’s difficult to control the scaling direction, repositioning the drawing axes relative to the selection is another option suggested in the official help documentation.
4. Edit components and avoid common mistakes
You can also use these scaling techniques with components. To change just one instance of a component in the model, select that instance with the Scale tool and use its handles. Opening a component and editing its lines and faces, however, can affect every instance of that component in the model. It’s important to decide before editing whether you want to change a single piece of furniture or all of its copies.
To keep Styles organized within a model, use the In Model collection in the Styles panel. This collection contains Styles saved in the model file, including ones that are not currently applied. To remove unused Styles, select Purge Unused from the Details arrow menu for the collection. You can also gather frequently used built-in or custom Styles in a collection: select Open or Create a Collection from the Details menu, create a folder, and drag Styles into it from the secondary selection panel.
Common mistakes
Changing only selected geometry when you intend to scale the entire model: Before you start, decide whether to resize the whole model with the Tape Measure tool or the selection with the Scale tool.
Assuming you’re editing just one instance of a component: Remember that changes made after opening a component can apply to all its instances.
Expecting to use Back Edges and X-Ray together: Enabling Back Edges disables the X-Ray face style.
Assuming assigned Style colors are deleted: All Same changes only the appearance and preserves edge color assignments.
In architectural and interior design workflows, Styles can help present a model as a sketch, a study of form, or a more polished presentation. Scaling tools can be used to bring an entire model to a known measurement, enlarge selected parts proportionally, or change a single instance of a component. The official documentation does not specify hardware requirements or licensing conditions, so no additional assumptions should be made here for purchasing or compatibility decisions.
Sources
3 sourcesSource texts are not republished; short quotes are marked, everything else is our own summary and commentary.
For architecture and interior design offices in Turkey, the value of Style and scale tools lies in being able to treat presentation appearance separately from model geometry and to make targeted measurement corrections. The distinction between editing one component instance and affecting all instances requires particular care in files with repeated elements.
The source documentation does not specify hardware, licensing, or particular version requirements, so this guide makes no claims about cost or compatibility. A practical approach for teams is to keep the Styles used in a project organized in the model and check the scope before scaling. Otherwise, changing the entire model or component copies instead of the intended single part can cost time.
Frequently asked questions
How do I scale the entire model in SketchUp?
Use the Tape Measure tool to measure a known line segment, enter the new value in the Measurements box and press Enter, then select Yes in the confirmation dialog.
Can I scale just one instance of a component in SketchUp?
Yes. Use the Scale tool to select the component instance and change that instance with the handles. Editing the component’s contents after opening it can affect all instances.
Are Styles saved in the SketchUp model file?
Yes. You can save multiple Styles with a model; Styles included in the file appear in the In Model collection in the Styles panel.