In brief
- In Rhino 8, a Layout represents a sheet to be sent to a printer or exported to a file such as a PDF.
- A Layout can be created with 1 to 4 detail views; details can be scaled and locked.
- Objects in a detail view are dimensioned using model-space distances, while objects on the sheet are dimensioned using Layout distances.
- Standard title blocks and sheets can be imported from another Rhino file.
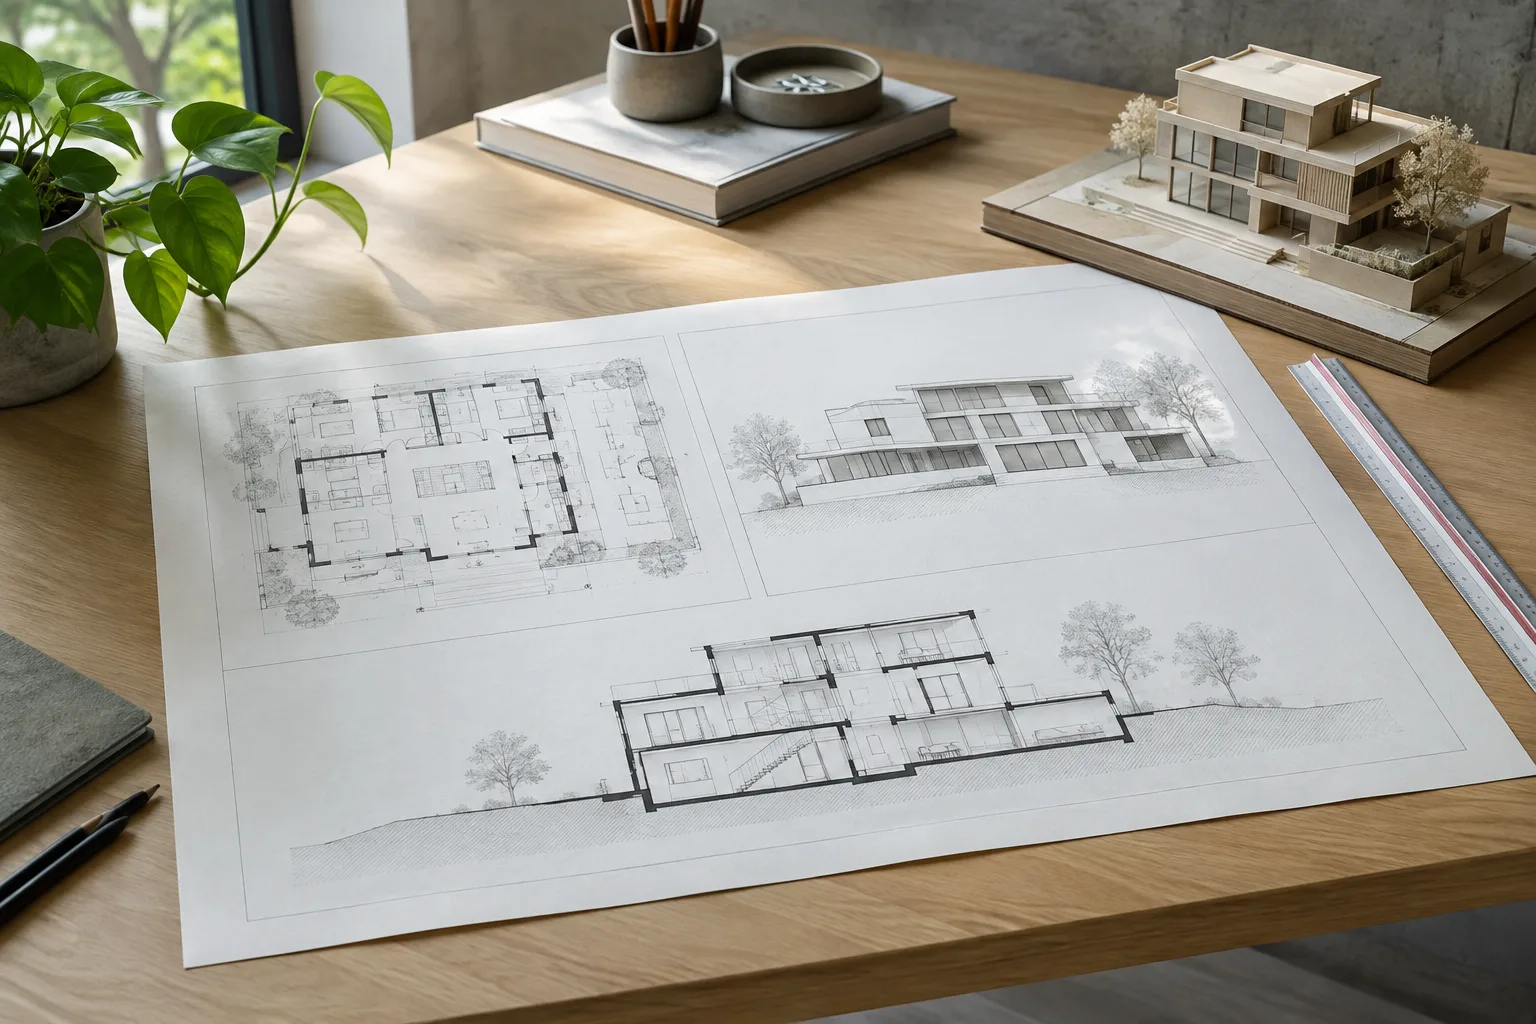
Rhino 8’s official help documentation recommends creating geometry in model space and arranging views of that geometry for the sheet in Layout space. A Layout represents the paper area to be sent to a printer or exported to a file such as a PDF. In architectural drawings, this distinction makes it possible to bring different views, scales, and annotations together on a single output sheet without changing the model itself.
1. Create a Layout and set the page size
Open
Layout › New Layout. In the New Layout dialog, specify the sheet name, the associated printer, a paper size supported by that printer, and portrait or landscape orientation. You can also set the width and height in the dialog.Choose the number of initial detail views. In Rhino 8, a new Layout can start with 1 to 4 details. A four-view layout can be created using first-angle or third-angle projection. This initial choice provides a starting point for arranging views on the sheet; you do not have to use the views later if they are not needed.
Check the paper units. The documentation allows you to choose inches, millimeters, or centimeters for the paper size. If the selected unit differs from the document’s Layout unit, it is converted. Keep in mind that the printer setting may be disabled if you select a paper size the printer does not support.
Add a border or title block to the sheet, and place information not directly related to the model, such as the project name, sheet number, and sheet contents. Text, title blocks, and other annotation objects can be arranged in Layout space. Continue creating model geometry in model space.
2. Place and scale detail views
Detail views in a Layout are rectangular windows that show the model from different angles. To add a detail, use Layout › Add Detail View or draw a rectangle using the Add option of the Detail command. The Projection option can set the view to Top, Bottom, Left, Right, Front, Back, or Perspective.
Size each detail window to suit the sheet layout, then activate the view to adjust its contents. Double-clicking a detail activates it; double-clicking elsewhere in the Layout deactivates it. For overlapping details, activating the view near its center can help select the intended one.
Set the scale between the model and the sheet in the detail view. The
Scaleoption in theDetailcommand relates a distance on the Layout to a distance in the model. TheScale Valuefield in the detail view properties can be used to set the scale factor. Since the documentation does not specify a single universal scale value, choose a ratio to suit the sheet and drawing requirements.Lock the detail once the view is finalized. The
Lockoption orLock Viewportin the detail properties prevents the view from being panned or zoomed. This is important to avoid accidentally changing a view while arranging the sheet. If you need to adjust the view again, unlock it, make the changes, and lock it once more.
| Setting | Recommended value | Effect |
|---|---|---|
| Initial number of details | 1–4 | Sets how many detail views the new Layout starts with. |
| Paper unit | Inches, millimeters, or centimeters | Sets the unit for entering paper dimensions; conversion occurs if the document’s Layout unit differs. |
| Detail scale | A ratio suited to the drawing and sheet | Sets the relationship between Layout distance and model distance. |
| Detail lock | Locked after adjusting the view | Prevents panning and zooming within the detail window. |
3. Visibility, dimensioning, and custom-shaped details
Visibility in detail windows can be managed individually to improve sheet legibility. HideInDetail can hide selected objects in the active detail or in other inactive details. Use HideLayersInDetail to hide layers in a view, and the corresponding Show commands to restore hidden objects and layers. On sheets with multiple views, these controls make it easier to show only the information needed in each view.
When dimensioning, consider which space the object is in. Objects in Layout space are dimensioned using Layout distances. Objects in a detail view are dimensioned using model-space distances, even if the dimension object was created inside the detail or in Layout space. Measuring a paper distance on the sheet is not the same as indicating the model’s real distance; check the purpose and location of the dimension.
Rhino’s detail views can be rectangular. When you need a detail opening in a different shape, the method described in the documentation is to create a rectangle on the Layout that covers the page boundaries, along with a planar curve in the desired shape. Then create a solid hatch with those boundaries and set its color to white. The hatch covers the area outside the opening, creating the impression of a custom-shaped window.
Draw order matters with this method: the hatch can appear above the detail view, and the detail cannot be brought above the hatch. Use Draw Order to bring titles, dimensions, and text to the front so they do not end up behind the hatch. If you want the hatch to update as the boundaries change, the documentation also suggests trying to create it with document History enabled.
4. Use templates and check the output
Instead of rebuilding frequently used title blocks in every file, you can use ImportLayout to import one or more Layouts from a Rhino file containing standard Layouts. This command lets you use defined sheet pages in another Rhino model. Use CopyLayout to duplicate the current page.
ChangeSpace is useful when you need to move or copy objects from model space to a Layout, or from a Layout to model space. The command works in Layouts that have at least one detail view. To move objects from model space to a Layout, select them while inside a detail. To move objects from a Layout to model space, select the objects on the sheet and specify the target detail by clicking its edge. Do not double-click the target detail. The command’s Copy option determines whether the objects are copied.
Before printing, check the view, scale, and lock status of each detail, then check the printer, paper size, and orientation. The Layout workflow described in Rhino 8’s documentation is based on keeping model-space geometry separate from sheet arrangement while bringing multiple views and annotations together on one page.
Common mistakes
Leaving a detail view unlocked after adjusting it, then accidentally panning or zooming the view while arranging the sheet.
Confusing model-space distances inside a detail with sheet distances in Layout space and therefore showing an incorrect dimension.
Selecting a paper size the printer does not support, or overlooking that the selected paper unit may differ from the document’s Layout unit.
Allowing the white hatch used for a custom-shaped opening to cover text and dimensions, without checking the draw order.
This guide is based on the Layout and Detail functions in Rhino 8’s official help documentation. The documentation does not specify a fixed scale ratio or printer settings for a particular project; these should be selected to suit the drawing and output requirements.
Sources
2 sourcesSource texts are not republished; short quotes are marked, everything else is our own summary and commentary.
For architecture and interior design offices in Turkey, the practical value of this workflow is that it separates the model space from the sheet layout while bringing different views of the same model together on one sheet. In particular, importing reusable title blocks can reduce the need to rebuild the initial layout for similar drawing sets.
Still, getting the output right involves more than setting up a Layout: check printer support, paper units, detail scale, and whether a dimension indicates a model or sheet distance. The documentation provides no hardware requirements or cost information; offices should assess their choices based on their existing Rhino 8 and printer setups. One point that is especially easy to overlook is the draw order of the white hatch used in the custom-shaped detail method.
Frequently asked questions
How do you create a Layout in Rhino 8?
Open `Layout › New Layout` and specify the page name, printer, supported paper size, orientation, and initial number of detail views. A new Layout can start with 1 to 4 detail views.
How do you set the detail view scale in Rhino Layout?
The `Scale` option in the `Detail` command sets the relationship between Layout distance and model distance. The `Scale Value` field in the detail view properties can also be used to set the scale factor.
Do dimensions in Rhino Layout show model-space distances?
Objects in Layout space are dimensioned using Layout distances. Objects in a detail view show model-space distances, whether the dimension was created inside the detail or in Layout space.