In brief
- Building Creator is designed as an Object-level HDA that provides shared settings for a single building and a context for its feature nodes.
- Elements such as walls, floors, roofs, windows, and doors are added using separate SOP-level Feature Nodes.
- The system starts with a blockout mesh that defines the building’s proportions and silhouette.
- For destructible structures, geometry must be watertight; open edges or disconnected surfaces can prevent clean interior surfaces from being generated.
A community post from SideFX dated 11 February 2026 describes the Building Creator system Embark Studios developed in Houdini for THE FINALS. This guide breaks down the production approach described in the post for those looking to create architectural masses and building variations. The Houdini version used in the Building Creator presentation is not specified, so the steps below are based on the node structure described rather than the menus of a particular version.
1. Prepare the building blockout first
Create a simple blockout mesh that shows the building’s overall proportions, footprint, and silhouette. In Embark’s workflow, each building takes shape from this starting geometry. The blockout helps the subsequent nodes interpret the building’s spatial structure consistently.
Reference the blockout in the Building Creator HDA. This is an Object-level HDA representing a single building. It provides a shared context for settings that need to be coordinated across the building, such as wall thickness and floor height.
Open the Building Creator’s SOP network. Passing the blockout to the feature nodes provides the starting geometry and reference for the chain built at this stage.
The practical benefit of this approach is that building generation is not locked into a single, unchangeable generator. When the blockout shape changes, feature nodes can continue to operate within the same spatial context. This separates the design’s primary massing from its façade and interior elements.
2. Build the structure with modular feature nodes
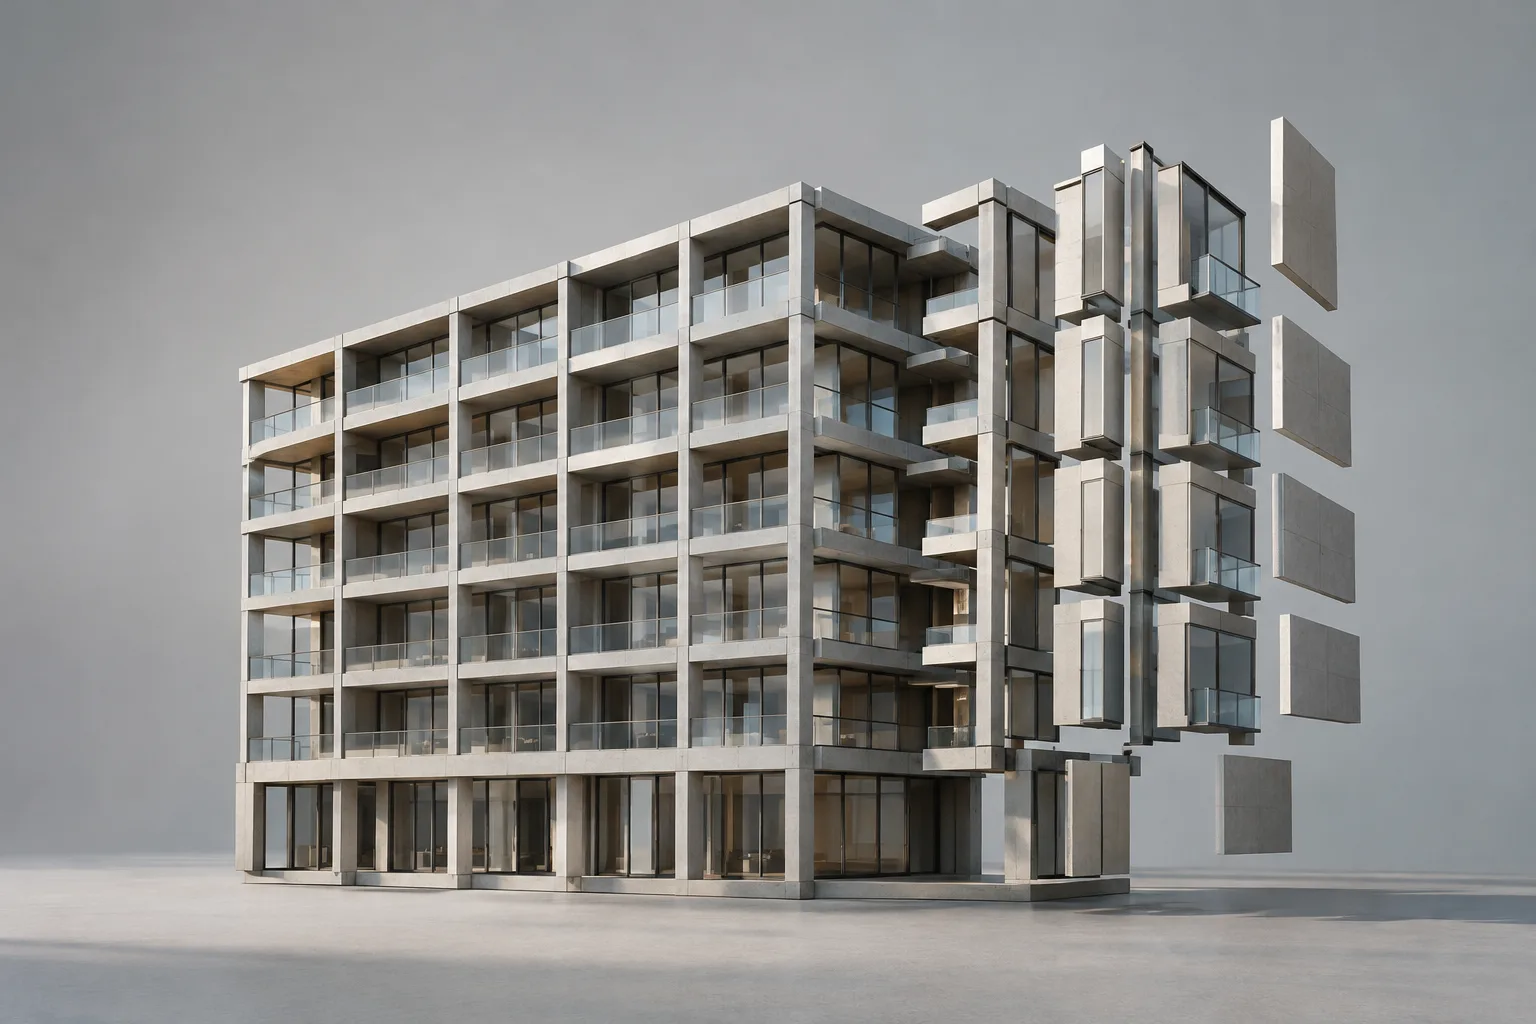
Add the required Feature Nodes to the SOP network. Each node generates a specific building element, such as an exterior wall, foundation, floor, roof, window, or door. The node order is generally flexible, but some dependencies require a logical sequence. Creating walls before placing windows is one example.
Keep the nodes’ data flow in mind. The article describes two inputs and two outputs for most Feature Nodes: the first line carries the building geometry, while the second can pass the blockout mesh and auxiliary data for alignment or subsequent operations. This separation helps new features work consistently with the existing structure.
Organize the node chain around the design intent. For example, adding windows after the walls, then moving on to the roof and other details, creates an easy-to-follow network. Collision and occluder generation run at the end of the chain because they do not require artistic input.
A modular setup makes it possible to combine different features instead of putting every option into one large tool. It can also speed up iteration by recalculating only the necessary parts when a small change is made to a node. Embark gives the example of a window change not forcing the entire building to be recalculated.
3. Plan façade, floor, and roof details
Use the exterior wall node to divide up the façade. In the system described, the wall geometry has horizontal edge loops separating the floors and vertical loops dividing the façade into sections. This structure provides a basis for adding window placement, materials, and architectural details such as cornices. Custom viewport tools let users interactively adjust the spacing of vertical loops across wall sections.
Relate floors to the storeys and the inside faces of the walls. The Floors Feature Node has three parameters: Floor Height, which sets the vertical spacing between floors; Floor Thickness, which sets the thickness of the floor; and Clearance Threshold, which defines the minimum clearance required between the floor and the ceiling above it. If the available height is less than this threshold, no floor is generated. Since the source provides no specific numerical values, it would not be appropriate to recommend a general value for these parameters.
Build the roof from artist-provided pieces. The source states that the Roof Feature Node uses four meshes named Plane, Ridge, Fascia, and Eaves. Replacing these pieces and their materials is described as a way to create different roof styles.
The viewport tools in the floor node support local edits such as adding or removing pieces in specific areas, assigning alternative materials, and changing UV orientation. These edits can help reduce structural repetition without forcing every building to produce the same result.
4. Prepare the geometry early if the structure needs to be destructible
Check the model’s integrity before breaking it apart. In the THE FINALS example, assets pre-fractured in Houdini need watertight input geometry, with no open edges or disconnected surfaces, to generate clean interior surfaces. This requirement matters not only for the rendered appearance but also for generating the pieces.
Treat the interior and collision as part of the design. Structures that players can enter, move through, and stand on require complete spaces such as corridors, stairs, rooms, and attics, as well as accurate collision geometry. A façade consisting only of an exterior shell will not meet this use case.
Prepare the surfaces that will break apart when damaged. According to the SideFX post, geometry in THE FINALS is pre-fractured in Houdini rather than during gameplay; the seams between pieces remain hidden until damage occurs. Topology, watertightness, and collision planning should therefore be part of the modeling decisions, not tasks added later.
The destructible-structure requirements in this section are not mandatory for every architectural visualization project. However, if real-time walkthroughs, interaction, or damage scenarios are planned, consider early on whether the same model meets both visual and functional requirements.
What should you consider in architecture and archviz workflows?
The Building Creator example offers a flexible approach for teams looking to produce different architectural styles with the same system: artists combine walls, windows, roofs, and other features to suit their needs. This lends itself to working with reusable building components rather than a generator locked to a single style. For archviz teams, the separation from blockout through to façade can be useful for keeping design variations organized; however, the source does not tie this approach to a specific archviz application or export workflow.
Before implementation, verify the Houdini version, compatibility of the plugins and assets in use, licensing terms, and hardware requirements in your project environment. SideFX’s related Building Generator tutorial page from 2021 lists Houdini 18.5, but this does not mean it is the same tool as Embark’s Building Creator system. The tutorial covers procedural UVs, material editing, and elements such as windows and balconies; the version information applies only to that tutorial.
Common mistakes
Packing the entire system into one node: The modular Feature Node approach supports developing features independently and makes it easier to isolate problems.
Ignoring dependencies between features: Nodes can generally be ordered flexibly, but operations such as window placement may require walls to be created first.
Trying to fix destructible geometry later: Open edges and disconnected surfaces can prevent clean fracturing; check the topology from the outset.
Assuming values the source does not provide: The purposes of Floor Height, Floor Thickness, and Clearance Threshold are explained, but no numerical recommendations are given.
Sources
2 sourcesSource texts are not republished; short quotes are marked, everything else is our own summary and commentary.
For architecture and visualization offices in Turkey, one of the biggest strengths of the Building Creator approach is that it separates recurring building elements into individual nodes, making revisions easier to manage. Teams looking to create different façade and roof options from similar building masses may want to adapt this modular setup to their needs.
However, this article is not a product installation guide or a performance test; it does not specify a particular Houdini version, hardware requirements, licensing terms, or pricing. Verify the compatibility of the version and assets in use before incorporating the system into a production pipeline. For destructible content, clean topology and collision preparation should be planned in advance rather than left for later fixes.
Frequently asked questions
Which Houdini version is Building Creator described for?
The SideFX article about Embark Studios’ Building Creator does not specify a Houdini version. A separate Building Generator tutorial page lists Houdini 18.5, but that does not indicate which version Building Creator uses.
How do you create a building with Building Creator?
First, reference a blockout mesh that defines the building’s proportions and silhouette. Then add Feature Nodes to the SOP network to generate elements such as walls, floors, roofs, windows, and doors.
What should a model be like for creating a destructible building in Houdini?
In the THE FINALS example, the geometry must be watertight, with no open edges or disconnected surfaces, so the fracturing tool can generate clean interior surfaces. Accurate collision geometry and interior spaces are also required.