In brief
- Design Options separate parts of the model that will not change from elements that may change during the decision-making process.
- You can create different alternatives within option sets and choose which option from each set to display in a view.
- Duplicate views for specific alternatives, organize them with annotations, and place them on sheets.
In Revit, Design Options let you explore alternatives within the same model by separating design decisions that may change from the main model. Autodesk’s official help content explains how to create option sets, add and edit geometry in options, and show specific alternatives in separate views. The steps below summarize this workflow. One of the interface examples is based on a video recorded in Revit 2016; Autodesk notes that the user interface and functionality may differ in current versions. As a result, the steps may appear in different places in a newer version.
1. Separate the main model from elements that may change
Before using Design Options, identify which elements will remain fixed throughout the project and which may change as design decisions are made. According to Autodesk, the main model contains the parts of the design that will not change, while options contain parts that can be replaced by alternatives. This separation lets you work on only the variable parts rather than duplicating the entire model.
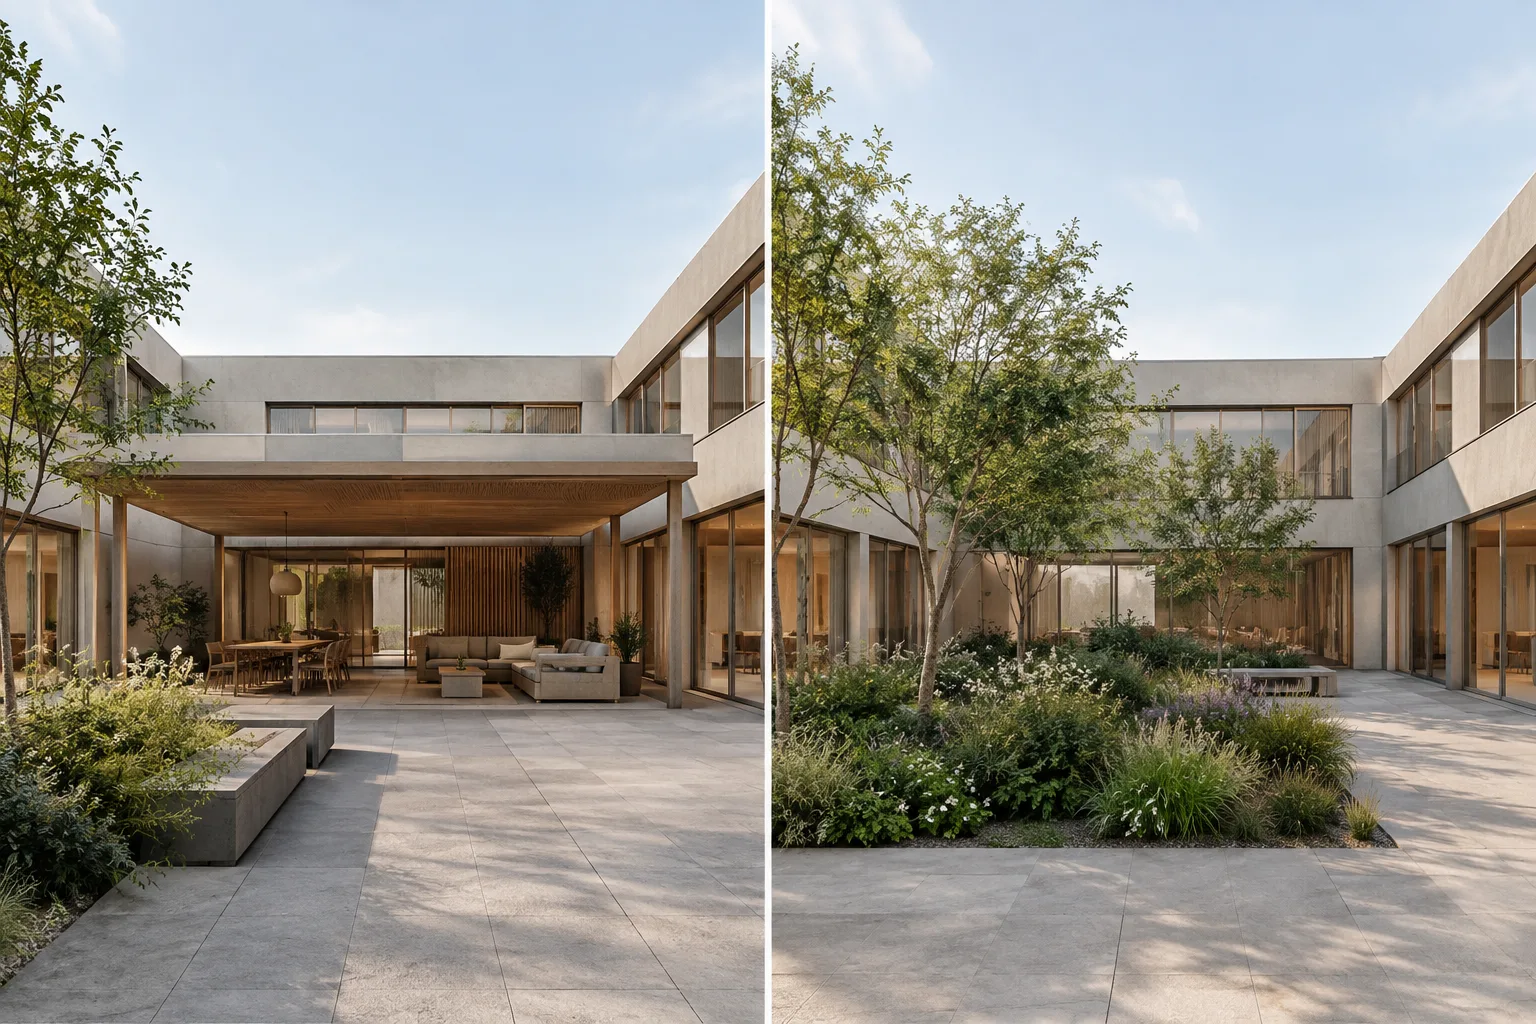
For example, if a courtyard layout is open to alternatives, the parts of the building that will not change can remain in the main model. Different arrangements of courtyard elements can then be handled in options. In Autodesk’s example, one alternative includes a patio and pavilion, while another has an empty courtyard. This is an example of how Design Options can be used; it does not mean that every project should use the same alternatives.
Keep elements that will not change in the main model.
Identify elements that are expected to change together.
Create an option set for those elements and define the alternatives within it.
2. Create an option set and alternatives
In Autodesk’s Revit 2016 video, Design Options are accessed from the Manage tab. First, a new option set is created, then alternatives are added to it. An option set groups different solutions for the same design area; a single set can contain multiple options.
Follow these steps in order:
Open the Design Options dialog from the Manage tab.
Create a new option set for the design area you want to explore.
Add alternatives to the set. For example, you could create an empty courtyard layout and another with a pavilion and patio.
Select the elements belonging to one alternative and move them into the relevant option set with Add to Set.
Check the related components of the elements being moved. In Autodesk’s example, moving the pavilion geometry causes an error in the relationship between the roof and curtain wall, showing that connected elements may need to be checked separately during editing.
Moving an element into an option does not mean that it will appear the same way in every view. The view’s Design Option visibility determines which alternative is displayed. Placing geometry in options and setting which option a view displays are therefore separate steps in the workflow.
3. Edit an alternative and set its visibility
Elements specific to an option are edited by activating that option. In Autodesk’s video, the option to work on is selected using a drop-down control. Elements in the active option can be edited, while elements that do not belong to it appear halftone. This distinction helps prevent confusion between the main model and alternative geometry while editing.
To choose which alternative appears in a view, use the Visibility/Graphics Overrides setting in the Properties palette. In the Design Options tab of the Visibility dialog, option sets and the option to display for each set are listed. According to Autodesk, the Automatic value displays the primary option when no Design Option is being edited, and the active option when one is being edited. If you need to lock in a specific alternative, select that option explicitly for the view.
Activate the Design Option you want to edit.
Change only the elements belonging to that option; keep in mind that halftone elements may belong to another option or to the main model.
Open the view’s Visibility/Graphics Overrides settings.
In the Design Options tab, choose the alternative to display for each option set.
Check the view to confirm that the correct options are displayed.
4. Present alternatives in separate views
For a client presentation or design comparison, showing each alternative in a separate view can provide a more organized workflow than continually switching options in the same view. According to Autodesk’s help documentation, create a view for a specific option by first duplicating an existing view. In the Project Browser, right-click the view name and use one of the Duplicate View options:
Duplicate View: Duplicates model elements, but not annotations or detailing.
Duplicate with Detailing: Includes annotations and detailing from the existing view, as well as model elements.
Rename the duplicated view to make the alternative it shows clear. Then right-click the view name and open Properties; go to the Design Options tab under Visibility/Graphics Overrides and choose the option to display in the view. Repeat the process for other alternatives.
This method is not limited to plans or 3D views: Autodesk notes that different view types, including schedules, can be assigned to specific Design Options. Views specific to an option can be organized with annotations and detailing, then placed on sheets to share design alternatives.
What changes in an architecture and visualization workflow?
Managing alternatives in the same model is useful for teams that keep the main design separate from options. Architectural design teams can present alternatives in separate views, while interior design projects can also explore different layouts in the context of the same model. Autodesk’s documentation covers the modeling, visibility, and sheet-presentation aspects of this workflow; it does not provide information about compatibility with specific rendering software or performance gains.
For visualization teams, the key point is to ensure that the correct option is enabled in the view being rendered. Also check the relationships between elements moved into options: in the example described in the source, moving an element can cause an error in related geometry. Revit version and interface differences should also be considered; since the video was recorded in Revit 2016, the location or appearance of commands may have changed in current versions. The sources do not include licensing terms, hardware requirements, or cost information.
Common mistakes
Mixing up the main model and option elements: Keep parts that will not change in the main model and alternative design decisions in options.
Choosing the wrong view duplication type: If annotations and detailing also need to be copied, do not use the option that duplicates only model elements.
Not checking visibility settings: In each option view, confirm that the correct alternative is selected for every option set.
Overlooking relationships between moved elements: After adding elements to an option, check for warnings or changes to related elements.
Assuming an older interface walkthrough matches the current version exactly: The steps in the Revit 2016 video may look different in a current version; verify command names and locations in the version you use.
Sources
2 sourcesSource texts are not republished; short quotes are marked, everything else is our own summary and commentary.
For offices and visualization teams, the main value of Design Options is the ability to compare alternatives in an organized way within the same model, without spreading them across separate files. In particular, creating a named view for each option can reduce confusion when preparing presentations.
Teams in Turkey should check the interface in the Revit version they use before putting this workflow into practice; the video in the sources is from Revit 2016. The documentation does not specify licensing, costs, or hardware requirements, so it would be inappropriate to make assumptions about those. Checking the relationships of elements moved into an option and the visibility settings of each view is a practical quality-control step.
Frequently asked questions
How do you create a Design Option in Revit?
In Autodesk’s Revit 2016 video, the Design Options dialog is opened from the Manage tab. First, an option set is created, then alternatives are added to it.
Can each design alternative be shown in a separate Revit view?
Yes. After duplicating a view, you can choose the option to display in the Design Options tab of the Visibility/Graphics Overrides settings in Properties.
What is the difference between Duplicate View and Duplicate with Detailing?
Duplicate View copies model elements but not annotations or detailing. Duplicate with Detailing also includes annotations and detailing from the existing view, along with model elements.