In brief
- Baking requires a UV map and an image texture or Color Attribute target for the model.
- Cycles baking uses the scene’s render settings, including the sample count and ray bounces.
- Selected to Active can transfer surface information from a high-detail object to an active low-poly object.
- A margin around UV islands helps prevent seams caused by texture filtering and mip-mapping.
What will you learn in this guide?
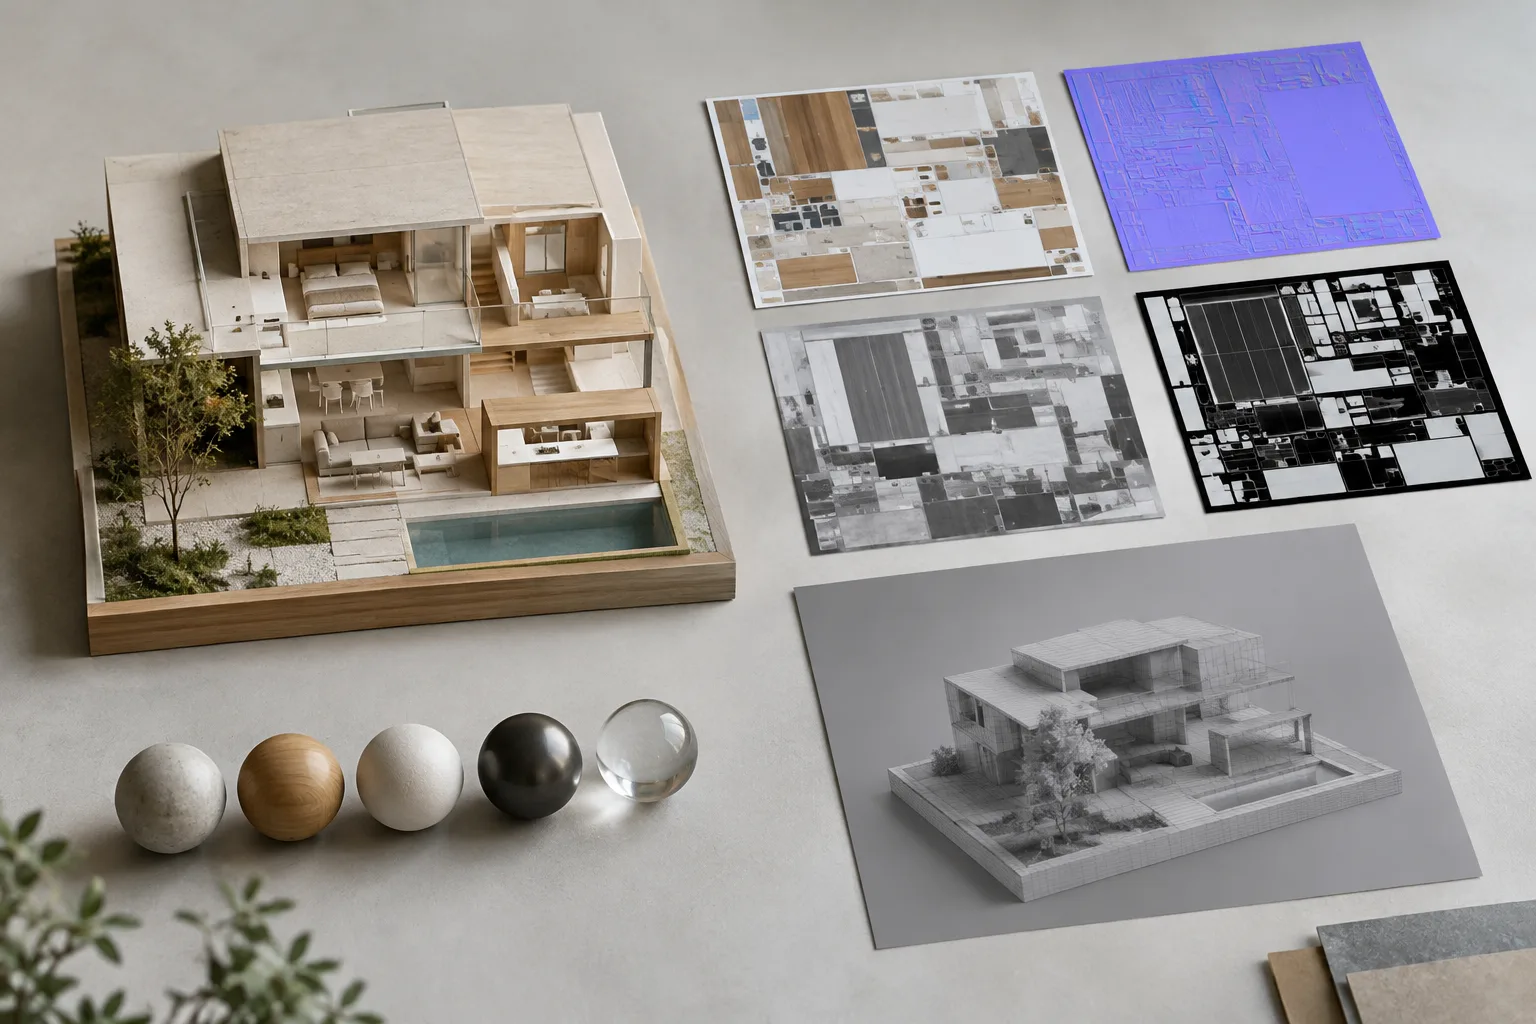
Texture baking lets you transfer Cycles shading and lighting information in Blender to an image texture or a Color Attribute layer. It can be used to prepare base color and normal maps for game engines, save ambient occlusion (AO) or procedural textures, create a starting point for texture painting, and generate light maps. In some cases, baked AO can also reduce the need to recalculate AO during a full render.
This guide covers mesh and UV preparation first, followed by the bake target and type, then Selected to Active transfers and margins. The goal is to understand what information each output represents, without mixing different bake types into a single workflow.
Requirements and preparation
You’ll need to use Cycles in Blender. The source materials don’t specify a particular Blender version or hardware requirements. The object to be baked must be a mesh with a UV map. You also need to select a target for the results: an image connected to an Image Texture node or an active Color Attribute layer.
If you’re baking to an image, set the relevant Image Texture node in the material as the active, selected target. If a material doesn’t have an active and selected Image Texture node, no image will be baked for that material. For a Color Attribute target, the active layer is used, and the active object must be a mesh.
Unwrapping UVs after most of the model geometry is complete can make things easier. You can still add or subdivide faces later, but the new geometry may require additional UV editing. Think of a UV map as the 2D representation of a 3D surface: mesh faces become islands in the UV layout, and the texture is mapped onto the surface using these coordinates.
Step-by-step baking workflow
Open the UV Editing workspace. Select UV Editing from the workspace selector in Blender’s interface. Put the model into Edit Mode in the 3D Viewport; UV unwrapping is performed in Edit Mode. You can use vertex, edge, or face selection mode.
Select faces and create UVs. Mark seams first if needed. Then select the mesh faces and apply an unwrap method from the UV menu. Review the last operation’s settings in the Adjust Last Operation panel. Use a test image to check for distortion on the model’s surface, and adjust the UV coordinates in the UV Editor if necessary.
Set the bake target. If you’re baking to an image, make sure the target Image Texture node in the material is active and selected. If you’re using a Color Attribute, its target layer must be active. Before baking, check that the correct object and target are selected; using the wrong target can prevent the expected image from being created.
Choose the bake type for your needs. In the Render Bake settings, Bake Type determines which surface information is transferred to the image. For example, Normal transfers surface normals to an RGB image, Roughness transfers the material’s roughness information, and Emit transfers the emission color. Ambient Occlusion bakes the AO defined in the World settings and ignores the scene’s lights. Shadow records shadow and lighting information. Combined brings together material, texture, and lighting, but does not include specularity. Choosing the wrong type can produce an unusable map, even if the correct target is set.
Set the required contributions. You can enable individual contributing passes for a Combined output. Direct and Indirect control direct and indirect lighting contributions; Diffuse, Glossy, Transmission, and Emit let you select the corresponding contribution types. Selecting Color alone captures surface color independently of sampling improvements. When Color is off, direct or indirect contributions are baked in grayscale; when selected alongside Color, they’re baked in color.
Transfer from high to low detail if needed. Selected to Active bakes the surface shading of selected objects onto the active object. Rays are cast from the low-poly object toward the high-poly object. You can set the ray start distance with Max Ray Distance, or with Cage Extrusion if you’re using a cage. For more control, specify a Cage Object. When using a cage, its topology, face count, and face order must match those of the base mesh. If high-poly source objects are causing memory issues, joining them before baking may help.
Check the output and margin. When baking to an image, a margin is created around UV islands by default. This helps reduce seams at UV joins caused by texture filtering and mip-mapping. Extend expands the boundary pixels outward; Adjacent Faces fills the area with pixels from neighboring faces across the UV seam. Size sets the margin in pixels. Once you’ve set the options, run Bake and check the resulting image.
Common issues
If no bake result is created, first check the UV map and target. For image output, the relevant material won’t be baked if it has no active and selected Image Texture node. If you’re using multiple materials, confirm that the target is set correctly in each one.
If seams or gaps appear, review the Margin setting around the UV islands. If a Selected to Active bake is distorted, check the positions of the high- and low-poly objects and the ray distance; if you’re using a cage, make sure it meets the topology requirements. For normal maps, the Normal Space selected during baking must match the Normal Map setting in the material. According to the Blender documentation, Tangent is the default and is appropriate in most cases.
Next steps: architecture and visualization workflows
Architecture, interior design, and archviz teams can use baking to prepare reusable surface data, AO, or light maps. Transferring normal or color information to a texture can support real-time visualization or export to another environment, but the Bake Type must match the intended result. Since bake quality uses Cycles render settings, it’s important to review settings such as sample count and ray bounces.
Start with a small model and a test image; check UV seams and margins before moving on to larger scenes. The source pages don’t specify hardware requirements or a particular Blender version. The guide content is licensed under CC BY-SA 4.0; this doesn’t specify the license status of the Blender installation or project being used. Teams should separately verify compatibility with their software environment and project goals, and account for the memory load that numerous high-poly source objects may create.
Source and license
This guide has been adapted into Turkish from the “Render Baking” and “Introduction” pages of the Blender Manual. Both sources are published under the CC BY-SA 4.0 license.
Sources
2 sourcesSource texts are not republished; short quotes are marked, everything else is our own summary and commentary.
For architecture and visualization teams in Turkey, texture baking can be useful, particularly when preparing surface data for real-time presentations or different production stages. Setting up UVs and the target image correctly from the outset can reduce the need for repeated bake operations.
Still, the method shouldn’t be treated as an automatic fix for every scene: results depend on Cycles render settings, and high-poly source objects can increase memory usage. Offices should test quality, seams, and memory usage in a small sample scene, then separately verify that their software environment and the source content’s license meet their project requirements.
Frequently asked questions
What do you need for texture baking in Blender?
The mesh to be baked needs a UV map and an output target. This can be an active, selected Image Texture image or an active Color Attribute layer.
What does Selected to Active baking do in Blender?
It transfers the surface shading of selected objects to the active object. Rays are cast from the low-poly object toward the high-poly object.
What does Margin do in UV baking?
It creates a pixel margin around UV islands to help prevent seams caused by texture filtering and mip-mapping.