In brief
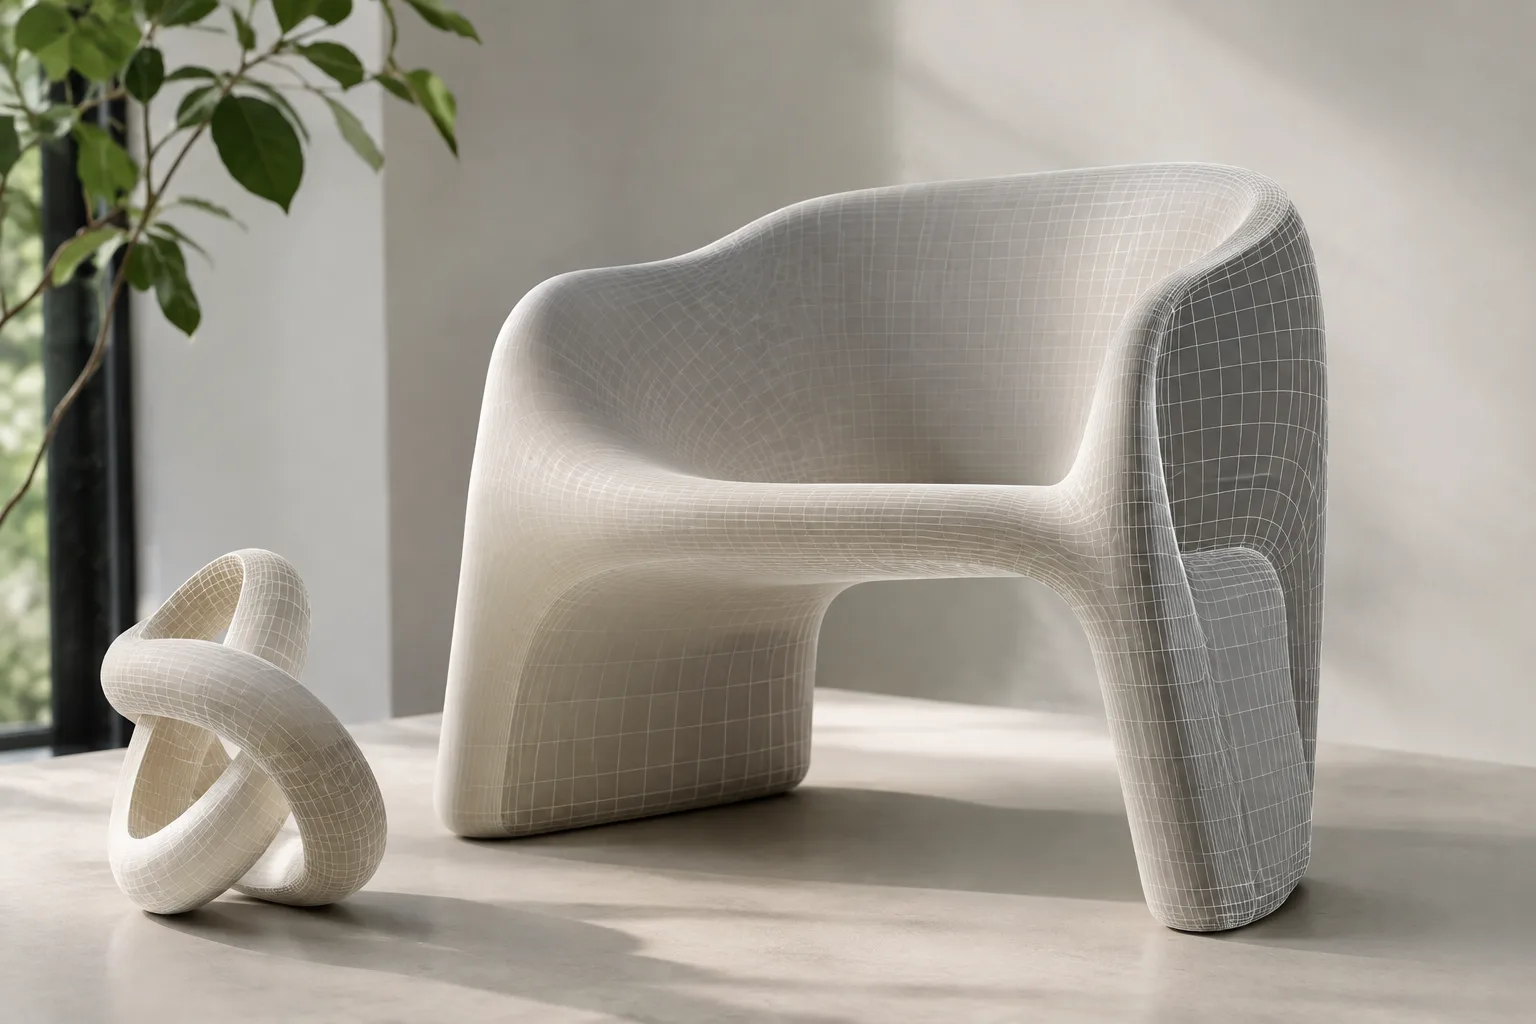
- The Shell modifier gives thickness to open-surface objects by adding inner and outer surfaces.
- The Create Camera From View command (Ctrl+C) automatically generates a camera from the active perspective view.
- The MassFX_RBody modifier supports three rigid body types: Dynamic, Kinematic, and Static.
- MAXScript can automatically apply MassFX_RBody properties (density, mass, friction, bounciness) to a scene.
In this guide, we cover three tools frequently needed when preparing architectural presentation scenes in 3ds Max: the Shell modifier, which gives objects thickness; the Create Camera From View command, which quickly generates a camera from a perspective view; and the MassFX Rigid Body system, which establishes physics-based interaction between objects in a scene. The goal is to complete an interior or product presentation scene with more realistic geometry, the correct camera angle, and, if needed, a simple physics simulation.
What you will learn
Giving realistic wall or shell thickness to an open-surface (single-shell) model with the Shell modifier
Creating a camera from the active perspective viewport with a single command
Setting the basic properties of the MassFX_RBody modifier via MAXScript
Choosing the material shader type (Blinn, Oren-Nayar-Blinn, etc.) according to the scene
Requirements
These techniques require 3ds Max 2012 or later; the MassFX_RBody modifier was first introduced with 3ds Max 2012, while the SetRBPresetMaterial method is available starting with 3ds Max 2013. For steps involving MAXScript, the command line (MAXScript Listener) or a script editor is sufficient; no separate plugin is required.
Step 1: Adding thickness with the Shell modifier
When you model a single-surface wall, door, or window piece, the surface remains zero-thickness; in the camera or render, this looks thin and unrealistic. The Shell modifier thickens the object by adding a new set of surfaces facing opposite to the existing ones; separate distances (Inner/Outer Amount) can be defined for the inner and outer surfaces. Since the modifier doesn't include sub-objects, it doesn't carry existing sub-selections up the stack; instead, selection transfer can be done using the Select Inner Faces, Select Outer Faces, and Select Edges options.
The application order is as follows: first select the object, add Shell from the Modifier List in the Modify panel, then adjust the Inner Amount and Outer Amount values according to the actual wall thickness. If you want to customize the edge profile, you can draw an open spline and assign it to the Bevel Spline field to give edges a custom cross-section; closed splines (such as Circle or Star) don't work for this field.
Step 2: Creating a camera from perspective
Once you've found the presentation angle, the Create Camera From View command is used to save it as a fixed camera. After adjusting the desired angle with Pan, Zoom, and Orbit in an active Perspective viewport, select Create Camera From View from the Views menu or use the Ctrl+C shortcut. The command creates a Target Camera matching the view and automatically switches the viewport to that camera's Camera viewport. If a camera is already selected in the scene, the command doesn't create a new camera; instead, it matches the selected camera to the active perspective view.
Step 3: Choosing the material shader type
In Standard materials, the shader type determines how the surface reacts to light. For surfaces requiring elliptical highlights such as glass, hair, or brushed metal, the Anisotropic shader can be used; for matte fabric or terracotta surfaces, the Oren-Nayar-Blinn shader, which offers additional Diffuse Level and Roughness controls, may be preferred. For metallic surfaces, the Metal shader or the simpler Strauss shader is suitable, while the Translucent shader is appropriate for surfaces that transmit and scatter light, such as frosted glass. Copying the material to a different sample slot before changing the shader type prevents the loss of map assignments not supported by the new shader.
Step 4: Physics simulation with MassFX Rigid Body
The MassFX_RBody modifier can be used to show realistic collisions between furniture or object groups in a scene. The modifier supports three rigid body types: Dynamic (controlled by the simulation and affected by gravity), Kinematic (driven by animation and able to affect dynamic objects), and Static (fixed, cannot be animated, but can use concave mesh). The example below adds a rigid body to a furniture box and sets basic physical material values via MAXScript:
furniture = Box length:40 width:60 height:45
rb = MassFX_RBody()
addModifier furniture rb
rb.type = 1
rb.meshType = 4
rb.density = 0.6
rb.staticFriction = 0.4
rb.dynamicFriction = 0.3
rb.bounciness = 0.2
This script creates a box object, adds a Dynamic-type rigid body to it, leaves the physical mesh type as Convex, and defines density, friction, and bounciness values. If you want to switch an object from Kinematic to Dynamic at a specific frame, you can add a setting like the following:
rb.switchType = true
rb.switchTypeAtFrame = 30
These two lines ensure the rigid body is driven by animation up to frame 30, after which control passes to the simulation; this can be used, for example, to trigger a shelf tipping over at a specific moment.
Impact on architectural and archviz workflow
When these three tools are used together, they provide tangible benefits for architecture firms and archviz studios: the Shell modifier shortens modeling time by making single-surface concept models appear at a thickness close to presentation quality; Create Camera From View creates consistent and repeatable camera angles for client presentations; and MassFX Rigid Body is useful for teams that typically want to show realistic tipping or collision movements of objects in animations and product introduction videos. In terms of hardware, since MassFX simulations can increase processor load in complex scenes, it's recommended to keep the number of rigid bodies limited in large scenes.
Common mistakes
Not ensuring the object's surface normals face outward before applying the Shell modifier, which leads to unexpected thickness direction.
Trying to set a concave (inward-curved) mesh as a Dynamic rigid body; this type is only supported for Static rigid bodies.
Not noticing that another camera is already selected in the scene when creating a camera; in this case, no new camera is created, and the existing camera is matched to the view instead.
Next steps
After applying these basic steps, you can enrich edge details with the Segments and Bevel Spline options in the Shell modifier, customize simulation behavior with global settings in the MassFX World panel (such as High Velocity Collisions), and expand your material library by comparing different shader types within the same scene.
Source and license
This guide has been adapted from Autodesk's official 3ds Max MAXScript help documentation and the Shell modifier, Create Camera From View, and Standard Material shader type sections of the 3ds Max 2012 online reference pages; the code examples have been rewritten based on the documented features and methods.
Sources
3 sourcesSource texts are not republished; short quotes are marked, everything else is our own summary and commentary.
For architecture firms and archviz studios in Turkey, these three tools offer practical value because they can be used directly with an existing 3ds Max license without requiring additional software costs. While the Shell modifier saves time at the concept stage and Create Camera From View increases presentation consistency, MassFX is generally useful for animation-focused projects and may not be a priority need for every office.
Automating rigid body parameters with MAXScript produces faster and more consistent results than manual adjustment, especially for repetitive scene setups (for example, scenes with many furniture objects). However, since simulation performance in large scenes can decrease depending on hardware, it's recommended that students and small offices first try these techniques on small test scenes.
Frequently asked questions
Which 3ds Max versions include the MassFX_RBody modifier?
The MassFX_RBody modifier is available in 3ds Max 2012 and later versions; the SetRBPresetMaterial method is supported starting with 3ds Max 2013.
How do you run the Create Camera From View command?
While in an active Perspective viewport, select Create Camera From View from the Views menu or use the Ctrl+C shortcut; this creates a Target Camera matching the view.
What type of objects is the Shell modifier used for?
The Shell modifier is used to add thickness to objects that are missing a part or have a single surface (open), by adding inner and outer surfaces; for example, it's preferred for models such as walls, doors, or vehicle bodies.