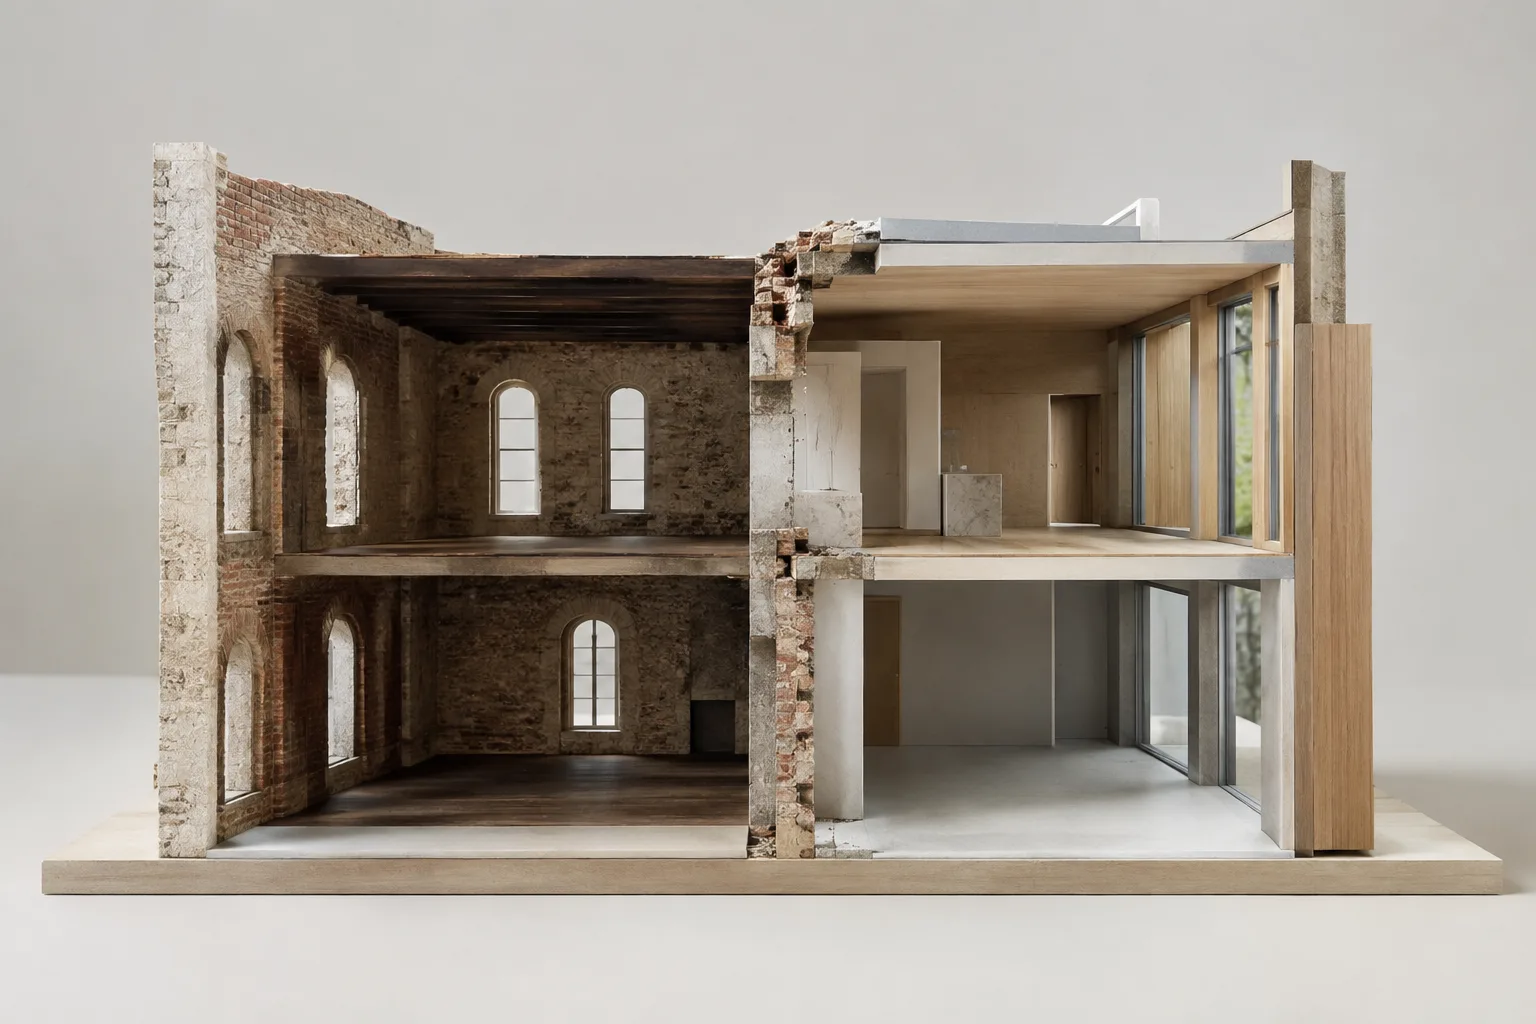
In brief
- Renovation filters show or hide elements based on their status, or apply graphic override rules to distinguish them.
- You can assign a separate Renovation Filter and Graphic Override combination to each view.
- Graphic Override rules can be defined by element type and additional criteria.
- .mod files contain only model and floor plan data; they cannot be created in Archicad 28 Solo.
Based on Graphisoft’s Archicad 28 documentation, this guide explains how to use renovation filters, views and module file settings together in renovation projects. Organizing drawings by renovation status and checking the scope of a .mod file before sharing are key parts of this workflow.
1. Create a renovation filter
A renovation filter controls whether elements are shown, hidden or distinguished by a graphic rule according to their Renovation Status. Filter settings are stored in the project. Existing filters can be edited, and new filters can be created.
Go to
Document > Renovation > Renovation Filter Options. You can also open the same window using the Reno Filter Options icon in the Quick Options bar or the relevant menu in the Renovation Palette.Select the filter you want to edit from the list at the top. To create a new filter, use
Duplicateto copy the selected filter and edit its properties. You can also change its name withRenameor remove it from the project withDelete.For each renovation status, choose
Show,HideorOverride.Showdisplays elements using their own fill, color and line settings;Hideremoves them from the view.Overridedisplays an element using the style defined in the Graphic Override rules.To use the filter in another project, export it as an XML file and import it into the other project. This lets you add the saved filter instead of recreating it.
Filter options also include additional controls to make the presentation of existing and to-be-demolished elements clearer. For existing elements, you can hide opening dimension markers or use a solid fill in section to avoid showing the wall structure. The Do not Intersect option for these elements is intended to prevent intersections of new or to-be-demolished walls from interfering with those of existing walls.
For to-be-demolished elements, options include hiding door, window, skylight and opening symbols, as well as opening dimension markers, zones or objects. Transparent Fill indicates the location of an element to be demolished using lines without a fill; you can also mark doors and windows with an X symbol. The Do not Intersect option here is intended to prevent intersections of new or to-be-demolished walls from interfering with those of existing walls.
| Setting | Recommended value | Effect |
|---|---|---|
| Renovation status | Show | Displays the element using its own fill, color and line settings. |
| Renovation status | Hide | Hides the element in the view. |
| Renovation status | Override | Displays the element using the defined Graphic Override style. |
| Element to be demolished | Transparent Fill | Indicates the element’s location with lines and no fill. |
| Door and window to be demolished | X symbol | Places an X mark over the elements. |
2. Edit Graphic Override rules
Open the rules from Document > Graphic Overrides > Graphic Override Rules. The relevant button in the Renovation Filter Options window also takes you to the same management area. A rule’s criteria determine which elements it applies to, while Override Style determines how those elements appear.
Use
Newto add a rule. Define its criteria and appearance style in the relevant panels. The rules corresponding to the three renovation statuses cannot be duplicated, and their criteria cannot be edited.Select the element types the rule should apply to using Element Type, the first row in the criteria list. Sub-elements such as Curtain Wall Panel or Morph face cannot be selected here.
To set additional conditions, click
Add...to open the Parameters & Properties list and add criteria. Available options depend on the elements defined above; as stated in the source, IFC Properties are not available in this interface.In the Override Style section, select the line, fill, pen or surface properties you want to use. For fill controls, you can choose which categories are affected: Drafting Fill, Cover Fill and Cut Fill. Surface overrides can be applied to cut surfaces, uncut surfaces or both.
When you have many rules, you can use groups, drag and drop rules between groups, and search by name. When a Layer or Layer Combination criterion is added, the rule affects elements visible in the relevant Layer Combination. So when creating the rule, also consider which layers are visible in the view where it will be used.
3. Assign the filter to a view
Open the settings for the view in the Navigator. You can also use the context menu for the open view tab or the Settings button at the bottom of the Navigator View Map. In the General panel of the View Settings window, select a filter in the Renovation Filter field. The same panel also contains other view settings, including Layer Combination, Scale, Pen Set, Model View Options and Graphic Override.
Saving the filter in the view settings lets you prepare views for different drawing purposes in the same project. However, if the Renovation Filter field is greyed out, the source viewpoint may be Manual Update or Drawing. According to Graphisoft’s documentation, you can change the viewpoint to Auto Update or create a new view with the required filter setting. The Graphic Override field may also be unavailable under the same source conditions.
When saving a view, the Get Current Window’s Settings button transfers the active window’s settings to the View Settings window. Since this can change saved values, check the existing view settings before saving. Settings saved for 3D views may also include display preferences such as 3D projection and filtering.
4. Check the scope when preparing a .mod file
In Archicad 28, creating a .mod file is not available in Archicad 28 Solo. A file in module format can be placed as a Hotlink Module or merged into a project. Its contents are limited to model and floor plan data; it does not carry section, elevation, interior elevation, worksheet, detail or 3D Document data. Keynotes in used labels and attributes actually used by elements are included in the file. As a result, a .mod file is smaller than a .pln file.
While in the floor plan, go to
File > Save Asand select the.modformat. A warning states that the module will contain floor plan data only.In the save options, choose all stories, the current story or a specific story range. When you select the current story or a range, you can also include relevant elements displayed on those stories according to their Show on Stories setting.
Define the element scope.
All elements (hidden and visible)saves all elements in the floor plan, regardless of renovation or design option status.Visible elements onlydepends on conditions such as visible layers, partial structure display, active Design Options and whether the element is existing.If the module contains nested Hotlink or Xref connections, consider breaking those connections if the source files will no longer be available or the links are no longer needed.
What changes in architecture and interior design workflows?
Renovation filters help present existing conditions, demolition and new construction in different views from the same model. Offices can adjust filters and graphic rules for each drawing purpose, then save those settings in view configurations. Options for hiding objects or zones to be demolished can help bring the necessary information to the fore in renovation drawings. The result depends on the renovation statuses assigned to elements and the view’s own settings.
The scope of a .mod file should also be checked when sharing. Because the file does not carry every type of drawing, you should not assume that section or 3D Document data will be included in the module. Review stories, element filters, visibility conditions and nested links before saving. The source documents do not provide hardware requirements or licensing costs, so no further technical conclusions can be drawn on those topics.
Common mistakes
Focusing only on color settings when an element does not look as expected: also check its renovation status and whether the filter is set to Show, Hide or Override.
Overlooking why the filter field is greyed out in a view: check whether the source viewpoint is Manual Update or Drawing.
Assuming that a
.modfile contains section, elevation or 3D Document data: these data are not included in the module’s scope.Assuming that
Visible elements onlytransfers every element: this option depends on conditions such as visibility, the active design option and renovation status.
Sources
3 sourcesSource texts are not republished; short quotes are marked, everything else is our own summary and commentary.
For offices in Turkey working on renovation and interior transformation projects, the practical value of this workflow lies in producing drawing views for different purposes from the same model. Defining filter and view settings in advance can improve drawing readability, but renovation statuses must be assigned correctly and rules need to be tested carefully.
When sharing a .mod file, it is important to check its scope and visibility options: the module does not carry all of the project’s drawing data. Since the documentation does not provide hardware or cost information, those topics need to be assessed separately. The most common risk is overlooking the source type of the view or the conditions for which elements will be included in the module, rather than the filter itself.
Frequently asked questions
How do you create a renovation filter in Archicad 28?
Open the `Document > Renovation > Renovation Filter Options` window and set how elements are handled according to their status: Show, Hide or Override. The filter can be stored in the project or exported as XML.
What data does an Archicad 28 .mod file contain?
A .mod file contains model and floor plan data. Section, elevation, interior elevation, worksheet, detail and 3D Document data are not included.
Can you create a .mod file in Archicad 28 Solo?
No. According to Graphisoft’s Archicad 28 documentation, creating a .mod file is not available in Archicad 28 Solo.