In brief
- In Twinmotion, Phasing and View sets are two separate tools with similar functions, both working through showing and hiding elements via the Scene graph.
- The Phasing tool is used to create time-lapses and sequences, while View sets can be applied to images, panoramas, video parts and sequence keyframes.
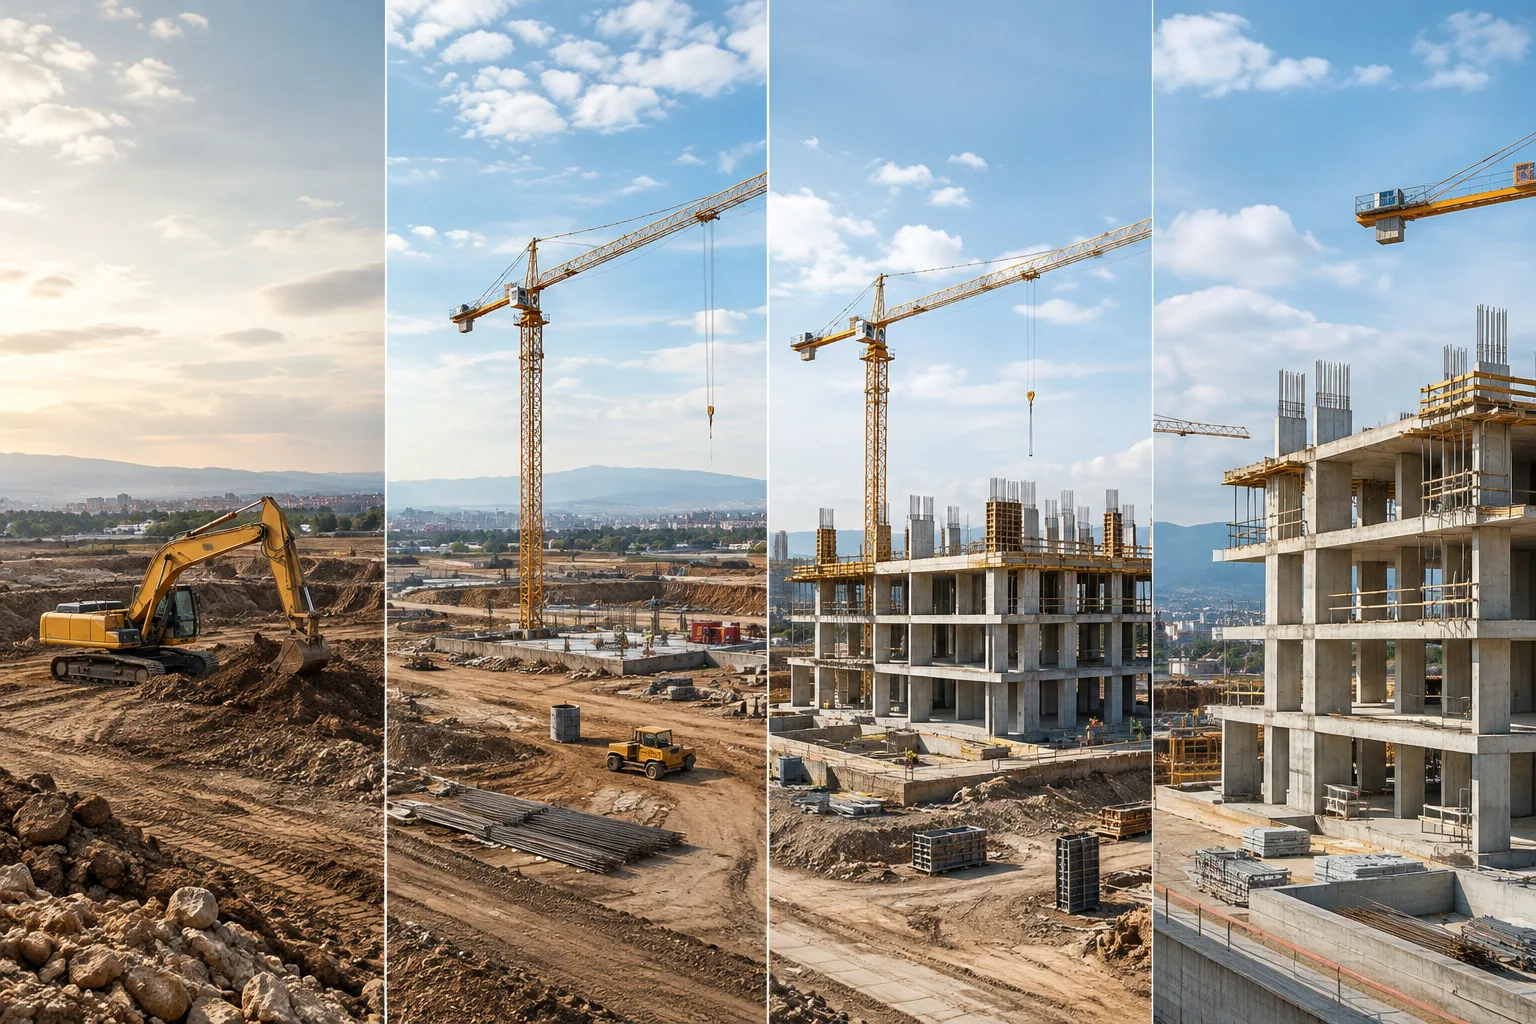
- The Twinmotion Library includes construction sets such as excavators, construction materials, cranes and construction workers, which can be added to the scene to show project progress.
- Phasing groups created in the Media dock are edited through parts and keyframes; Fade to black or Fade to white transition effects can be added between parts.
In this guide, you'll learn how to present a construction project's phases as a time-lapse video using the Phasing tool and View sets features in Twinmotion. These tools can be used directly for the "before-after" or construction progress presentations often needed by architectural visualization teams.
What you'll learn
After following this guide, you'll be able to:
Progressively reveal a project's construction phases through the Scene graph
Create time-lapse videos with the Phasing tool and scene variations with View sets
Add keyframes between video parts and apply transition effects
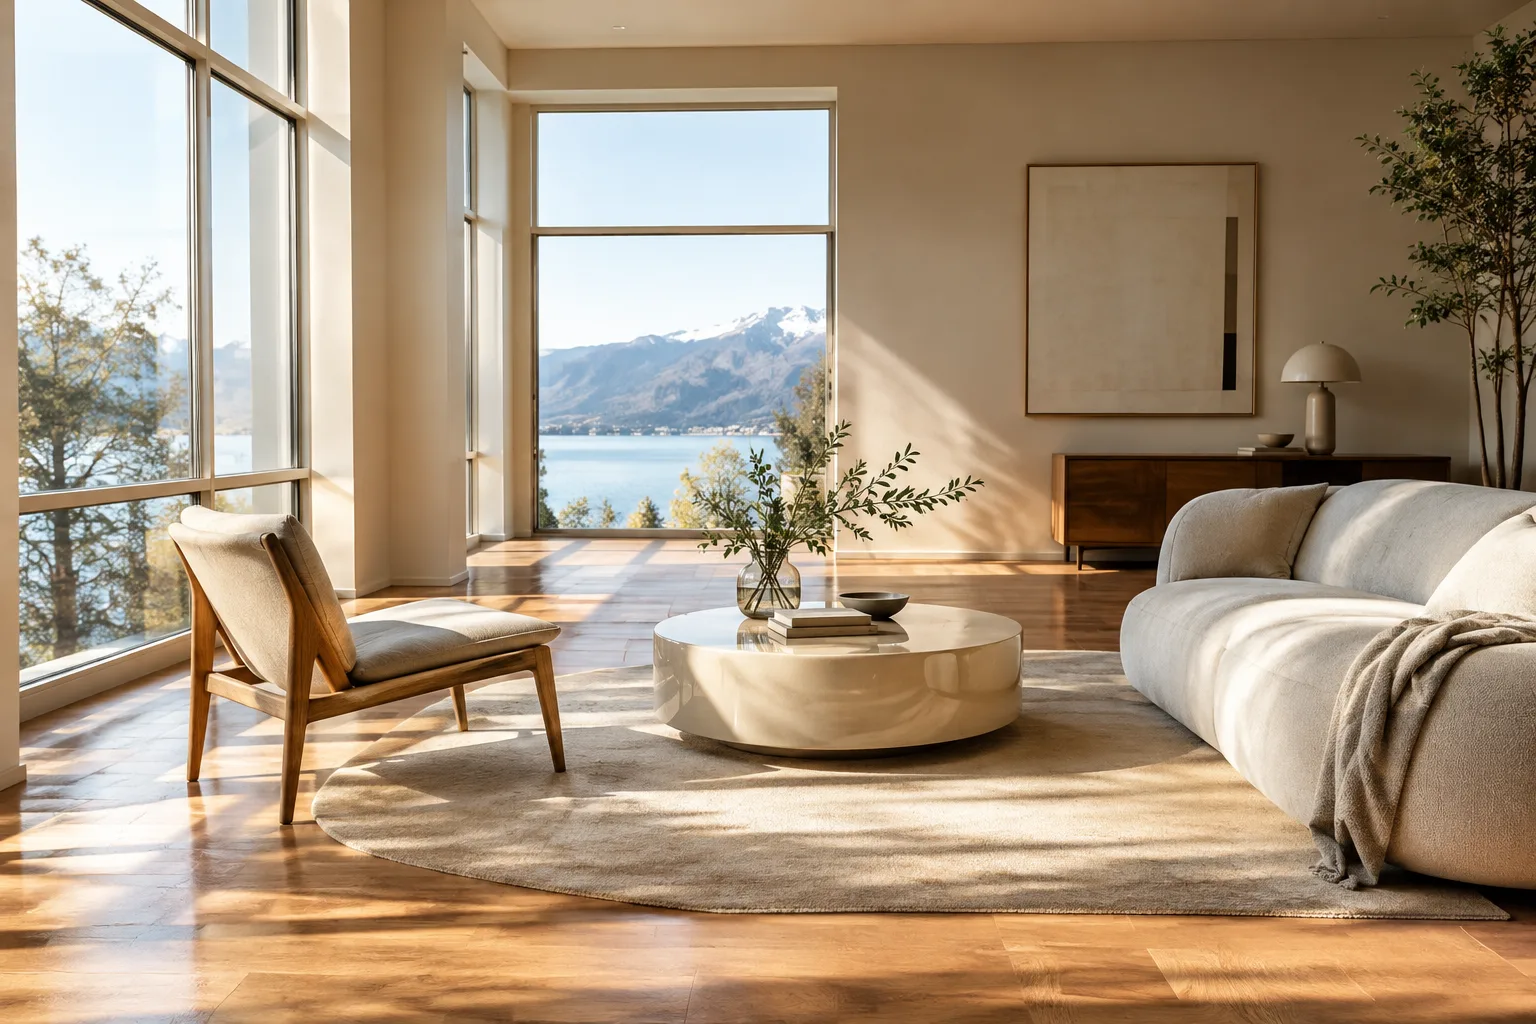
Save multiple versions of the same scene with different lighting and object visibility
Requirements
Twinmotion (version number not specified in sources)
An imported 3D model or scene
Construction sets accessible from the Twinmotion Library (assets such as excavators, cranes, construction workers)
Step by step: Showing construction phases with Phasing
According to Twinmotion documentation, phasing groups and View sets work by determining which elements are shown or hidden in the Scene graph. Each phase or View set contains only the scene elements you want to display. An example progression could be set up as follows:
Phase 1: To show the start of the project, create a phase where only the terrain is visible, then add an excavator from the Library.
Phase 2: Remove the excavator and show progress by adding other assets such as construction workers and equipment.
Phase 3: Make the building's concrete slab visible via the Scene graph.
Final phase: Progressively reveal the scene's elements in each subsequent phase to show the project's final state.
To turn this flow into a video, click the Video icon in the Media dock, then use Add video to create the first keyframe and first part. Change the viewpoint and click the Create keyframe (+) icon to add new keyframes. Use the Add video part icon to start a new video part.
If a smooth transition is desired between parts, collapse the part and select Fade to black or Fade to white from the Transition icon; to remove the transition, select Cut from the same menu.
Scene variations with View sets
For teams who want to show multiple versions of the same scene with different lighting and object visibility, View sets can be used. Each View set is based on the same Twinmotion scene but carries its own lighting and visibility settings. These View sets can be saved and applied to the scene, videos, sequences, images and panoramas — making it possible to compare different versions of the same scene repeatedly without remodeling.
Time-lapse lighting effect: Start / End Ambience
For visual time-lapses such as showing a transition from sunrise to sunset within a video part, the "Start / end ambience" command in the Part menu is used. This command sets the start and end points for the part's first and last keyframe; settings can then be changed via the Env, Camera, Render and FX tabs in the Ambience panel.
Significance for architecture and archviz workflows
For architecture and interior design offices working with construction firms, Phasing and View sets are a tool that can be used directly in investor presentations or site progress reports. No additional plugin or license is required; the feature is located within Twinmotion's own interface (Media dock, Scene panel, Ambience panel). A point to note is that since these operations rely on visibility management in the Scene graph, elements in large and complex scenes need to be organized in an orderly manner; otherwise it becomes difficult to track which object will be visible at which phase.
Common mistakes
Not organizing elements in the scene graph into logical groups beforehand causes confusion when creating phases.
Confusing Phasing with View sets: Phasing is designed for time-lapse videos/sequences, while View sets are designed for fixed variations applied to images, panoramas, video parts and keyframes.
Not using copy-paste shortcuts (Ctrl+C / Ctrl+V) instead of re-entering Ambience settings individually for each keyframe wastes time.
Next steps
After trying Phasing and View sets, you can export the video you created via the Export panel in the Media dock, experiment with transition effects between different parts, and compare real-time (Standard/Lumen) or Path tracer modes from the Render tab in the Ambience panel.
Source and license
This guide has been adapted into English from the "Phasing and View Sets", "Creating Videos" and "Managing Phasing Groups" pages of Epic Games' official Twinmotion documentation.
Sources
3 sourcesSource texts are not republished; short quotes are marked, everything else is our own summary and commentary.
For architecture and construction offices in Turkey using Twinmotion, Phasing and View sets offer a practical way to prepare site progress presentations and investor videos without any extra software or license cost. It's a feature that can directly respond to clients requesting "process visualization," especially in residential and public project tenders.
However, this tool requires good familiarity with Twinmotion's existing interface (Media dock, Scene graph, Ambience panel); no hardware or additional installation requirement is specified in the documentation. Teams need to pay attention to scene organization early on in order to use this feature efficiently, otherwise phase management is expected to become more difficult in complex projects.
Frequently asked questions
What is the difference between Phasing and View sets in Twinmotion?
The Phasing tool is used to show a construction project's phases as time-lapse videos and sequences, while View sets are used to apply variations of the same scene with different lighting and object visibility to images, panoramas, video parts and keyframes.
How are phasing groups created and managed?
Phasing groups are created via the Media dock; phases within groups can be renamed, copied, pasted and deleted. Each track within a phasing group, i.e. the row where phases are arranged, can be renamed, copied, pasted and deleted from its own menu; this track concept is different from the separate 'part' concept added to videos. Phases can be rearranged by dragging and dropping them on the timeline.
How do you add a transition effect between video parts?
After collapsing the relevant video part, click the Transition icon and select Fade to black or Fade to white from the menu; to remove the transition, use the Cut command from the same menu.