In brief
- NVIDIA Instant NeRF can train a scene in minutes using the neural radiance field (NeRF) technique.
- Setup requires Visual Studio 2019/2022, an up-to-date CUDA Toolkit, Python 3.7+ and CMake 3.21+.
- COLMAP is used to determine camera positions; input photos should follow photogrammetry principles — sharp and overlapping.
- The software can render full-quality animations from a scene using a Bézier-curve camera path editor.
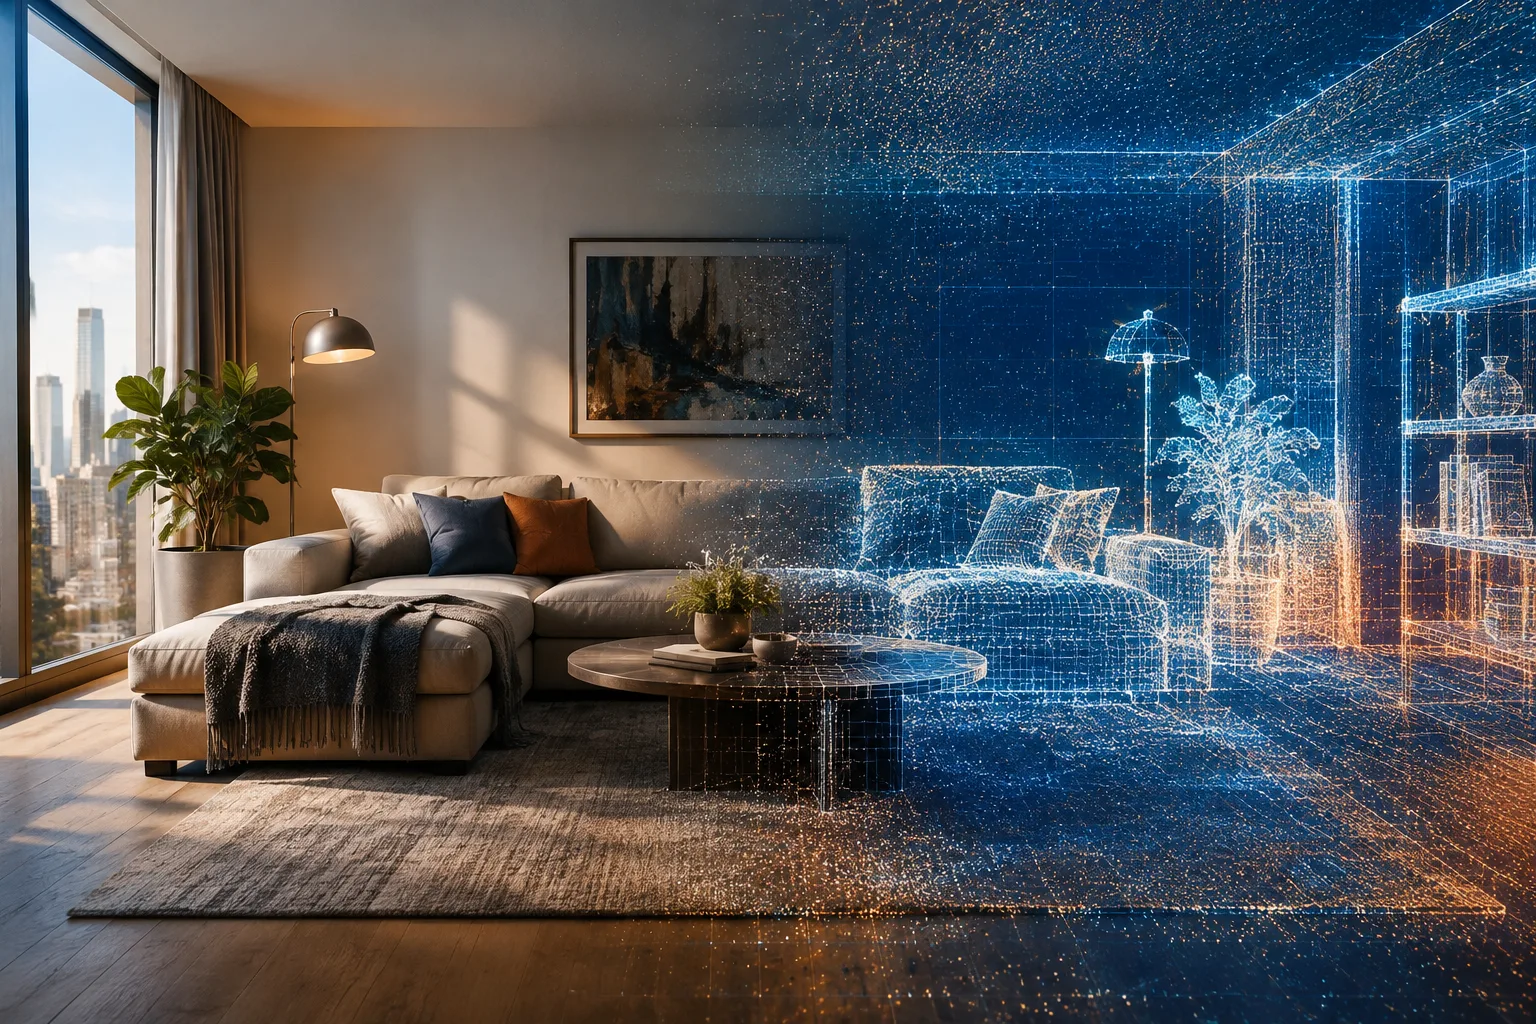
Instant NeRF (NGP Instant NeRF), developed by NVIDIA, is an open-source tool that makes it possible to train a 3D scene from a small number of photos using the neural radiance field (NeRF) technique in just minutes. This article guides you through setting up the tool from scratch, training your first scene, and creating a camera path animation.
What you'll learn in this tutorial
Instant NeRF's installation requirements
Principles for capturing quality input photos
Training a scene using the GUI
Rendering animation with a Bézier-curve camera path
Requirements
Instant NeRF requires an NVIDIA GPU; cards with tensor cores offer better performance. Binary builds are available for Windows, but anyone wanting to use the Python bindings or run it on Linux needs to build from source. The components required for building are as follows:
Windows: Visual Studio 2019 or 2022
Linux: GCC/G++ 8 or later
CUDA 11.5 or later (Windows) or CUDA 10.2 or later (Linux)
CMake 3.21 or later
(Optional) Python 3.7 or later, for interactive bindings
(Optional) OptiX 7.3 or later, for faster mesh SDF training
(Optional) Vulkan SDK, for DLSS support
According to NVIDIA's own blog post, building has also been successfully tested with Python 3.9 and CMake 3.22; some users prefer these versions.
Step-by-step setup and first scene
1. Clone the repository
git clone --recursive https://github.com/nvlabs/instant-ngp
cd instant-ngp
This command downloads the entire source code along with its submodules. Windows users should run the process in the developer command prompt.
2. Build with CMake
cmake . -B build
cmake --build build --config RelWithDebInfo -j
If the build takes too long or fails, it may be due to insufficient memory; in that case, try again without the -j flag.
3. Test with the sample scene
./build/instant-ngp --scene data/nerf/foxThis command trains a fox scene included with the repo and opens the interface. On Windows, backslashes need to be used instead.
4. Prepare a scene with your own photos. Approach the shoot with photogrammetry logic rather than documentary photography: objects in the scene should remain stationary throughout the shoot, images should have no motion or focus blur, and a wide-angle lens is advantageous since it covers more area. Camera positions are determined using COLMAP, so photos must overlap with each other and be sharp.
5. Watch the interface and stop training. Once training begins, the loss graph flattens out significantly within the first 30 seconds; most of the image quality is achieved during this time, though the scene may continue to improve for a few more minutes. You can stop training at any point (T key) to increase the viewer's frame rate.
6. Create animation with a camera path. The camera path editor in the interface generates a Bézier-curve camera trajectory from each position you add while navigating the scene using "Add from Cam". You can preview the animation with "Read", and save the camera path once you're satisfied with the result. To render a full-quality video, you need to use your saved NeRF snapshot and the camera path file together with the render script in the scripts folder; for example, the scripts/run.py script takes a saved scene and camera path and produces a video file at the duration, frame rate, and resolution you specify.
Common errors
If COLMAP fails to accurately determine camera positions, the result will be distorted; this is most often caused by motion or blur during the shoot.
If the scene's bounding area is defined too large or too small, quality may suffer; in this case, you may need to adjust the aabb_scale parameter.
Automatic architecture detection may fail when multiple GPUs are installed; in this case, environment variables should be used to select the correct GPU.
Next steps
After completing the basic workflow, you can use the Snapshot section in the tool's GUI to save and reload the trained model, and examine the scene with different render modes and debug visualizations. For those looking to automate experiments, the Python bindings allow all GUI features to be accessed from the command line.
Source and license
This article has been adapted into Turkish from the technical guide titled "Getting Started with NVIDIA Instant NeRFs," published on NVIDIA's official developer blog, along with information from NVIDIA's Instant NeRF introduction page. The installation commands were taken from the Apache-2.0 licensed instant-ngp project page (the camenduru/instant-ngp repository accessed via Hugging Face) and preserved in their original form.
Sources
3 sourcesSource texts are not republished; short quotes are marked, everything else is our own summary and commentary.
Instant NeRF is a practical experimentation tool for visualizers who want to quickly turn a space into 3D from a small number of photos; it stands out for including the background in the scene, preserving environmental context that is often lost in classic photogrammetry. Our recommendation for offices in Turkey is to first try it with the ready-made Windows binary on a suitable NVIDIA GPU, and move to building from source if needed.
However, the tool requires a technical setup process: familiarity with Visual Studio, CUDA, CMake, and optionally the Python environment speeds things up. Testing the process with a few trial scenes before using it in a production environment will reduce wasted time.
Frequently asked questions
What hardware is required to run Instant NeRF?
An NVIDIA GPU is required; cards with tensor cores offer better performance. The results shared in the sources were obtained with an RTX 3090.
How long does it take to train a scene with Instant NeRF?
Most of the visual quality of training is achieved within the first 30 seconds, though training can continue for a few more minutes until the loss graph flattens out.
Is Instant NeRF free?
Yes, the software is offered free of charge for individual use via GitHub.