In brief
- Settings Presets in Enscape can be stored either as a .json file or embedded inside the CAD project file.
- The Custom Preset window consists of five tabs: Main, Image, Atmosphere, Sky and Output.
- The Rendering Styles section offers five style modes: White, Polystyrol, Light View, Sketch and Watercolor.
- Legacy settings from versions prior to Enscape 2.6 can be imported as Legacy Settings (.xml) via the Import button.
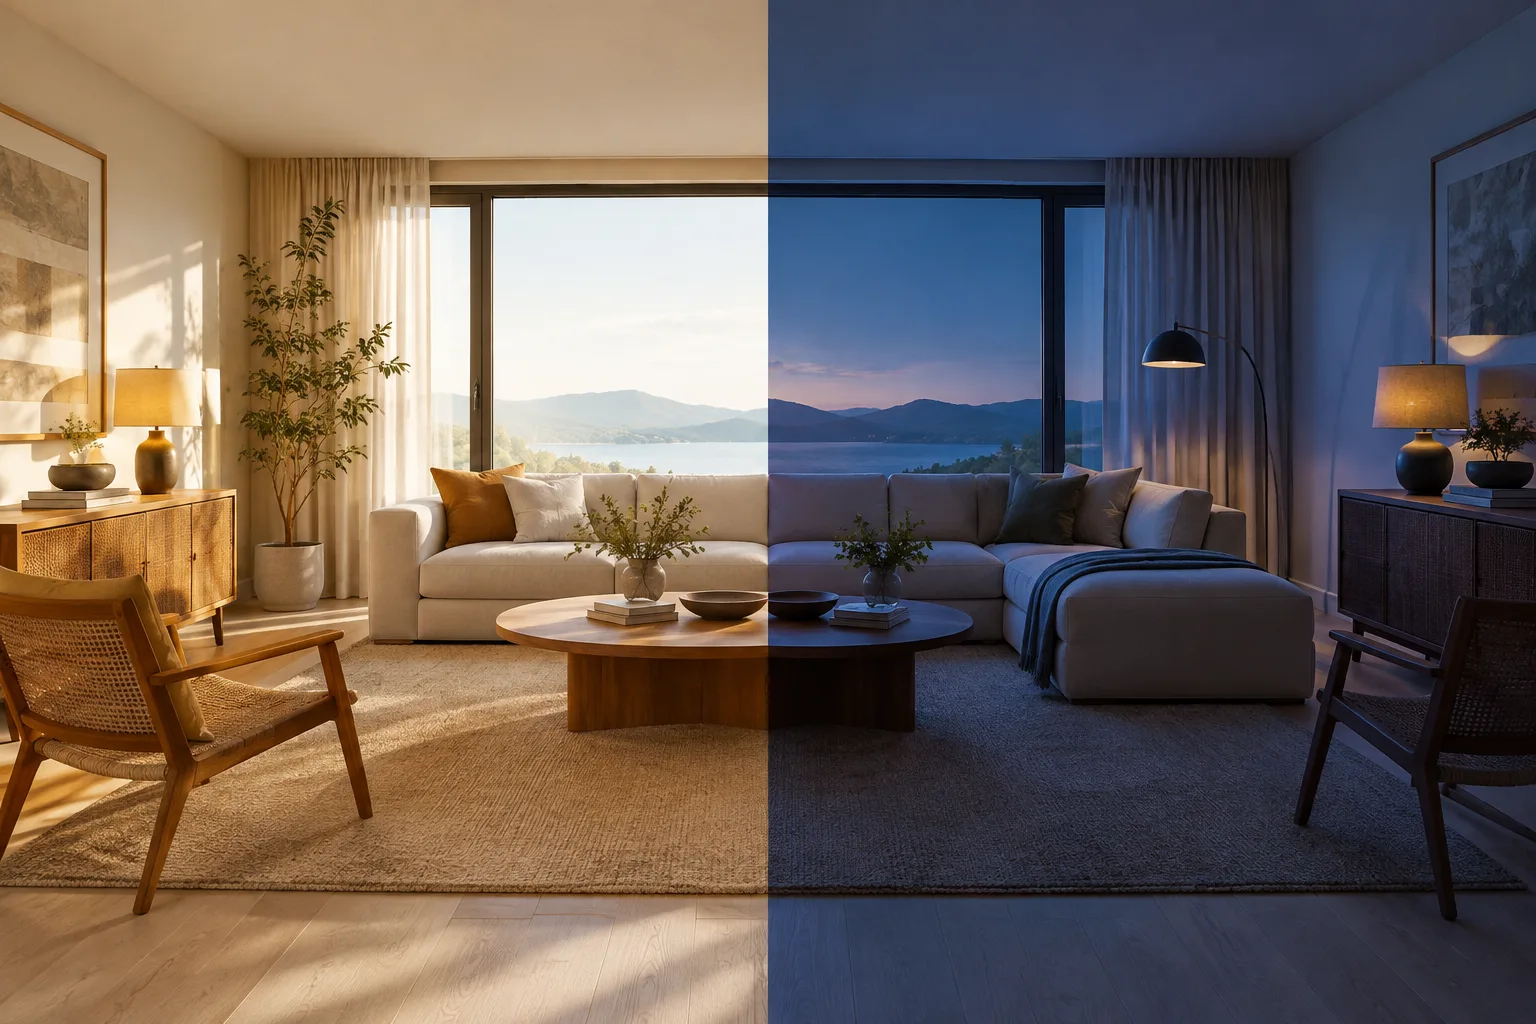
Enscape offers the Visual Settings menu, which lets you manage the look of architectural presentation visuals from a single window. The Settings Preset system within this menu, together with the Rendering Styles options, allows offices to quickly switch between different presentation styles on the same project. This guide, based on information from Chaos's official Enscape documentation, explains preset management and style modes step by step.
What is a Settings Preset and how do you create one?
The Visual Settings window opens from the icon on the right side of the Enscape interface. If the preset list isn't visible inside the window, click the small arrow icon in the mid-left part of the panel to expand the Settings Presets panel.
To create a new preset:
Click the blue Create Preset button in the
Visual Settings › Settings Presetspanel.Keep the automatically suggested preset name or type a new one.
Once created, any setting changes made on the right side of the window are automatically saved to this preset.
By default, every project includes a preset called Custom Preset. Right-clicking the selected preset lists options such as Rename, Duplicate, Save as file…, Reset to default and (if more than one preset exists) Delete.
Presets can be stored in two ways: embedded inside the CAD project file (default behavior) or saved as a separate .json file on the computer. Offices that want to reuse the same settings in another project can export the preset with Save as file… and then load it into the other project using the Import button.
Avoiding the loss of settings from older versions
When upgrading from a version prior to Enscape 2.6, previous Settings Presets get overwritten. To prevent this data loss, the preset files from the older version must be moved out of the default location, C:\Users\%USERNAME%\Documents\Enscape\Settings, before updating. These files can then be imported later via the Import button as Legacy Settings (.xml); the imported settings can, if desired, be exported again as a new .json file for reuse in other projects.
What settings are in the Custom Preset tabs?
The Custom Preset window is divided into five tabs: Main (style, camera, render quality), Image (color corrections and effects), Atmosphere (fog, lighting, wind), Sky (horizon, clouds, skybox) and Output (resolution and export).
| Setting | Recommended value / range | Effect |
|---|---|---|
| Rendering Quality | Draft / Medium / High / Ultra | Affects the complexity of light calculations, and thus image quality vs. performance |
| Resolution (Output) | min. 500×500, max. 8192×8192 px | Determines the pixel resolution of the output image |
| Panorama Resolution | Low 2000×4000, Normal 4000×8000, High 8000×16000 px | Determines the size of 360° panorama images |
| Video Compression Quality | Email, Web, BlueRay, Maximum, Lossless | Balances file size against compression artifacts |
| Ambient Brightness | Only effective in Draft mode | In Draft quality, compensates for multi-bounce lighting with atmospheric brightness; at higher quality, full Global Illumination takes over |
It's worth remembering that the Ambient Brightness setting only functions in Draft quality mode, since higher quality levels use full Global Illumination; otherwise, trying to adjust this setting at high quality has no effect.
Producing different presentation languages with Rendering Styles
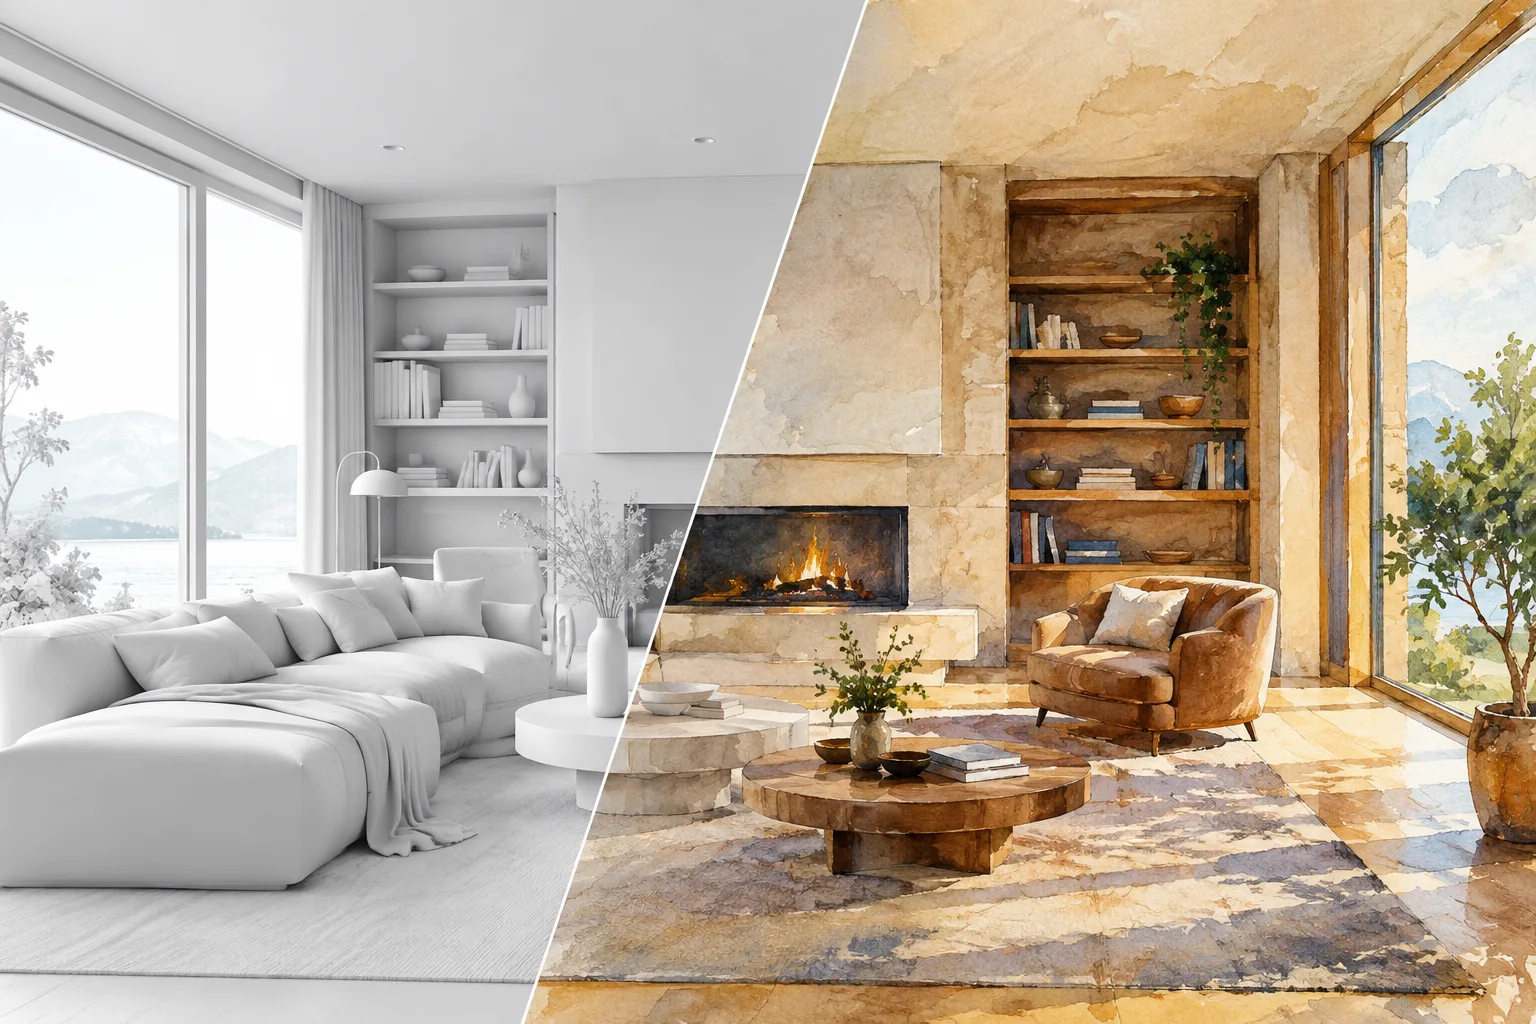
Enscape's Style section offers five render modes: White, Polystyrol, Light View, Sketch and Watercolor. These modes can be combined with the Outlines tool to achieve different visual languages.
White Mode turns all non-transparent materials white, emphasizing form and volume; it's frequently used for conceptual and schematic design presentations. The Selective White Mode feature lets you exclude categories such as plants, people, vehicles or furniture from the white effect, though this feature only applies to ready-made and custom assets from the Enscape Asset Library.
Polystyrol Mode creates the look of a polystyrene material with sunlight filtering through fine geometry, and additionally reveals a Transmission setting.
Light View Mode displays the amount of light falling on a surface as a heat map. According to Chaos's documentation, "Enscape Light View is not a professional or fully accurate light analysis tool, it only provides an approximate representation."
Sketch Mode produces a pen or pencil sketch look; it can be set to black-and-white, grayscale or colored pencil. Watercolor Mode, meanwhile, turns the scene into a real-time watercolor painting.
How do these settings affect the architectural visualization workflow?
The Settings Preset system is particularly important for offices where multiple users work on the same Revit or SketchUp project. Since presets are embedded inside the project file, teams working on BIM360 or a shared drive need to update the central project using the Sync with Central button before changing views or presets; otherwise, synchronization errors can occur. Rendering Styles, meanwhile, make it possible to switch between different narrative languages with a single click in design presentations—early-stage concept sharing (White Mode), manufacturing appearance (Polystyrol), or a hand-drawn feel (Sketch, Watercolor)—which saves time especially in client presentations.
Common mistakes
Updating from an older Enscape version to 2.6 or later without backing up preset files first, causing existing presets to be overwritten.
Tweaking Ambient Brightness in Draft quality mode and not understanding why the result doesn't change at high quality; this setting is only effective in Draft mode.
Trying to exclude custom assets by category in Selective White Mode; this option only applies to Enscape Asset Library categories.
Changing the Visual Preset or View on shared BIM360 projects without performing Sync with Central first, which can lead to synchronization errors.
Sources
3 sourcesSource texts are not republished; short quotes are marked, everything else is our own summary and commentary.
For architecture and interior design offices in Turkey, Enscape's preset system delivers significant time savings, especially for recurring presentation needs on a project basis. Being able to switch between different languages within seconds on the same project—White Mode for the concept stage, a standard render for building permit visuals, Watercolor for client presentations—reduces workload particularly during multiple revision cycles.
On the other hand, the fact that presets are embedded inside the CAD file requires care on shared Revit or BIM360 projects; skipping the Sync with Central step before synchronization can lead to settings being lost within the team. Having offices regularly back up their preset files in .json format would be a useful habit, both during version upgrades and for establishing standards across teams.
Frequently asked questions
Where are Enscape Settings Presets stored?
Presets are stored inside the CAD project file by default; optionally, they can also be saved to the computer as a .json file using the Save as file… option.
How can presets from before Enscape 2.6 be recovered?
Preset files from the older version must be moved out of the default Settings folder before updating, and then imported in the new version via the Import button as Legacy Settings (.xml).
What is Light View Mode used for and how reliable is it?
Light View Mode displays the amount of light falling on a surface as a heat map; however, according to Chaos's documentation, it is not a professional or fully accurate light analysis tool, only an approximate representation.