In brief
- The Physical Motion Blur add-on offers controls for shutter angle or shutter speed.
- The add-on requires Blender’s standard Motion Blur setting to be enabled first.
- The add-on works with Eevee and Cycles.
- For scenes with particles and physics systems, baking before rendering is recommended.
What will you learn in this guide?
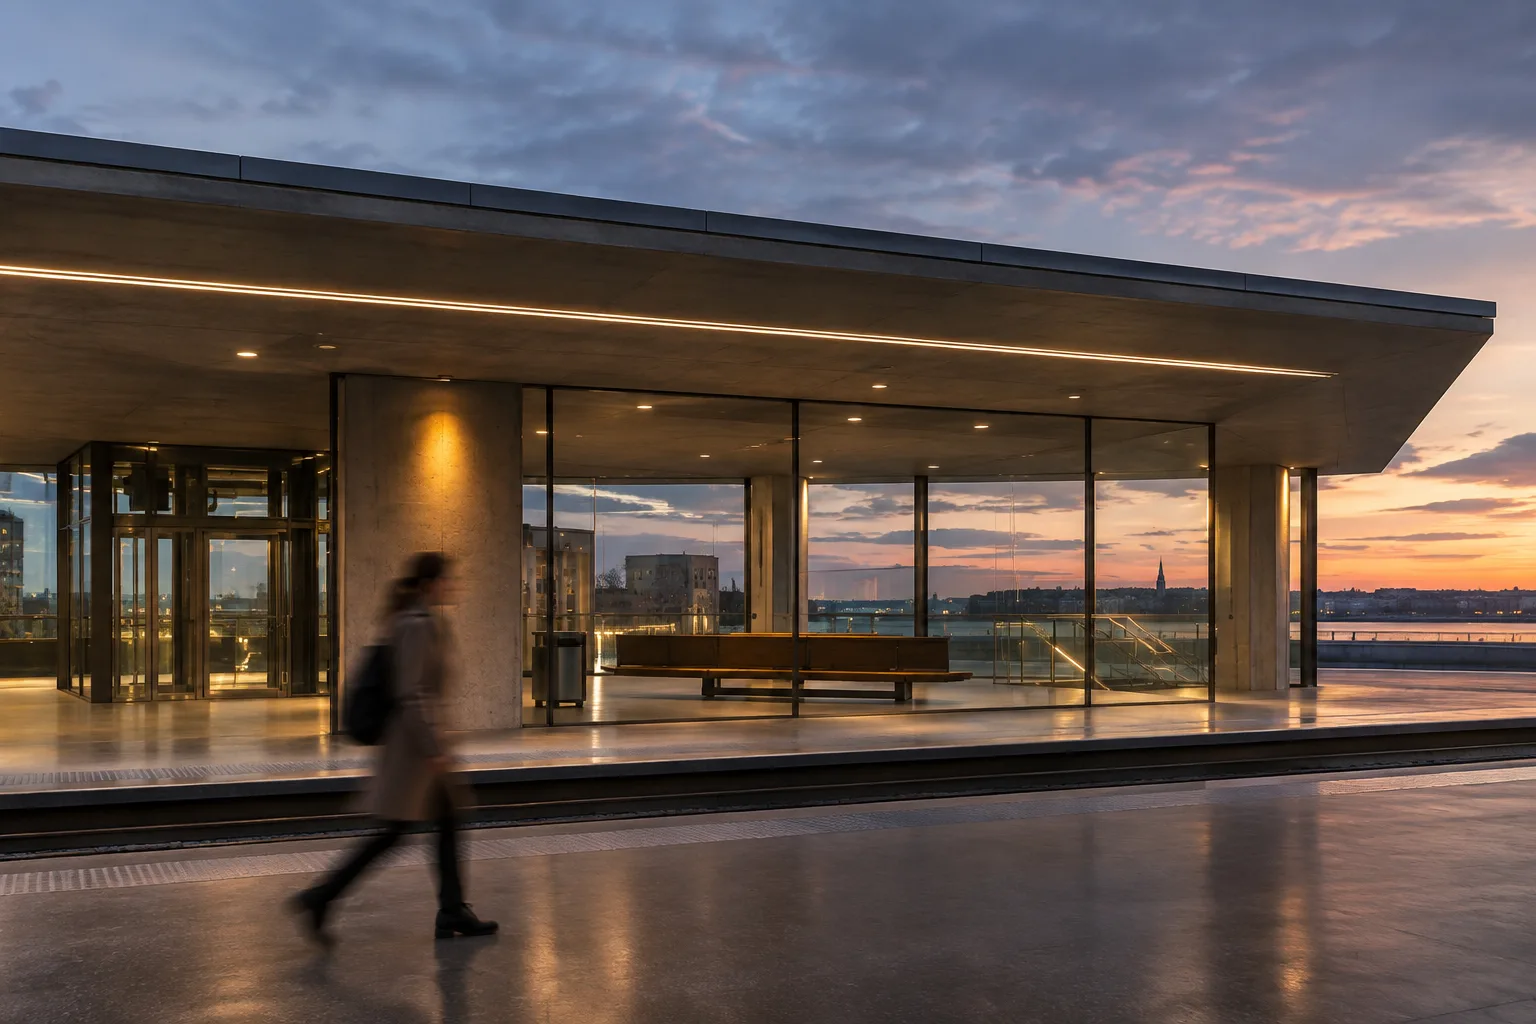
Motion blur makes a moving object leave a trail in the direction of its movement, rather than appearing perfectly sharp in an animation frame. In architectural animation, it can help make movement feel more natural—for example, people walking, spinning propellers, or vehicles passing through the frame. Blender controls this effect through its built-in render settings. The Physical Motion Blur add-on makes it easier to adjust using camera concepts such as shutter angle and shutter speed.
In this guide, we’ll first look at the difference between the add-on’s angle and speed modes. Then we’ll cover Blender’s built-in controls, considerations for scenes with physics, and limitations to check when evaluating the result. The goal isn’t to prescribe one “correct” value, but to help you choose the right control method for how movement is set up in your scene.
Requirements
This workflow requires Blender, an animated scene, and Eevee or Cycles as the render engine. Physical Motion Blur is listed as an add-on on the Blender Extensions page, which says it supports both render engines. Blender’s built-in Motion Blur setting must be enabled before using the add-on. The add-on page doesn’t specify compatibility with a particular Blender version or any additional system requirements, so don’t assume a specific version or condition.
The add-on interface is described as the “Camera Shutter Control” panel in the Motion Blur section of the Render properties. It’s useful to have an object moving with keyframes in the scene so you can check how the settings work. For example, you could use a simple vehicle moving across the frame or a walking person. These are suggestions for observing motion blur, not specific add-on features.
Step-by-step motion blur setup
Check the movement in your scene first. Make sure the animated object moves on the correct frames and that the camera captures the intended composition. Before adjusting blur, check how far the object travels between frames. The appearance of blur depends not only on the shutter value, but also on the distance traveled between frames.
Enable the built-in Motion Blur setting. Blender’s standard motion blur setting must be on for the Physical Motion Blur add-on to work. Find the Motion Blur section in the Render properties and enable the feature. Don’t skip this prerequisite even if the add-on panel is visible: the add-on’s controls don’t replace the built-in feature.
Open the add-on’s control panel. Go to the Camera Shutter Control panel under Motion Blur in the Render properties. The add-on offers two calculation methods: Angle and Speed. Before choosing one, decide whether the animation is keyed frame by frame or designed around a constant real-world speed.
Choose Angle mode for frame-based work. In Angle mode, the shutter’s open time is expressed as a proportion of a single frame’s duration. According to the add-on description, a 180° angle corresponds to 50 percent of a frame’s duration. The object’s movement between frames determines the length of the blur. In a standard animation with keyframes placed on specific frames, changing the FPS doesn’t change the appearance if the distance traveled per frame stays the same.
Consider Speed mode for fixed-time exposure. In Speed mode, the shutter duration is defined as an absolute time in seconds; the add-on description gives 1/50 second as an example. The result depends on how far the object moves during that specified time. If FPS increases and the keyframes aren’t adjusted to preserve a constant real-world speed, the blur may be stronger and longer in a standard animation. If constant speed is maintained, blur length at the same shutter duration remains independent of FPS.
Refresh the calculation after changing FPS. The add-on’s Frame Rate field shows the scene’s frames per second and lets you adjust it. When the FPS value changes, the add-on page says to click the refresh icon to update the calculation. Skipping this step may leave you working with a calculation that hasn’t been updated for the new frame rate.
Check the built-in shutter and rolling shutter settings. Blender’s Position option determines when the shutter opens and closes relative to the current frame: Start on Frame begins opening at the current frame; Center on Frame means the shutter is fully open at the current frame; and End on Frame means closing is complete at the current frame. The shutter value sets the frame duration between the start of opening and the point when it is fully closed; a value of 1.0 frames produces blur over one frame.
Adjust the scan effect across the image when needed. Rolling Shutter can be set to None or Top-Bottom. When Rolling Shutter Duration is zero, the effect corresponds to pure rolling shutter; at one, it corresponds to pure motion blur. Evaluate these controls with small test renders to see whether they produce the effect your scene needs. Keep in mind that the add-on’s angle and speed controls and Blender’s built-in settings offer different controls for related purposes.
Check object settings and the result separately. Each object in Blender has its own settings for controlling motion blur, located in the object’s Object tab. Enabling the overall render setting doesn’t guarantee that every object in the scene will be affected in the same way. Compare the results on the main moving objects in particular, and check the object-level settings if needed.
Common mistakes
Rendering without baking physics simulations: Particles and other physics systems in a scene may not produce consistent or accurate motion blur during rendering. Blender’s manual recommends baking these systems before rendering. If your scene uses simulations, check that they’re baked before evaluating motion blur.
Treating an FPS change as just a number change: Angle and Speed modes interpret frame duration differently. Angle mode is proportional to frame duration, while Speed mode is based on an absolute exposure time in seconds. So the effect of changing FPS depends on whether the animation preserves distance per frame or a constant real-world speed.
Expecting camera motion blur with an orthographic camera: According to Blender’s manual, camera motion blur doesn’t work with orthographic cameras. Movement of lights in world coordinates is also excluded from this blur calculation. Moving the camera together with the lights can produce an incorrect motion blur result.
Assuming one render setting will produce the same result for every object: Review the object-level motion blur controls as well. The shutter curve offers another control: the X axis represents time, while the Y values show how open the shutter is—0 means closed and 1 means fully open.
Impact on architectural visualization workflows and next steps
Motion blur can be useful in animated architectural presentations to make moving elements appear less unnaturally sharp or disconnected. For still images, visualization artists who want to work with physical camera logic may find shutter angle or duration a more intuitive control. However, that doesn’t mean every scene should use blur: the project’s visual style, the speed of movement, and the camera type all affect the result.
Support for Eevee and Cycles means the add-on can be used with both render engines; however, no claims are made here about performance gains or hardware requirements. A practical approach is to start with short test renders on your current workstation and evaluate the animation’s FPS and object movement together. The provided page content doesn’t explain compatibility with specific Blender versions or licensing terms for the add-on. Verify this information in the relevant current records before including it in a production file.
As a next step, compare Angle and Speed modes while keeping the same camera and movement. When you change FPS, use the refresh icon; for scenes with simulations, complete the bake. This lets you evaluate the result in relation to the animation’s timing and distance traveled, rather than attributing it to a single shutter value.
Sources and licensing
Blender Manual’s Motion Blur document is licensed under CC BY-SA 4.0; the technical explanations here have been adapted into Turkish from this source. Information about the Physical Motion Blur add-on comes from the Blender Extensions page. Since that page doesn’t specify a separate license for the add-on, no assumptions have been made about its license.
Sources
2 sourcesSource texts are not republished; short quotes are marked, everything else is our own summary and commentary.
For architecture firms and visualization teams in Turkey, the practical benefit of this add-on is that it lets you adjust shutter angle and duration using more familiar camera terminology. It may make the built-in controls easier to understand, especially when testing camera movement and animation. Support for Eevee and Cycles also makes it possible to try the add-on in different rendering workflows.
However, the add-on’s source doesn’t explain version compatibility or licensing terms; verify these before adding it to production files. No specific hardware requirements are listed, so there’s no basis for concluding that a hardware upgrade is needed. For firms and students, the best approach is to use short tests to evaluate FPS, animation speed, and shutter settings together.
Frequently asked questions
Which render engines does the Physical Motion Blur add-on support?
The add-on page lists support for Eevee and Cycles. Blender’s standard Motion Blur setting must be enabled to use it.
What’s the difference between Angle and Speed modes in Blender?
Angle mode expresses shutter duration as a proportion of frame duration; Speed mode uses an absolute shutter duration in seconds. The result varies depending on the animation’s movement per frame and changes to FPS.
Does Blender motion blur work with an orthographic camera?
According to Blender’s manual, camera motion blur doesn’t work with orthographic cameras. Movement of lights in world coordinates is also excluded from the motion blur calculation.