In brief
- Layout creates the sheet area to send to a printer or export to a file such as a PDF.
- A new Layout can initially contain between 1 and 4 Detail views.
- You can set projection type and model-to-sheet scale for Detail views, and lock the views.
- Rhino 8 documentation also describes how to create Detail areas in custom shapes using a solid white hatch.
In Rhino 8, Layout and Detail tools are used to prepare printable sheets from 3D models. According to McNeel’s official documentation, Layout creates the paper area to send to a printer or a file such as a PDF, while Detail views present selected views of the model on the sheet. The steps below are limited to features described in the Rhino 8 documentation for creating sheets and editing them before output.
1. Create a Layout and set sheet properties
Go to Drafting › Layout to access the Layout creation tool. In the New Layout window, name the sheet, then select the target printer from the available printers and choose a paper size supported by that printer. Set the orientation to Portrait or Landscape. You can also specify the width, height, and paper units at this stage. If the selected unit differs from the document’s Layout unit, Rhino applies a conversion.
Choose the initial number of Detail views as well. The documentation specifies a range of 1 to 4; a new four-view Layout can start with either first-angle or third-angle projection. Deciding in advance how many views the sheet needs can reduce the number of unnecessary Detail areas you have to deal with when setting up the initial layout. However, this choice does not prevent you from changing the sheet’s contents later.
| Setting | Suggested value | Effect |
|---|---|---|
| Initial Detail Count | 1–4 | Sets the number of Detail views in the new Layout. |
| Orientation | Portrait or Landscape | Sets the sheet to portrait or landscape orientation. |
| Projection | Top, Bottom, Left, Right, Front, Back, or Perspective | Sets the viewing direction of the Detail view. |
| Lock | Locked or unlocked | Prevents a locked Detail from being panned or zoomed. |
2. Add model views and annotations to the sheet
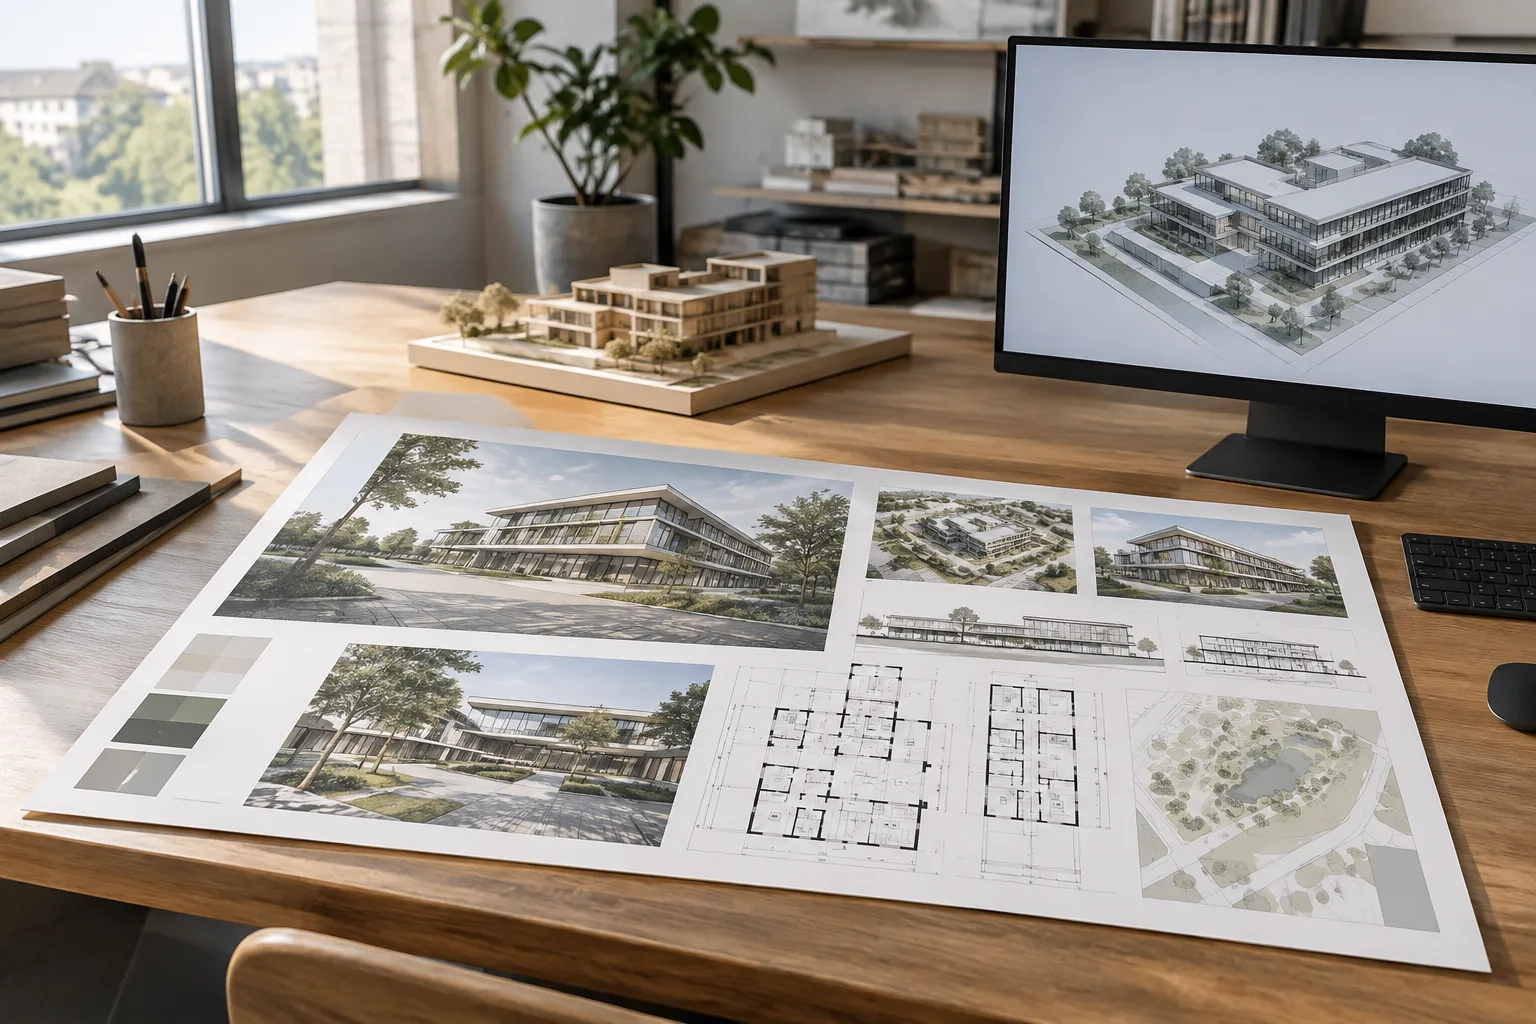
Layout serves a different purpose from the model workspace: it places model views on the sheet and lets you arrange information for the printed page. McNeel recommends adding a title block, notes, scale bars, and text such as the project name, sheet number, or sheet contents. Detail views are used to present different views of the model on the same sheet.
To add a new Detail, use the tool at Layout › Add Detail View. The Add option draws a rectangular area; Center creates the area from a center point. You can set the viewing direction with the Projection option. Double-click a Detail to activate it; to return to the sheet area, double-click outside the view. For overlapping Details, double-click near the center of the area you want to activate.
Rotating the content of a view and rotating the Detail frame are separate operations. To change the view’s content, activate the Detail and use the RotateView command. To rotate the frame, first select the Detail boundary, then use the Gumball or the Rotate command. This distinction is important to avoid confusing the orientation of the frame on the sheet with the orientation of the model view.
3. Check the scale and lock views
In the Detail settings, Scale determines which model distance corresponds to a distance on the sheet. You can set the scale factor using Scale Value in the Detail view properties. The documentation does not give a recommended scale for any particular project, so it is not possible to suggest a universal value here. Set the value according to the sheet requirements, then check that the view is shown at the correct scale before output.
After adjusting the view framing and scale, lock the Detail to prevent accidental panning or zooming. Use Unlock when you need to unlock it. This helps preserve final adjustments, especially on sheets with multiple views and annotations.
There is an important distinction when dimensioning: objects inside a Detail are labeled according to their model-space distances, even if the dimensions are created in the Detail view or in the Layout area. Objects in the Layout area, on the other hand, are dimensioned according to Layout distances. Therefore, a dimension for a model view and a dimension for an item drawn on the sheet may not be interpreted in the same way. Before output, check that you have dimensioned in the correct area and on the correct object.
4. Arrange the sheet, transfer it, and check the output
If you want to reuse a standard sheet frame or title block, the documentation notes that you can use ImportLayout to bring Layouts from another Rhino file into the current model. This makes it easier to use common page layouts across different files. You can create a copy of the active Layout with CopyLayout.
If the Detail boundary should not appear on the printed page, use the No Print setting in the object properties. The documentation also notes that properties such as the Detail edge color and line width can be set in the object properties. Before output, review the title block, text, dimensions, and any edges that should be visible.
If you need a non-rectangular Detail shape, Rhino’s documentation describes a method that uses a solid white hatch on the Layout to mask the view. First create a rectangle representing the page edges and a curve in the desired shape; then use these areas to create a solid hatch. The documentation specifically notes that the hatch remains at the top of the draw order and that the Detail cannot be brought in front of it. Therefore, use Draw Order to keep text, the title block, and dimensions above the hatch, and check that all elements remain visible before output.
Common mistakes
Forgetting to exit an activated area while editing a Detail view can lead to working in the model view instead of on the sheet. Before moving on to another operation, make sure you have returned to the Layout area.
Don’t confuse whether a dimension shows a distance in model space or in the Layout area. Objects inside a Detail are dimensioned using model distances.
If you don’t lock a Detail after finalizing its framing and scale, the view may be panned or zoomed accidentally.
With the custom-shaped Detail method that uses a white hatch, pay attention to the draw order: the hatch may remain on top and cover text or dimensions.
Sources
2 sourcesSource texts are not republished; short quotes are marked, everything else is our own summary and commentary.
Reusing sheet templates in offices and arranging different model views on the same page can reduce repetitive layout work. Layout import and copy features offer a practical starting point, especially for teams that use a shared title block.
However, the documentation does not specify hardware requirements, licensing terms, or the correct scale values for a particular project. When setting up the workflow, it is therefore sensible to follow the existing Rhino 8 installation and office sheet standards, and to check hatch order, dimension references, and lock status for custom-shaped Details before output.
Frequently asked questions
What is the difference between Layout and Detail in Rhino 8?
Layout is the sheet area to print or export to a file. Detail creates an area that shows a model view on that sheet.
How do you lock a Detail view in Rhino 8?
You can use the lock setting in the Detail view properties or lock the view with the `Lock` option in the Detail command. A locked view cannot be panned or zoomed.
What distance do dimensions inside a Detail show in Rhino Layout?
Objects inside a Detail are labeled using model-space distances, even if the dimensions are created in the Layout area. Objects in the Layout area are dimensioned using Layout distances.