In brief
- Add Location lets you search by address or place name, then set the model’s location and north orientation.
- Basic location features are available to all SketchUp for Web users; adding site context requires at least a SketchUp Go subscription.
- Import options include a flat map plane, terrain mesh, and simple 3D building geometry for selected nearby areas.
- Increasing terrain mesh density also increases the triangle count and file size.
SketchUp’s Add Location feature can be used to place a model in its real-world location and add map imagery, terrain, or simple building geometry around it. SketchUp’s official Help documentation, updated in September 2026, explains the steps for setting a location, adjusting north orientation, and importing site context across desktop, Web, and iPad. This guide summarizes how to use these features in architectural modeling and site-review workflows.
1. Set the location and orient the model
Open Add Location. In SketchUp for Web, select Add Location from the Main Menu or Shadows panel. On iPad, the feature is in the Shadows panel. On desktop, opening Add Location starts at the Geolocate Model screen.
Enter a place in the search field. You can search by address, part of an address, or location name. The desktop instructions also list postal code as an option. On desktop, SketchUp uses your current location by default; enter a different place in the search box.
Adjust the map scale and model location. In Web, use the controls in the upper-right corner of the window to zoom. On desktop, use the map controls or mouse wheel; drag the pin attached to the model to move it. On iPad, the blue pin indicates the location of the drawing axes and can be dragged.
Check north and orientation settings. In Web, drag the green or red axis lines to adjust the model’s orientation relative to true north. On iPad, the Up option can reference the green axis, true north, or grid north; true north is the default. The orange arrow indicates true north. On desktop, True North Offset helps you adjust the model’s orientation more precisely.
Apply the location to the model. In Web and on iPad, select Set Geolocation. On desktop, select Continue after placing the model to proceed. The desktop workflow lets you exit without importing terrain; selecting Skip Import keeps the location information in the model.
Location and orientation settings matter not only for displaying a model on a map, but also for relating shadow studies to the site. According to SketchUp’s Help documentation, location information can include data such as latitude, longitude, and elevation. Orienting the model to true north helps you assess how shadows relate to the model and surrounding structures.
2. Import site context for your needs
After setting a location, you can move on to surrounding data with Import Context in Web or Add Context in the confirmation window on iPad. In the desktop workflow, Continue opens the Add Site Context screen. Choosing import options to suit the project lets you control what context is added to the model.
| Setting | Suggested value | Effect |
|---|---|---|
| Import Type | Flat Site, Elevated Site, or both | Flat Site applies map imagery to a flat plane. Elevated Site provides the option to import a terrain mesh. If both are selected, the elevated area is hidden by default. |
| Map Texture | Satellite Imagery or Street Map | The selected map type is used in the site context. For satellite imagery, you can select Bing or Digital Globe as the provider. |
| Resolution | High, Medium, or Low | Sets the resolution of the map texture; the source documents do not recommend a single level for a specific project. |
| Terrain Mesh density | Adjust as needed | Higher density produces more triangles and increases file size. |
| 3D Buildings | Select when you need to include existing nearby buildings | Simple geometry is created for buildings in the selected area during import. |
When you import both site types, the elevated site is hidden by default. You can switch between the two views using the Geolocation Content tags in SketchUp. In Web, buildings that can be imported are highlighted in dark blue as you move the blue selection box. The iPad instructions also note that terrain positioning and building geometry settings can be edited from the context menu.
3. Account for platform differences and file impact
Geolocation features in SketchUp for Web are available to all users. However, more advanced features, such as site context, require at least a SketchUp Go subscription. When planning a workflow for a team, check the licensing difference between simply positioning a model and adding surrounding data.
On iPad, you can search for a location, change the map type, show or hide the model, and position it using the blue pin. Web and iPad documentation also covers options such as terrain import, map texture, and 3D buildings. The desktop instructions explicitly show how to keep location information when exiting without importing terrain. Since menu names and controls can differ by platform, don’t assume the steps will match exactly across interfaces.
Terrain mesh density is one of the main settings affecting model file size. A denser mesh creates more triangles and increases file size. Before increasing the detail of surrounding terrain, consider how the model will be used; the official documentation does not recommend a specific density for particular computer hardware or for every project.
4. Use in architectural and visualization workflows
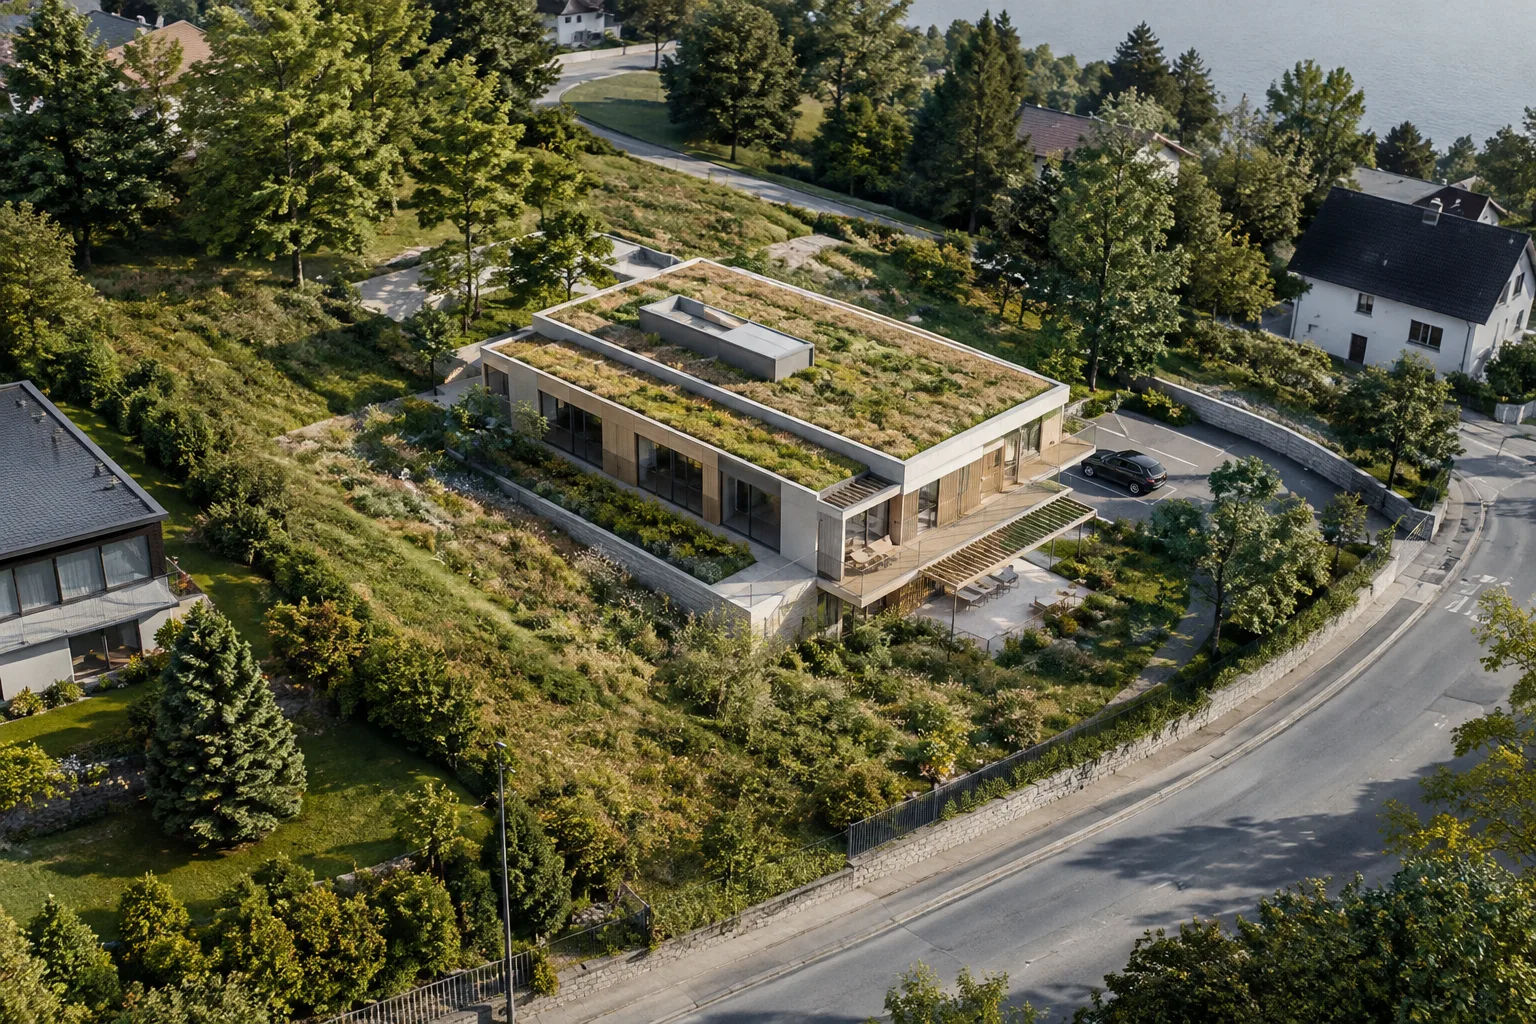
During early design, satellite imagery and terrain can provide an initial context for reviewing nearby roads, green spaces, and neighboring structures. The official documentation says this data can help you understand a design site before a site visit or survey data is available. However, map and terrain data should not be treated as a substitute for project-specific site measurements; the sources do not guarantee this.
For architects and interior designers, a geolocated model helps evaluate the shadow effects of surrounding structures and the design’s orientation relative to true north. Landscape and environmental design professionals can use site context to review topography, access, and the immediate surroundings. For archviz teams, choosing satellite imagery or Street Map determines the reference used around the model; imported buildings are created as simple geometry.
Common mistakes
Evaluating shadows without checking the true north setting.
Overlooking the impact of high terrain mesh density on file size.
Missing the subscription requirement for advanced site context features in SketchUp for Web.
Assuming imported surrounding buildings are detailed project models; the source states that they are simple geometry.
Thinking that selecting Skip Import on desktop will erase the location information; the documentation says the geolocation data is retained.
Before you begin, clarify which platform you’ll use, whether you need only geolocation or also site context, and how terrain detail will affect file size. This helps ensure the model’s location and surrounding data serve as an appropriate reference for design review.
Sources
3 sourcesSource texts are not republished; short quotes are marked, everything else is our own summary and commentary.
For architecture and visualization firms in Turkey, the practical value of Add Location lies in making the design’s surroundings and sun-shadow relationships visible early in the process. Map and terrain data can support an initial review before site information is ready, but they should not replace surveying.
Before adopting the feature in their workflow, firms should verify which SketchUp platform they use and what their subscription includes: site context in Web requires at least SketchUp Go. Since increasing terrain mesh density increases file size, it makes sense to avoid unnecessary detail and remember that imported buildings are simple geometry.
Frequently asked questions
How do you use SketchUp Add Location?
Open Add Location, search for an address or place name, position the model on the map, and set its north orientation. Then apply the location to the model with Set Geolocation; depending on the platform, you can also import site context.
Do you need a subscription to add site context in SketchUp for Web?
Geolocation features are available to all SketchUp for Web users. Access to more advanced features, such as site context, requires at least a SketchUp Go subscription.
Does increasing terrain mesh density affect the SketchUp file?
Yes. The official documentation states that higher terrain mesh density increases the triangle count and file size.