In brief
- V-Ray Enmesh turns the mesh objects in its list into repeating pattern geometry across a surface.
- Pattern distribution depends on the base geometry’s UV mapping and Enmesh’s Tiling U/V settings.
- To vary textures across pattern instances, use VRayUVWRandomizer and VRayMultiSubTex in By Instance ID mode.
- VRayEnmesh is not compatible with geometry generated at render time, such as displacement or V-Ray Fur.
What you’ll learn in this guide
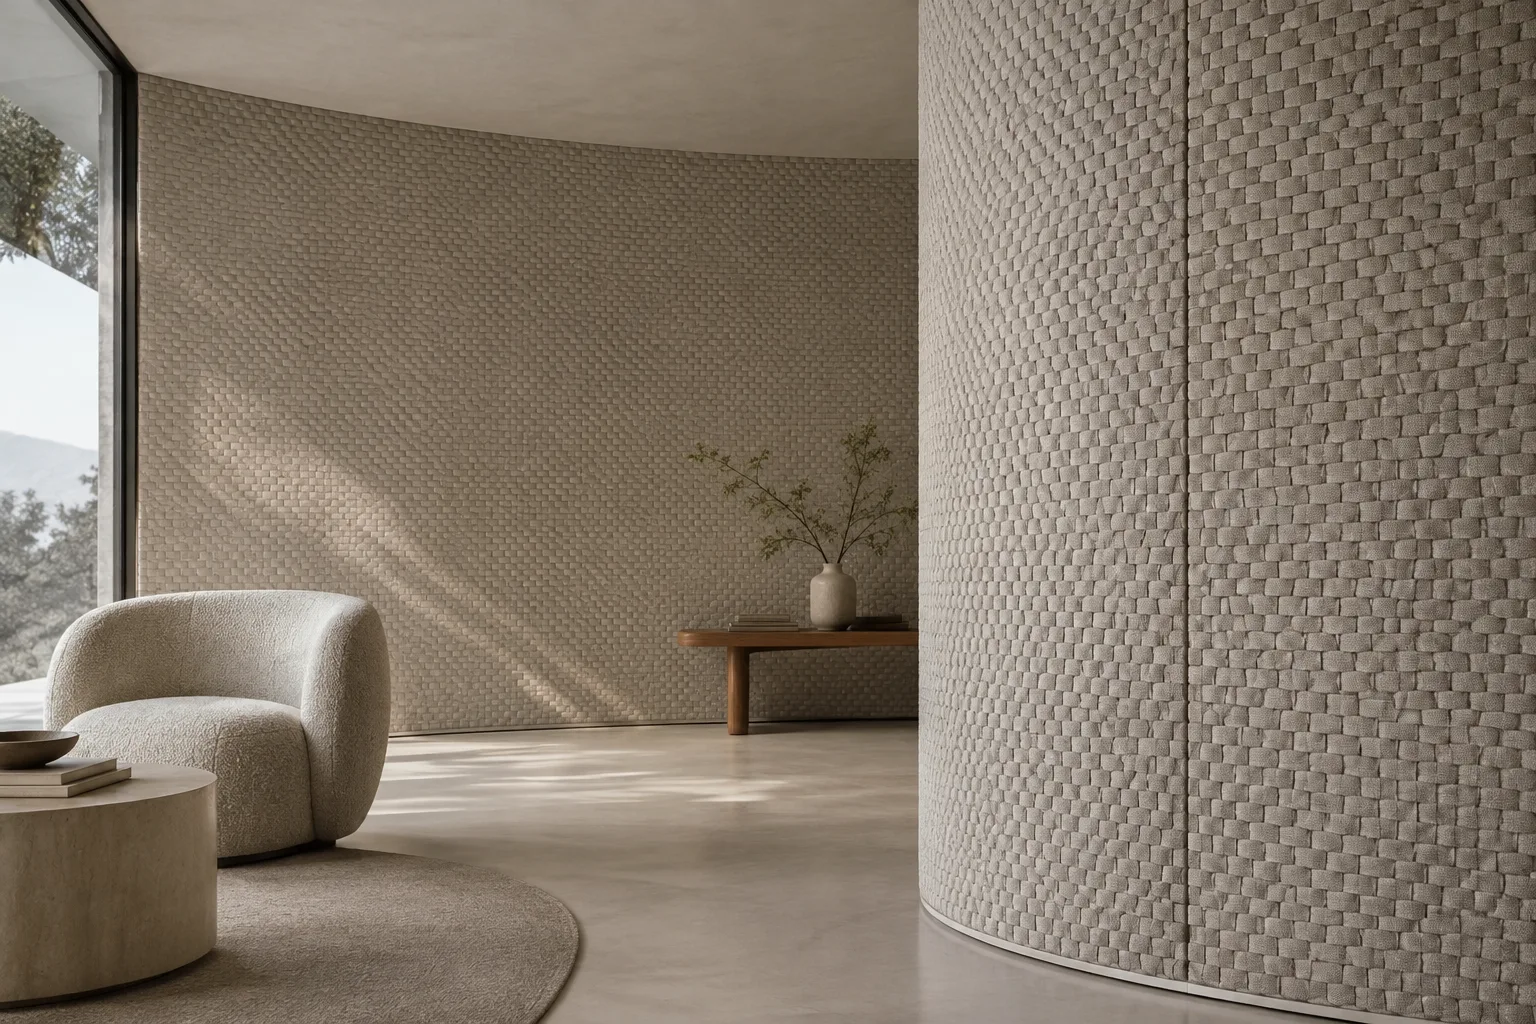
V-Ray Enmesh creates a repeating pattern by tiling other geometry across a mesh surface. It can be used to create fabric weaves, chainmail, or mesh-like surfaces. Add the objects that make up the pattern to the Objects list in VRayEnmeshMod; the modifier’s gizmo defines the boundaries within which the source geometry repeats. This boundary box is also referred to in the documentation as the crop box.
This guide covers how to place simple tile or motif geometry on a surface, fix UV-related stretching, and adjust texture variations. The result depends not only on the mesh that forms the pattern, but also on the base surface’s mapping and the crop box dimensions. So, start by setting up the geometry, then check its distribution and material appearance.
Requirements and setup
You’ll need 3ds Max, V-Ray, and a scene where you can use the VRayEnmesh modifier. The source documentation notes that the modifier has a slightly different interface in 3ds Max 2018 because of limitations in the Qt-embedded version. If your interface looks different, focus on the tool names and what the parameters do; the menu layout may vary.
The documentation lists three ways to add Enmesh to your base geometry: with the geometry selected, use the V-Ray menu path Create > Modifiers > V-Ray > V-Ray EnMesh Mod; select the same modifier under V-Ray in the Modifiers menu; or find VRayEnmeshMod in the Modifier List in the Modify panel.
Prepare the object you’ll use as the pattern and the base surface in advance. The source geometry can be a single tile or a more complex mesh made up of different sub-parts and material IDs. If you’re using textures, check the pattern mesh’s UV mapping too. A simple projection may not be sufficient for organic or curved surfaces; in those cases, unwrap the UVs and flatten them as much as possible.
Create a pattern step by step
Add the modifier to the base surface. Select the mesh you want to cover and apply VRayEnmeshMod. Click Add in the modifier’s Objects section to add the pattern mesh to the list. The listed geometry becomes the source of the repeating motif. Adding multiple objects lets you create a more complex pattern instance from pieces tiled together.
Set the crop box boundaries. The gizmo encloses the area of the listed object that will be used as a pattern instance. Fit in object space fits the box to the listed objects. The box boundaries matter when you want the pattern pieces to join cleanly at the edges: in Chaos’s example, torus geometry is tiled by setting the crop box edges to the midpoint of the toruses’ circumference. If necessary, adjust the box’s size or position manually to crop the instance.
Set the tiling density. Tiling U and Tiling V under Surface parameters control how the pattern is distributed across the surface. Increase or decrease these values to assess the motif’s scale and repetition density visually. The documentation compares U and V values of 8, 12, and 16 in its examples; these are sample values for a specific scene and won’t guarantee the same result on every model. Map channel specifies the mapping channel used for pattern tiling on the base surface. Offset U/V shifts the pattern across this mapping, while Rotation changes its orientation around the surface normal.
Fix stretched patterns with UV mapping. If the pattern or its texture looks stretched, first inspect the base geometry’s mapping. For flat or regular geometry, add a UVW Map modifier and use Fit. Then, as described in the documentation, match the largest dimension’s value to the other mapping dimensions to make the mapping uniform. For example, if Length has the largest value, enter it in the Width and Height fields too. Align the UVW Map gizmo with the desired edge to prevent pattern pieces from being cut off at the surface edge. Finally, adjust the pattern scale with Tiling U/V.
Align the pattern to surface edges and the material. If the pattern no longer covers the entire surface after moving the UVW Map gizmo, adjust Offset U or Offset V in VRayEnmeshMod. The source documentation uses this offset to bring VRayUVWRandomizer and VRayMultiSubTex coverage back onto the surface. Since the same offset won’t work for every scene, check the result as you go.
Add texture variation. You can use VRayUVWRandomizer or VRayMultiSubTex to vary the textures on repeating instances. The source guide describes setting the randomization mode to By Instance ID. VRayUVWRandomizer varies the texture coordinates, while VRayMultiSubTex can create color variations; both can also be used together in the same material setup. To use the material IDs in the pattern mesh, enable Use Mesh IDs; the documentation says this option is on by default. When Use mesh UVW mapping is enabled, the pattern’s own mapping is used; when it’s disabled, the base mesh’s mapping is used.
Common issues
If the pattern looks stretched, check the base surface’s UV layout before changing Tiling values at random. Stretched UV coordinates can produce unwanted repetition and visual distortion, especially when used with randomization textures such as VRayUVWRandomizer or VRayMultiSubTex. For flat surfaces, adjusting the mapping dimensions is a good starting point; for curved surfaces, unwrapping and flattening the UVs is more appropriate.
If pieces are cut off at the surface edge, check the position of the UVW Map gizmo. Aligning it with the desired edge helps you start with complete motifs; you can then adjust the coverage position with Enmesh’s offset settings. If texture variation doesn’t cover the entire surface, reassess the offsets after moving the gizmo.
If you see intersections or flickering at render time and are using V-Ray GPU, check the crop box’s Z dimension. Chaos documentation recommends making the Z dimension slightly larger than the source object’s bounding box dimensions when using the GPU to prevent Z-fighting. Also note that VRayEnmesh is not compatible with geometry generated at render time, such as displacement and V-Ray Fur.
Uses in architecture and visualization workflows
3D artists looking to create repeating geometry across surfaces in architectural facades, interior finishes, or product and furniture visualizations can benefit from this workflow. In particular, for scenes requiring a tile, woven, or mesh-like appearance, managing the motif geometry as a separate instance makes it possible to adjust UVs, density, and orientation through a single modifier. However, this doesn’t mean it will improve performance or production time in every project; the sources provide no measurements on this.
Before moving to a production scene, verify the modifier’s behavior in your versions of 3ds Max and V-Ray. The V-Ray 6 Update 2 release notes list GPU support for VRayEnmesh; the documentation also highlights some differences and limitations. If the scene will be rendered on the GPU, test the Z dimension, UVs, and material IDs. Since license terms and hardware requirements aren’t specified here, check the current V-Ray information for your project environment separately.
Next steps
Start with a simple mesh containing a single motif to validate the UV mapping. Then compare the surface placement by changing Tiling U/V and offset values; add texture or color variation with By Instance ID as the final step. If you’re using an organic base such as curved fabric, don’t decide on the result before unwrapping and flattening the UVs. For more complex patterns, try a mesh with different sub-parts and material IDs, and check separately how the Use Mesh IDs and Use mesh UVW mapping options affect the material result.
Sources and licensing
This guide has been adapted into Turkish based on information in Chaos’s official documentation pages titled “VRayEnmeshMod” and “UVW Mapping and VRayEnmeshMod with Randomization Textures.” Both sources are marked “license=free” in the provided source information. The V-Ray release notes were also used to verify the version information about GPU support.
Sources
3 sourcesSource texts are not republished; short quotes are marked, everything else is our own summary and commentary.
V-Ray Enmesh offers a flexible approach for visual details such as woven patterns and tiles that need to be actual geometry on a surface. For architecture firms and visualization teams in Turkey, its main practical value lies in the ability to control how a single motif is distributed across a surface and how its textures vary.
Before adding it to a production pipeline, it’s important to test in a small file that the scene works with the target render engine and that the versions are compatible. The sources don’t specify costs or hardware requirements, so assess licensing and hardware decisions separately based on your current V-Ray setup. If you’re using the GPU, be sure to check the crop box’s Z dimension and the Z-fighting warning.
Frequently asked questions
What is V-Ray Enmesh used for in 3ds Max?
VRayEnmeshMod creates repeating geometry patterns across a mesh surface. It can be used for fabric weaves, chainmail, and mesh-like surfaces.
How do you fix UV stretching in a V-Ray Enmesh pattern?
For flat surfaces, the recommended approach is to use the UVW Map modifier, apply Fit, equalize the dimensions, and align the gizmo with an edge. For organic surfaces, unwrap the UVs and flatten them as much as possible.
Does V-Ray Enmesh work with the GPU?
The V-Ray 6 Update 2 release notes list GPU support for VRayEnmesh. When using the GPU, the crop box’s Z dimension should be slightly larger than the source object’s bounding box dimensions.