In brief
- View Layers let you manage collection visibility independently and split scene elements across different render layers.
- Render passes make data such as depth, normals, UVs, shadows, and lighting components available in the Compositor.
- Cryptomatte supports masking objects and materials, including cases where multiple objects contribute to a pixel.
- In EEVEE, depth of field and motion blur are not rendered in passes other than Combined.
The View Layer and render pass workflow described in Blender’s online manual makes post-processing easier by splitting architectural visualization scenes into separate layers and usable image data. A View Layer controls the visibility of specific collections and their contribution to a render; passes extract separate outputs from that render, such as depth, lighting, or masks. These outputs can be combined in the Compositor. Since the manual does not specify a Blender version number, the steps below are based on the features in the current online version of the documentation.
1. Organize the scene with View Layers
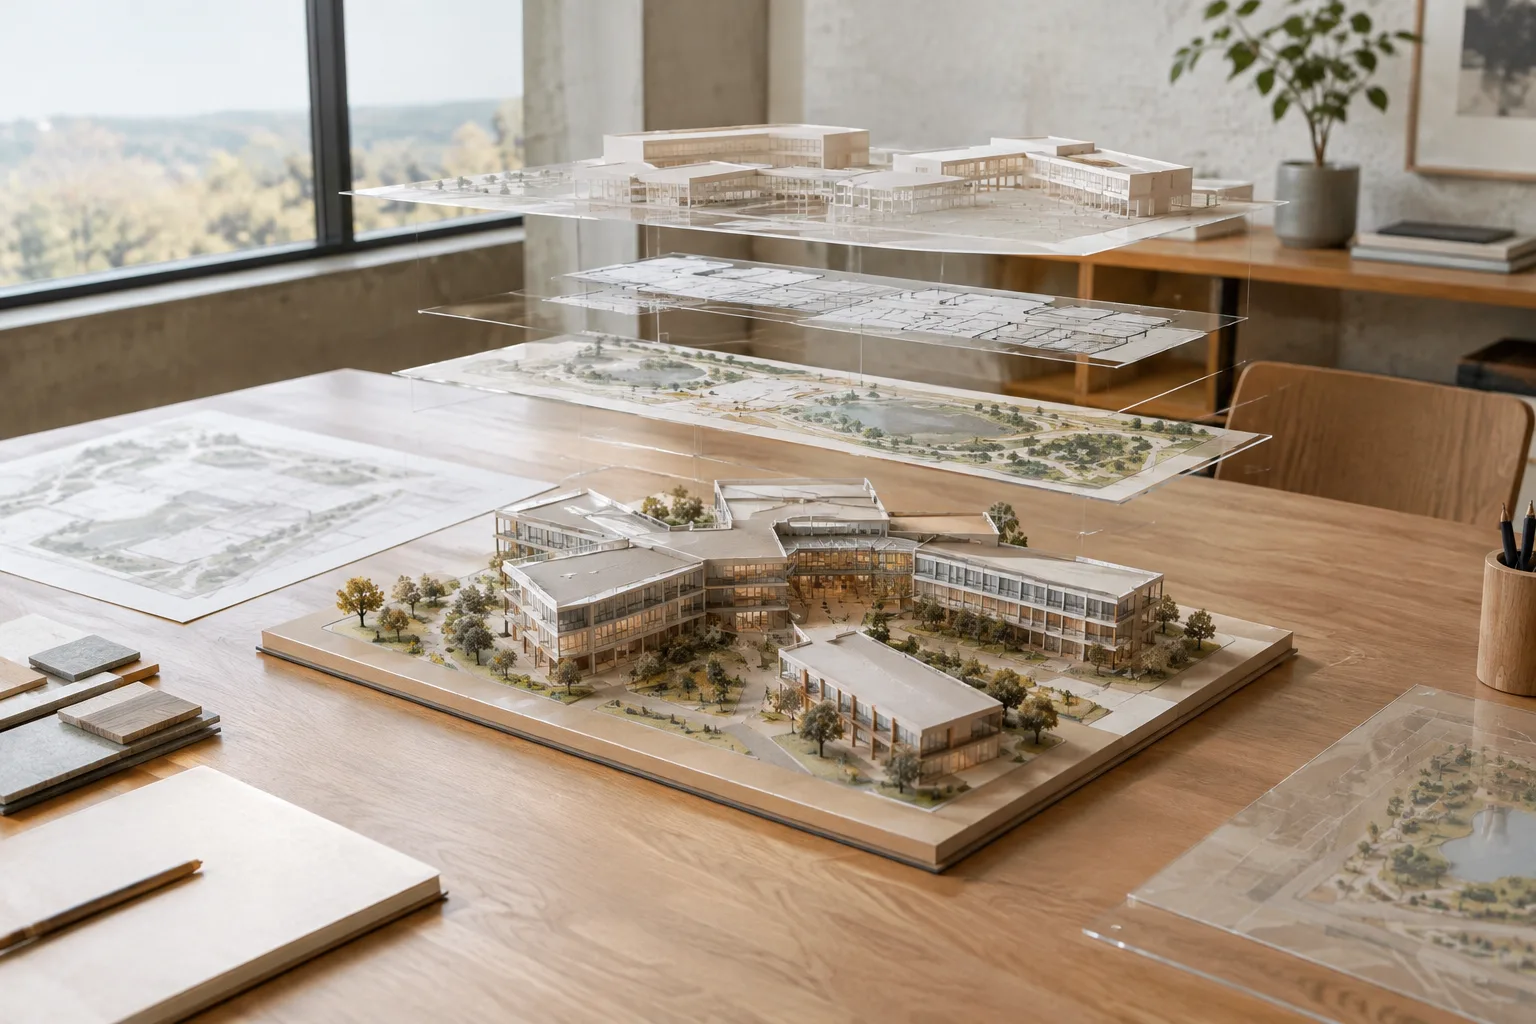
View Layers let you use different combinations of collections as separate render layers without duplicating the same scene. For example, separating furniture, surroundings, or different lighting setups in an interior visualization makes it possible to handle changes to those elements independently. According to the manual, rendering only the changed layer can also speed up iteration.
Open the active scene’s View Layer list at the top of the View Layer Properties section.
When adding a layer, choose New, Copy Settings, or Blank as needed. New creates an empty View Layer; Copy Settings copies the existing visibility and override settings; Blank creates a new layer with all collections disabled.
Use the Outliner or the Collection View Layer Properties section to adjust how collections contribute to the layer.
Keep scene elements and lighting on separate layers to control which content is included in each render.
Every scene must have at least one View Layer. If you’re using Cycles, you can also manage holdout and indirect-only options in the Outliner. The manual identifies these as Cycles-specific options; don’t assume they work the same way in EEVEE.
2. Enable the render passes you need
A pass is intermediate image data extracted from a render. Pass settings are available under Properties › View Layer › Passes. Since the available passes vary by render engine, first identify which data you need, then enable only the outputs your workflow will use.
| Setting | Recommended value | Effect |
|---|---|---|
| Combined | Enabled for comparing the final image | Provides the render output before compositing. |
| Depth | Enable if you need depth-based adjustments | Provides the distance to the visible surface; it can be used with the Defocus Node to create artificial depth of field. |
| Mist | Enable if you need to fade distant elements | Provides surface distance on a 0.0–1.0 scale. |
| Normal | Enable if you need surface orientation data | Provides surface normals in world space. |
| Cryptomatte | Enable when you need object or material masks | Lets you create masks by selecting objects, materials, or groups sharing the same parent. |
| Denoising Data | Enable if you plan to denoise in the Compositor | Provides additional data for the Denoise Node; increases memory use and render time. |
The Depth pass can produce noisy results when depth of field or motion blur is enabled in the render. If you need a cleaner depth output, the manual presents the Mist pass as an alternative. The UV pass is available in Cycles and provides UV coordinates in the red and green channels. Rather than assuming that every pass is available in every engine, check whether the relevant option is listed for Cycles, EEVEE, or Workbench.
3. Use passes in the Compositor
Once rendering is complete, View Layer outputs are available through the Render Layers Node in the Compositor. Layers can be combined or processed separately here. In architectural presentations, this approach helps you mask specific objects, adjust depth effects, or change lighting contributions without rendering the entire image again.
Cryptomatte is an alternative to the Object Index or Material Index passes for selecting objects and materials. According to Blender’s manual, it’s easier to set up, can be used with compositing software outside Blender, and supports multiple objects per pixel. In Cycles, it also works with transparency, motion blur, and depth of field. You can choose the appropriate Cryptomatte type for objects, materials, or groups with the same parent.
If you need to adjust lighting contributions separately, consider Light Groups in Cycles. Combining limited Combined outputs containing specific light groups in the compositor can let you change the color or intensity of lights without rendering again. This can be useful in interior scenes where you want to control lights individually; according to the manual, the feature is available only in Cycles.
What changes in an architectural visualization workflow?
Architects, interior designers, and visualization teams looking to separate lighting, furniture, surroundings, or material revisions can benefit from View Layers. Passes, meanwhile, allow more controlled masking, color correction, and depth adjustments before delivery. However, layering requires planning the scene structure from the outset: incorrect collection visibility can bring unwanted objects into a render or leave out elements you need.
Pay particular attention to Denoising Data when considering hardware and compatibility. The manual notes that these auxiliary passes increase memory use and render time, so enabling them can add unnecessary overhead if you won’t be denoising in the Compositor. Also, in EEVEE, depth of field and motion blur are not rendered in passes other than Combined; the manual says these effects can be simulated in the Compositor using the Defocus Node and Vector Blur Node.
Common mistakes
Adding new View Layers without organizing collections to separate scene elements and checking visibility.
Enabling Denoising Data when you won’t use it in the Compositor, increasing memory use and render time.
Assuming that EEVEE passes other than Combined will include depth of field or motion blur.
Ignoring the potential for noise in the Depth pass when rendering with depth of field or motion blur; consider using Mist instead.
Sources
2 sourcesSource texts are not republished; short quotes are marked, everything else is our own summary and commentary.
For architecture and interior design studios, the main benefit of View Layers is being able to manage different elements and lighting setups without rebuilding the scene. In visuals that undergo frequent revisions, planning the collection and layer structure at the outset makes subsequent masking and compositing easier to understand.
More passes don’t always mean better results. Studios should enable outputs such as Denoising Data—which affect memory use and render time—only when they actually plan to use them. It’s also important to check the differences between Cycles and EEVEE against the intended compositing workflow before delivery.
Frequently asked questions
What are View Layers used for in Blender?
View Layers split collections into render layers using different combinations. This lets you process scene elements or lighting setups separately.
What is Blender Cryptomatte used for?
Cryptomatte lets you create masks for objects, materials, or groups that share the same parent. It supports multiple objects contributing to a pixel.
Do depth of field and motion blur appear in EEVEE passes?
According to the manual, these effects are not rendered in EEVEE passes other than Combined. They can be simulated in the Compositor using the Defocus Node and Vector Blur Node.