In brief
- A Phasing group consists of phases on a timeline and the tracks that contain them.
- The visibility of Scene graph elements can be saved to a selected phase.
- Phases on the same track cannot overlap; create another track for work happening at the same time.
- Phasing groups can be used in videos and sequences, and previewed in the tool or in Full Screen mode.
What you’ll learn in this guide
Twinmotion’s Phasing tool lets you organize the different states of a building or scene over time into phases. This guide covers creating a Phasing group, saving the visibility of scene elements to phases, showing overlapping work on separate tracks, and previewing the result. The same tool can be used not only to explain a construction process, but also to compare different configurations of a single scene.
The basic idea is to add phases to a timeline and define which Scene graph elements are visible or hidden in each phase. This lets viewers follow which parts appear as the project progresses. According to Epic Games’ documentation, Phasing groups can be used in videos and sequences.
Requirements and interface notes
This workflow requires Twinmotion and an editable scene. Epic Games’ guides do not specify a particular software version, account type, hardware requirement, or licensing condition. No special requirement should therefore be assumed; check the Twinmotion version and access conditions for your project environment separately.
The steps below use interface labels such as Media, Phasing Group, Scene, Scene graph, Create Phase, and Date in English. The documented path is to open the Media panel from the Footer at the bottom, then select the Phasing Group icon. Visibility is controlled using the eye icons next to elements in the Scene graph.
Initially, the timeline defaults to a six-year range, while the first phase defaults to a duration of 40 days. These values can be changed. When you create a new Phasing group, its start date also defaults to the current date.
Workflow: Create a Phasing group
Open the Media panel. Click Media in the Footer. In the Media panel, select the Phasing Group icon and click the Add icon. When the new group opens, its first phase is automatically created on a new track.
Select the first phase and prepare the Scene graph. Make sure the first phase on the timeline is selected before changing visibility. Open the Scene panel from the Footer to access the Scene graph. Click the eye icon to the left of an element to hide or show it. Visibility changes are reflected in the viewport and applied to the selected phase.
To change multiple elements at once, hold down the eye icon and move up or down through the Scene graph, or select multiple elements using Ctrl or Shift, then click the eye icon. For example, you can leave only the terrain visible and hide the other scene elements in the first phase; this is one possible use of the tool.
Add the next phase. With the first phase selected, click the Create Phase icon. The new phase is added to the timeline on the same track. Select the second phase and use the eye icons in the Scene graph to choose which elements should appear in it. For example, vegetation or building elements hidden in the previous phase can be shown in the next one. These changes set the visibility state for the selected phase.
Repeat for each stage of the process. After creating and selecting each new phase, adjust its visibility. This lets you divide the scene into different points, such as the beginning, intermediate states, and completed project. When you select multiple phases, the same visibility state can be applied to all of them. Use Ctrl to select multiple phases.
Create a new track for overlapping work. Phases on the same track cannot overlap. If two workstreams need to be shown during the same period, open the three-dot menu to the left of the existing track name and choose New Track. You can create a phase on the new track and adjust its position on the timeline. Phases can be moved by drag and drop to another position on the same track or to a different track.
Adjust the timeline as needed. You can shorten or lengthen phases, change their positions, and view the timeline in days, weeks, months, or years. Use the relevant icons or the options opened by clicking the timeline value to zoom in or out. If date markers aren’t needed, show or hide them using Date marks in the Properties panel.
Preview the result. While using the Phasing tool, move the Date widget along the timeline to check different phases. To preview in Full Screen mode, press F12 and use the phasing slider. Check that each phase shows the expected elements and that the phase order supports the story you want to tell.
Common mistakes and checklist
Saving visibility to the wrong phase: Changes in the Scene graph are applied to the selected phase. Before editing, check that the correct phase is selected on the timeline.
Putting all phases on one track when you expect them to overlap: Phases on the same track cannot overlap. Create a new track for phases that need to progress at the same time, then move each one to the appropriate position on the timeline.
Treating the default durations as the project schedule: The 40-day phase duration and six-year timeline mentioned in the documentation are default values and can be changed. Adjust the durations and dates to suit your project.
Checking only a single frame: Preview different points using the Date widget or the slider in Full Screen mode. In particular, verify that visibility changes are saved correctly between phases and that simultaneous work is shown on separate tracks.
Using Phasing in architecture, interior design, and archviz workflows
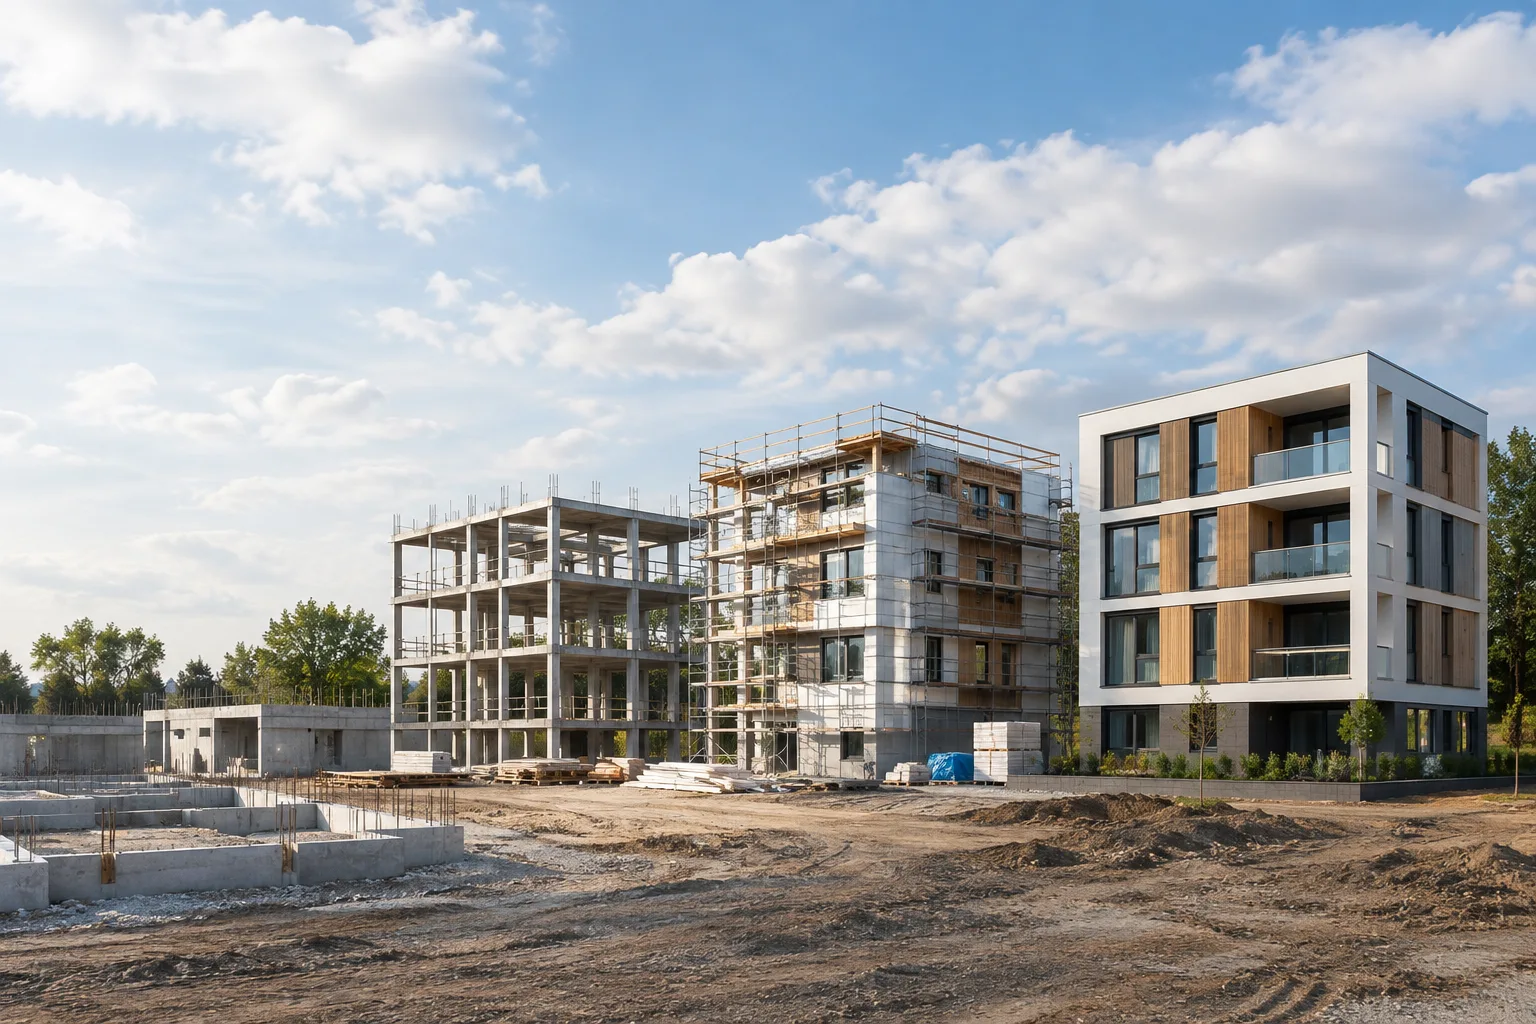
Phasing can be useful for architecture firms and visualization specialists who want to explain the construction sequence to a client or project team. Elements such as foundations, structural systems, finishing work, and landscaping can be presented with separate visibility states in the scene; however, how these elements are modeled and named depends on the project file. The tool links the visibility of existing scene elements to phases; the sources do not mention a feature for generating models or automatically creating construction schedules.
For interior presentations, you can also compare different object and lighting states in the same scene. Epic Games’ documentation mentions View sets and Phasing groups for these kinds of variations. Keeping elements organized in the Scene graph can make it easier to select the right visibility state in large scenes. If the result is being prepared as a video or sequence, the phase order and overlap across tracks directly affect how clearly the story comes across. Since the sources provide no information about hardware, compatibility with specific versions, or licensing costs, check the conditions of your setup rather than making assumptions about these topics.
Next steps
For your first test, build a simple progression using a small number of scene elements, then check the order of tracks and phases in the preview. If you’re presenting design alternatives rather than project progress, decide in advance which elements and lighting states will change for each variation to keep things organized. Phasing groups, phases, and tracks can be renamed, duplicated, or deleted using their respective three-dot menus in the Media panel. You can also adjust a phase’s duration by dragging its edges.
Sources and licensing
This guide was adapted into Turkish based on information in Epic Games’ Twinmotion documentation: “Phasing and View Sets,” “Working with the Phasing Tool,” “Creating Phasing Groups,” and “Managing Phasing Groups.” The sources are freely accessible as official documentation; since the text provided does not specify an open content license, no particular license is claimed.
Sources
3 sourcesSource texts are not republished; short quotes are marked, everything else is our own summary and commentary.
For architecture firms and students in Turkey, Phasing’s most notable benefit is the ability to explain project progress using the same scene. Saving visibility states instead of rebuilding each phase from scratch can help keep things organized, especially when preparing presentation videos and sequences. Comparing interior alternatives is also possible, but the scene elements need to be organized clearly for this to work well.
Before getting started, it’s a good idea to check the Twinmotion version and licensing conditions in use; the sources don’t provide details on these topics. They also offer no specific information about hardware requirements, so it isn’t possible to make general claims about performance. Firms could first try organizing tracks and phases in a small scene, then consider applying the workflow to a real project presentation.
Frequently asked questions
What is the Twinmotion Phasing tool used for?
It links the visibility of scene elements to phases on a timeline to show project progress or scene variations. Phasing groups can be used in videos and sequences.
How do you show phases that progress at the same time in Twinmotion?
Phases on the same track cannot overlap. Create a new track for simultaneous phases, then place the phases on those tracks.
Can you change the duration of Twinmotion Phasing phases?
Yes. You can shorten or lengthen phases. The documentation lists 40 days as the default phase duration.