In brief
- Freestyle uses mesh data and Z-depth information to draw lines along selected edges.
- Line appearance can be controlled with Line Set and Line Style settings.
- In the Parameter Editor, at least one edge type must be selected to produce a render.
- Freestyle can be memory-intensive and supports only mesh objects with surfaces.
What you’ll learn in this guide
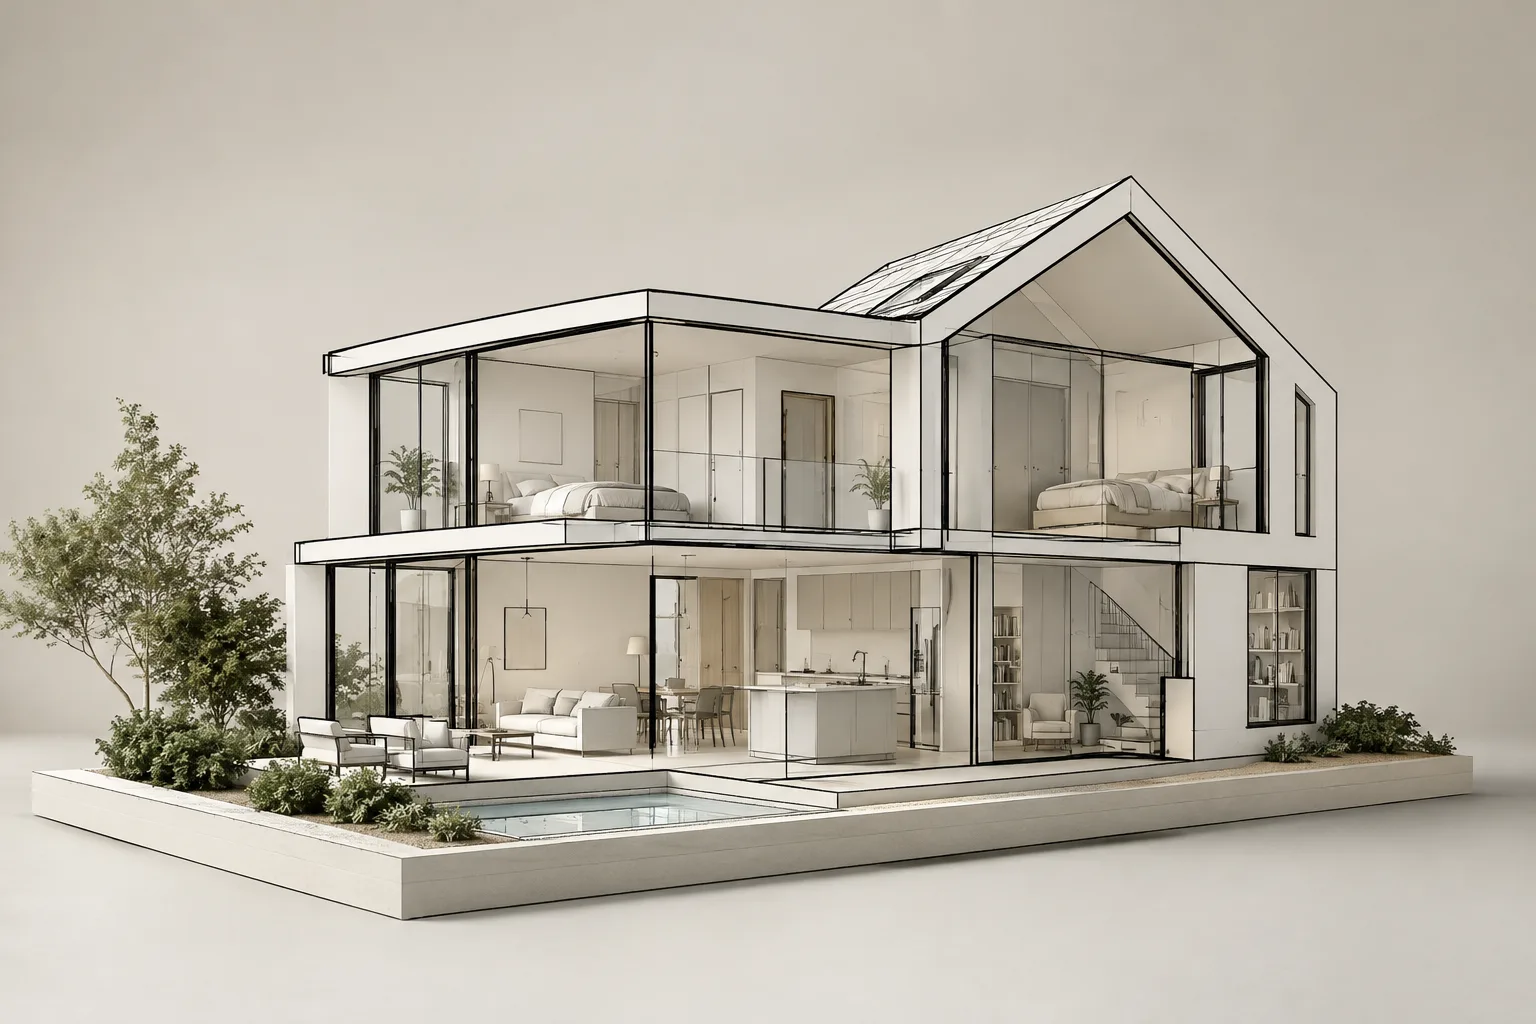
Blender Freestyle is an edge-based NPR (non-photorealistic rendering) engine that emphasizes object edges with lines rather than focusing on photorealistic scene rendering. In architectural visualization, this approach can be used to present a massing study, façade design, or interior geometry in a more technical, drawing-focused style. Properties such as line color, thickness, and visibility can be adjusted, and multiple line sets can be used in a scene.
By the end of this walkthrough, you’ll know how to enable Freestyle, use a Line Set to choose which edges to render, and select suitable edge types. You can also gain more control over the lines by manually marking specific model edges, then inspect the results in a render. The names used in this guide are based on Freestyle features in the Blender manual; since no specific Blender version is given, the steps make no version-specific assumptions.
Requirements and before you begin
Blender is the required software. The source manuals do not specify a particular version, account requirement, or pricing information, so no version or licensing requirements are stated here. Freestyle can be memory-intensive: mesh objects in a view layer are loaded into memory at the same time. If your scene is heavy, a practical precaution is to work from a copy of the file and remove unnecessary geometry before you begin.
Freestyle supports only mesh objects with surfaces. It also does not detect edges where surfaces intersect, and panoramic cameras are not supported. These limitations can affect the expected linework, particularly in models made of open surfaces and scenes with many overlapping objects. Freestyle lines can also be generated as a separate render pass and composited over the final image using an Alpha Over node.
Step-by-step Freestyle line rendering
Prepare the scene. Place the architectural model you want to render with linework in a Blender scene. Decide in advance which lines should be visible, such as the outer contour, façade edges, and interior furniture. This will make it easier to configure the Line Set in the next step.
Enable Freestyle. Turn on the Freestyle option in the Render properties. The Blender manual shows this control in the Render section of the Properties editor. The remaining Freestyle settings are in the View Layer properties, so note that the controls for enabling and configuring linework are in different places.
Choose a working mode. Freestyle lines can be defined using the Line Set and Line Style controls in the UI’s Parameter Editor Mode, or through Python Scripting Mode. This guide follows the parameter-based workflow. Python-based line generation is presented as a more advanced option; scripting isn’t required here.
Create a Line Set and choose an edge type. A Line Set determines which detected lines are rendered and is associated with a Line Style. To get a result in the Parameter Editor, select at least one edge type. Multiple types can be combined in a Line Set. For an architectural massing model, Silhouette or Contour can be used for the outer boundary; Crease for prominent surface breaks; and Edge Mark for lines manually specified on the model.
Configure visibility and line selection. Visibility options control whether to select lines that are not occluded by surfaces, hidden lines, or lines that are behind a specified number of surfaces. Hidden edges may be useful in a technical view, while a simpler presentation may call for visible lines only. Image Border limits line calculations to geometry within the image boundaries; be aware that line continuity problems can occur when geometry enters or leaves the frame.
Manually mark edges if needed. If automatic edge types don’t produce the result you want, add Freestyle marks to specific mesh edges. Select the object, enter Edit Mode, select the edges to mark, and choose Mark Freestyle Edge from the Ctrl-E menu. Then enable the Edge Mark type in the relevant Line Set. This method can be used to pick out a line that isn’t detected automatically on an almost flat surface, for example, or one you want to emphasize.
Render and refine the result. Render the scene and inspect how the lines fall across object boundaries, material transitions, and selected edges. If the Freestyle lines don’t appear directly over the rendered image, check whether they’re being produced as a Render Pass; the manual notes that the lines can be composited over the render image using an Alpha Over node. If the geometry stays the same between renders, the View Map Cache option can reuse cached data for subsequent calculations. However, cache memory is shared between view layers and scenes, so the expected performance gain may not be achieved when using multiple view layers or scenes.
Common issues
No lines are visible: Make sure at least one edge type is selected in the Parameter Editor. Also check that the edges selected by the Line Set are compatible with the visibility settings. For example, a setting that selects only lines occluded by surfaces may not show visible contours.
Expected boundaries don’t appear on flat or open surfaces: Silhouette cannot draw open mesh objects, such as open-topped cylinders and planes. Border may be more appropriate for open edges belonging to a single face, while Edge Mark can be used for specific model edges. For rounded outer boundaries, Contour, External Contour, or Silhouette are recommended instead of Edge Mark.
The image looks too cluttered: Rather than adding every edge type to the same Line Set, group line selections according to their purpose. Face Marks can help control lines in specific areas, with options to include or exclude them. Crease Angle also affects which edges are drawn based on the angle between adjacent faces. Sphere Radius settings are important for Ridge, Valley, and Suggestive Contour selections; increasing the value reduces noise and detail.
Rendering is slow or the scene is putting pressure on memory: Keep in mind that Freestyle loads mesh objects in the same view layer together. Culling can reduce processing and memory use by ignoring edges outside the view, though it may reduce output quality in some cases. Image Border also limits line calculations to geometry within the frame, but can cause continuity issues at the frame edges.
Using Freestyle in architectural and visualization workflows
Freestyle is best viewed not as a replacement for photorealistic rendering, but as a way to produce a line-focused output when needed. Architecture and interior design students can use it to present massing, façade, or spatial geometry with more legible lines. Visualization teams can control outer contours, material boundaries, and manually selected model edges as separate line decisions. This can make a presentation more graphic, but the model geometry and edge selections are important for getting the lines right.
When planning your workflow, consider memory use, mesh density in the scene, and the number of view layers. The sources do not specify hardware requirements. Licensing terms are also not stated here beyond the content of the cited manual pages; this guide makes no additional claims about the Blender software license. Support for panoramic cameras, open meshes, and edge detection at surface intersections are limitations worth checking with a small test render before production.
Next steps
For your first test, start with a single Line Set and a small number of edge types. Then change visibility types, edge marks, and line styles one at a time to observe how each setting affects the image. If your scene is animated and the mesh geometry in camera space is fixed, you can try the View Map Cache option; remember that the cache is shared across multiple scenes or view layers. Evaluate the output to see whether the final image suits your presentation needs, including whether the lines should be composited as a render pass.
Source and license
This guide has been adapted into Turkish using Blender’s Freestyle Introduction, View Layer, and Line Set manuals. The licenses for the K1, K2, and K3 sources used are CC BY-SA 4.0.
Sources
3 sourcesSource texts are not republished; short quotes are marked, everything else is our own summary and commentary.
For architecture firms and visualization teams in Turkey, Freestyle’s practical value lies in being able to create a line-based presentation from the same model as well as a photorealistic image. The ability to determine which edges are visible can add flexibility to the production process, especially when communicating massing and façade designs.
However, memory use in scenes with dense meshes and the requirement for mesh objects with surfaces shouldn’t be overlooked. Since the sources don’t provide numerical hardware requirements, it’s a good idea to run a test render on a sample scene before moving on to a large project. Offices should also check UI and project compatibility with their own Blender versions.
Frequently asked questions
What is Blender Freestyle used for?
Freestyle is a non-photorealistic rendering engine that uses mesh data and Z-depth information to draw lines along selected edges. Different line styles can be used to create artistic or technical views.
How do you render specific model edges with Freestyle?
In Edit Mode, select the desired edges and choose Mark Freestyle Edge from the Ctrl-E menu. Then select the Edge Mark type in the relevant Line Set.
What are the known limitations of Blender Freestyle?
Freestyle can be memory-intensive and supports only mesh objects with surfaces. Panoramic cameras are not supported, and edges are not detected where surfaces intersect.