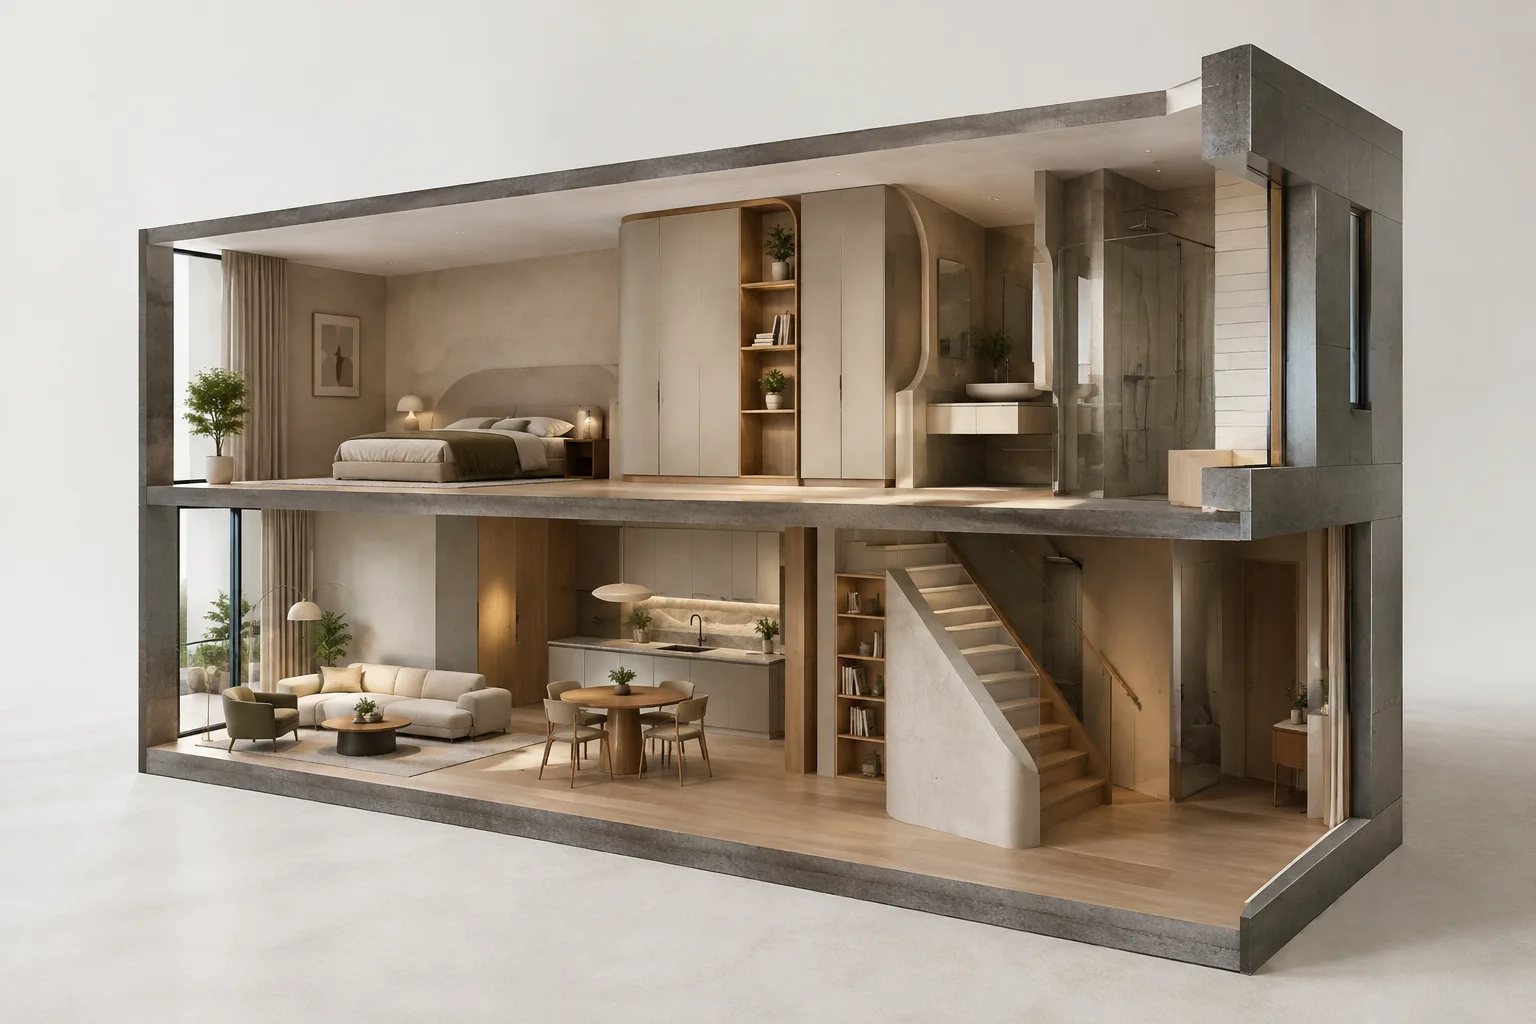
In brief
- Section planes can create plan and vertical section views; only one section plane can be active in a context at a time.
- The Move tool can position objects precisely by entering a distance or coordinates.
- Follow Me can create 3D geometry by sweeping a profile along a path of edges.
- The Tape Measure and Scale tools can resize the entire model or selected geometry.
SketchUp’s official Help documentation, updated on 29 September 2026, explains how to use section planes, move objects, Follow Me, and scaling tools. This guide provides a step-by-step framework for applying these tools in architectural modeling workflows. Since the documentation does not specify a particular SketchUp version, the methods below are based on the SketchUp functionality covered in the official documentation.
1. Inspect the model and create drawings with a section plane
Before adding a section plane, open the group or component context you want to work in, and make sure there are no other selected or open items outside that context. Select the Section Plane tool or go to
Tools > Section Plane. Click the face where you want to place the plane. A horizontal section can be used for a plan view, while a vertical section can help you inspect interior relationships across multiple floors.To orient the plane correctly, hover over a face that represents the desired direction and press Shift to lock the cursor direction. The arrow keys can also help orient the plane’s normal: Up selects the blue axis, Right the red axis, and Left the green axis; Down aligns the plane parallel to the face. Once placed, give the plane a name and number.
If the cut faces the wrong way, right-click the plane and select
Reverse. ChooseAlign Viewto align the camera with the section plane. A model can contain multiple section planes, but only one section can be active in the same context. You can change the active plane by right-clicking it and choosingActive Cut, or by double-clicking the plane. You can also present multiple interior views as scenes.
To fill the section cut, enable Section Fill in the Styles panel. For the fill to appear, the cut geometry must form a closed loop within its own group or component hierarchy. If the fill does not appear, right-click the section plane and run Troubleshoot Section Fill; corners around the opening will be marked with red circles. Since the fill changes the model style, save the style if you want to reuse these settings later. You can also use the Section Fill tool as an alternative.
To export a section drawing, select the relevant section plane and go to File > Export > Section Slice. True Section (Orthographic) creates a true orthographic drawing, while Screen Projection reproduces the view as it appears on screen, including perspective distortion. In the export window, you can also set the drawing scale, section line appearance, and target AutoCAD version. The default file type is .dwg.
2. Move geometry along an axis and by a precise distance
Use the Select or Lasso tool to identify the item you want to move. Select the Move tool or press M. Click a starting point you can use to align the item in the model, move it to the target, and click the destination point to complete the move. During the move, inference points and values in the Measurements box update, making it easier to track the item’s position relative to other geometry.
If the movement needs to stay on a specific axis, hold Shift when the move line takes on that axis’s color. If needed, use the arrow keys to set the axis lock manually. To move an item a precise distance, type the value during the move or immediately after it. Specifying a unit overrides the template’s default unit of measurement. The documentation gives
3' 6"as an example of a value you can enter even if the default system is metric.
When entering coordinates, values in square brackets indicate a global position relative to the model origin, while values in angle brackets indicate a position relative to the move’s starting point. For groups or components, the corner grips of the bounding box can help you find the correct starting point. Precise moves are especially useful when aligning components to an axis or other geometry.
3. Create edge details with Follow Me
Use Follow Me to create solid geometry by sweeping a profile along a defined path. Soffits and gutters are examples of details that continue around a perimeter, as described in the documentation. For the automatic method, first select the connected edges that make up the path with the Select tool. Then prepare a profile face approximately perpendicular to the path, activate Follow Me, and click the profile face. The profile does not need to be attached to the path.
For the manual method, select the Follow Me tool, click the profile face, and drag it along the path. When the cursor reaches an edge to follow, the path is highlighted in red; click the endpoint to finish. If the starting edge does not touch the profile, the extrusion may begin at that edge instead of where the profile is located. Press Esc to try again.
If the model is divided into groups, the profile and selected path must be in the same group. If the result is not as expected, zoom in and check for small gaps between lines; use the Line tool to complete any missing connections. Orbit around the model to check that the profile is perpendicular to the path. These checks help prevent faulty geometry, especially with curved or perimeter details.
4. Scale the model or selected parts
To resize the entire model to a known measurement, select the Tape Measure tool or press T. Mark the two endpoints of a line in the model to measure its current distance. Enter the new measurement in the Measurements box and press Enter; when prompted to resize the model, select Yes. This method adjusts the entire model using a known distance in the drawing as a reference.
To resize selected geometry while preserving its proportions, use the Tape Measure or Scale tool. With the Scale tool, a corner grip lets you enlarge or shrink the selection proportionally. Shift toggles uniform scaling. If you need to stretch or compress the geometry in only one direction, use an edge or face grip instead of a corner grip. When entering dimensions for separate axes, separate the values with commas. To scale from the center instead of the opposite edge, change the behavior with Ctrl on Windows or Option on macOS.
To resize a single component instance, select that instance with the Scale tool. Opening the component and scaling its internal edges and faces affects every instance in the model. Keeping this distinction in mind helps prevent unintended changes in models where the same component is used at multiple sizes.
Applying these tools in architectural workflows and common mistakes
Section planes make it easier to inspect spatial relationships in plans and vertical sections; precise moves help align elements; Follow Me creates profiles that continue around a perimeter; and scaling lets you adjust dimensions across the whole model or in selected parts. If you are exporting a section, remember that an orthographic view and a screen projection with perspective do not produce the same result. Group and component boundaries also affect how these tools behave when establishing a shared model structure across a team.
Common mistakes:
If a section fill does not appear, changing only the visibility settings; first confirm that the cut geometry forms a closed loop.
Keeping the profile and path in different group contexts for a Follow Me operation; put both in the same group.
Expecting precise alignment without locking the axis direction during a move; use Shift or the arrow keys based on the axis color.
Assuming that editing geometry inside a component affects only the selected instance; changes to the component’s contents also affect its other instances.
Treating
Screen Projectionas equivalent to an orthographic drawing when exporting a section; choose the appropriate option for the intended use.
The documentation does not provide information about hardware requirements, licensing terms, or compatibility between versions. These points should therefore be verified separately for production workflows.
Sources
3 sourcesSource texts are not republished; short quotes are marked, everything else is our own summary and commentary.
For architecture and interior design teams, these tools support both model control and drawing preparation: sections and exports address drawing needs, while precise moves and scaling help with model edits. Follow Me can reduce repetitive work when creating profiles that continue along an edge.
For offices in Turkey, the most practical approach is to try these methods in a small sample model and standardize them around the team’s workflow. The documentation does not specify licensing costs, hardware requirements, or version compatibility; the suitability of the current setup should be verified separately. Pay particular attention to closed section loops and the way changes can affect multiple component instances.
Frequently asked questions
How do you create an architectural section in SketchUp?
Select the Section Plane tool and click the face where you want to place the section plane. You can export the section drawing via `File > Export > Section Slice`.
What does the Follow Me tool do in SketchUp?
It creates 3D geometry by sweeping a profile along a defined path. The official documentation gives soffits and gutters as examples of edge details you can create with it.
How do you scale an entire model in SketchUp?
Use the Tape Measure tool to measure a distance in the model, enter the new value in the Measurements box, and press Enter. When prompted to resize the model, select Yes.