In brief
- An armature is an object type used to build rigs in Blender.
- Add a basic armature with Add > Armature > Single Bone.
- Edit Mode changes an armature’s rest position, while Pose Mode changes the bones’ pose.
- For a mesh to deform with bones, it must be skinned to the armature.
What you’ll learn in this guide
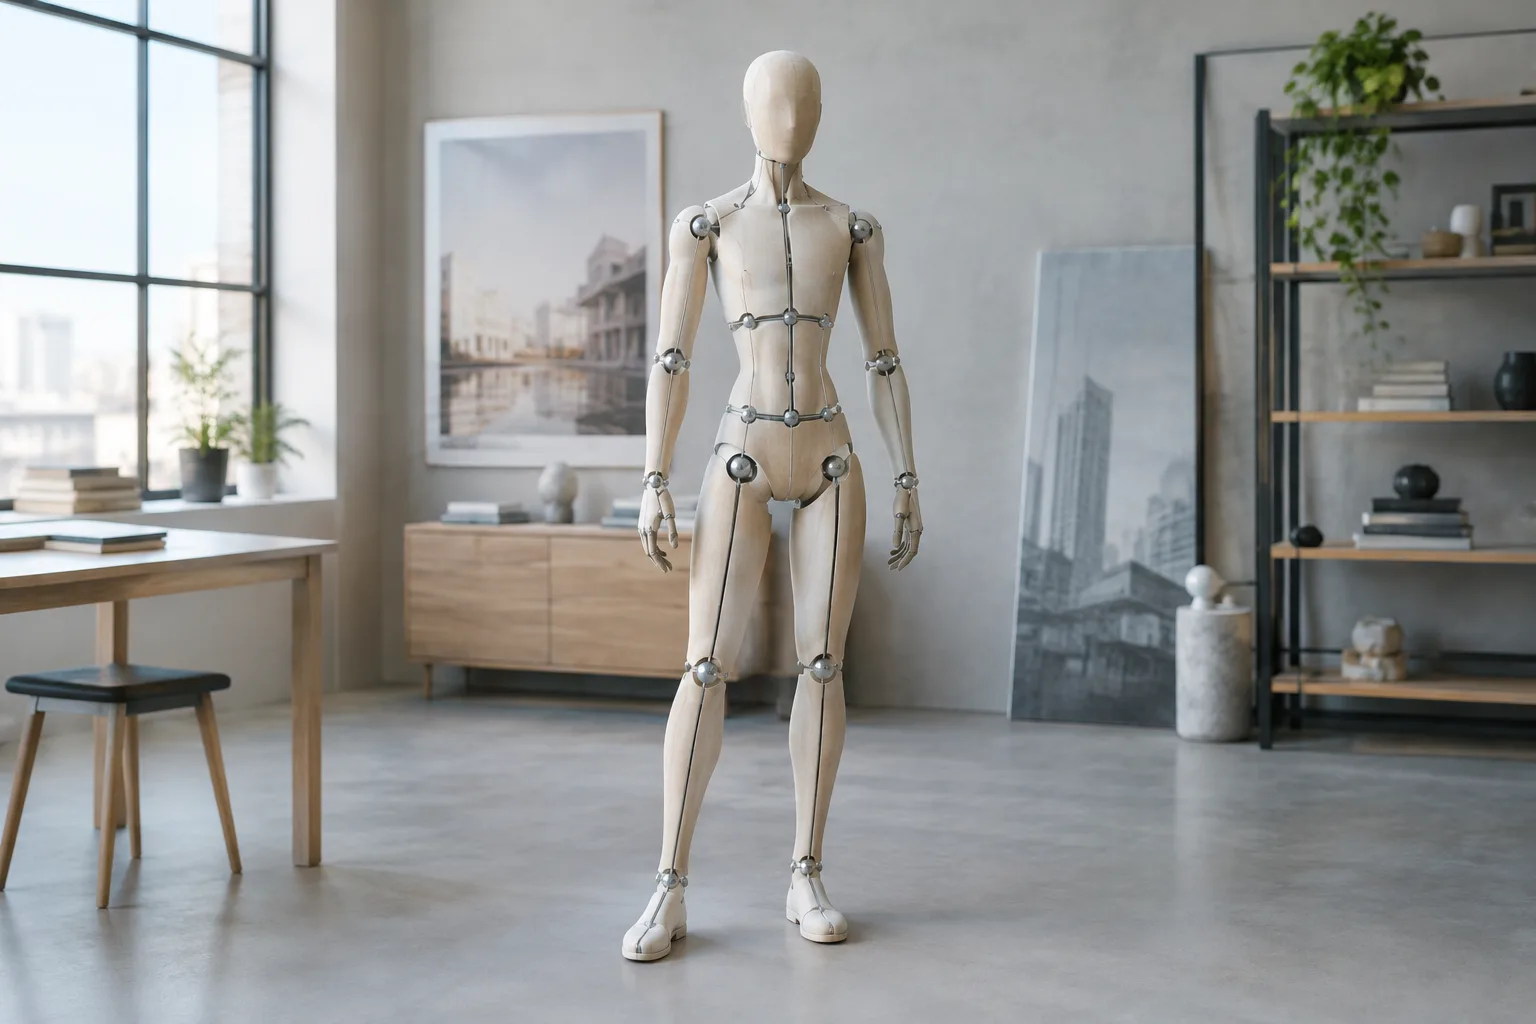
In Blender, an armature is an object type made up of one or more bones and used to build rigs. Objects linked to or associated with an armature can move or deform along with its bones. In this beginner’s guide, you’ll add a single-bone armature to the scene, learn the difference between editing the armature object and editing its bones, and get an introduction to posing in Pose Mode.
This guide does not cover building a complete character rig or binding a mesh to an armature. For an object to deform with bone movement, it must be skinned to the armature. So adding a single bone to the scene does not, by itself, create a model that can be moved using that bone.
Requirements and the purpose of each mode
An openable Blender scene is all you need. The source guides do not specify a particular software version, computer hardware, cost, or Blender software licensing terms. For that reason, no version or hardware requirements are listed here. The beginner example deletes the objects in the scene and adjusts the view using the numeric keypad. If you need to preserve your existing work, you can add an armature without deleting the scene contents.
When working with an armature, it’s important to distinguish between the roles of these three modes:
Object Mode: Transforms the entire armature object; it does not pose individual bones.
Edit Mode: Edits the bones’ basic arrangement, also known as the armature’s rest position.
Pose Mode: Used to pose bones relative to their rest positions.
Understanding this distinction helps prevent confusion caused by working in the wrong mode. Changing the initial bone arrangement and creating a pose based on that arrangement are not the same operation.
Step by step: Add a single-bone armature
Open the default scene. Start with a default scene in Blender. The Blender Manual example deletes the objects in the scene. Before doing this, make sure there are no objects you need to keep; skip the deletion step if you want to preserve the existing contents.
Move the 3D Cursor to the world origin. Use the
Shift + Cshortcut. In the example, the cursor is moved to the world origin before the armature is added.Switch to Front View. Press
Numpad1to switch to Front View. This lets you see the bone head-on as you add it.Add a single bone. Follow
Add > Armature > Single Bonein the armature add options. This adds a single-bone armature to the scene. The goal of this example is to introduce the basic structure; a single bone does not constitute a fully built rig.Zoom in on the structure. Press
NumpadPeriodto zoom in on the armature in the view. The Blender Manual example uses this step to view the armature as closely as possible.
Once added, the armature object itself also has location, rotation, and scale values. However, transforms applied to the object affect the entire armature. To change individual bones’ positions, switch to Pose Mode. The armature’s object data can be edited in Edit Mode; the same armature data can be used by multiple objects.
Posing bones in Pose Mode
Set up the armature’s bone arrangement in Edit Mode. In this mode, the armature is displayed in its rest position—the bones’ basic or resting arrangement. To create a pose, use Pose Mode rather than changing this basic arrangement.
After switching to Pose Mode, select the bone you want to pose and apply a transform. Bone transforms in Pose Mode create a difference relative to the rest position. This means a pose can be considered separately from the armature’s basic bone arrangement. Posing can also be used in static scenes, but the source guide notes that this feature is closely related to animation features.
Bone colors in Pose Mode can provide visual cues in some situations. The guide describes the default state as gray and the Pose Mode appearance as a blue wireframe. Bones with a constraint appear green; an IK Solver constraint appears yellow; and a Targetless Solver constraint appears orange. When the Bone Color feature is enabled, these state colors are overridden. Treat colors as helpful indicators of bone status rather than as definitive signs of an error.
Common points of confusion
The mesh doesn’t move with the bones: Adding an armature alone isn’t enough; the object must be skinned to the armature.
The entire armature moves: You may be transforming the object itself in Object Mode instead of posing the bones.
The basic bone arrangement changes: Use Pose Mode, not Edit Mode, to create a pose. Edit Mode is for the basic arrangement in the rest position.
You can’t pose the bones: Check which mode the armature is in. Bone posing is done in Pose Mode.
The armature looks small in the view: Zoom in using the
NumpadPeriodstep from the example guide.
Its place in architectural and visualization workflows
Based on the armature’s general function, one possible use is adapting the pose of a bone-controlled model for an architectural visualization scene. For example, if a project includes a figure or another moving model skinned to an armature, you can pose it by editing the bones in Pose Mode. This is not presented in the sources as a use case specific to architectural visualization; it is a potential application of the armature’s described movement and deformation capabilities.
This guide helps clarify the difference between moving the armature object and posing its bones. If a model in a project is expected to deform with bones, check that it has been skinned to the armature. The sources do not provide information about hardware, project compatibility, or the cost and licensing terms of Blender software. The CC BY-SA 4.0 noted here is the content license for the Blender Manual pages; it should not be interpreted as the software license.
Next steps
Use the single-bone example to review the differences between Object Mode, Edit Mode, and Pose Mode. If you want to move a mesh using bones, explore skinning separately. Since the available sources do not explain the skinning steps or how to build a more advanced rig, no additional menu paths or methods are suggested for those topics.
Source and license
This guide is adapted into Turkish from the Blender Manual’s armature introduction and introduction to posing. Both sources are licensed under CC BY-SA 4.0.
Sources
2 sourcesSource texts are not republished; short quotes are marked, everything else is our own summary and commentary.
For architecture firms and visualization students in Turkey, this basic guide clearly explains how posing with bones differs from transforming an entire object. It can serve as an introduction to pose-editing workflows when a project uses models skinned to an armature.
However, this guide does not cover skinning or building a complete rig; its practical value depends on whether the model is already prepared. The CC BY-SA 4.0 license applies to the Blender Manual content. The sources do not explain Blender software’s cost and licensing terms or hardware requirements, so these should be verified separately during project planning.
Frequently asked questions
How do I add an armature in Blender?
Use Add > Armature > Single Bone in the armature add options to add a single-bone structure to the scene.
Which mode should I use to pose bones in Blender?
Use Pose Mode to pose bones. Edit Mode is for editing the armature’s basic arrangement and rest position.
I added an armature, but why isn’t the mesh moving?
For the mesh to deform with the bones, it must be skinned to the armature. Creating an armature alone does not establish this relationship.