In brief
- Baking requires a UV map on the mesh and either an image texture or a Color Attribute target.
- Cycles uses the scene’s render settings during baking, including the sample count and ray bounces.
- Bake Type determines which data is transferred, including AO, normals, roughness, emission, and other surface data.
- Adding a margin around UV islands helps prevent seams caused by texture filtering and mipmapping.
What will you learn in this guide?
Texture baking transfers shading, lighting, or material information from a 3D surface to an image texture. In Blender’s Cycles render engine, it can be used to create base color and normal maps, convert ambient occlusion (AO) or procedural textures into images, and generate light maps for use in games. Baking AO information for primary objects can reduce the need to recalculate it throughout an entire render.
This tutorial starts with unwrapping the mesh and setting up an output target, then covers choosing the data to transfer and configuring the bake options. Finally, we’ll check the result and look into common issues. The source documentation does not specify a particular Blender version or account requirement, so no version number or account type is assumed here.
Requirements and preparation
The object to be baked must be a mesh with a UV map. You also need to set up one of two output targets: an image connected to an active and selected Image Texture node, or an active Color Attribute layer. With the Image Texture method, no bake output is produced for parts that do not have an active and selected image node in their material. For a Color Attribute target, the active object must be a mesh.
If the object does not yet have a UV map, switch to Blender’s UV Editing workspace. Enter Edit Mode in the 3D Viewport; you can work in vertex, edge, or face selection mode. Starting the unwrap after the model’s geometry is largely finalized can reduce the extra work needed to accommodate faces added later. However, faces can still be added or split after unwrapping; in that case, review the UV mapping of the new geometry separately.
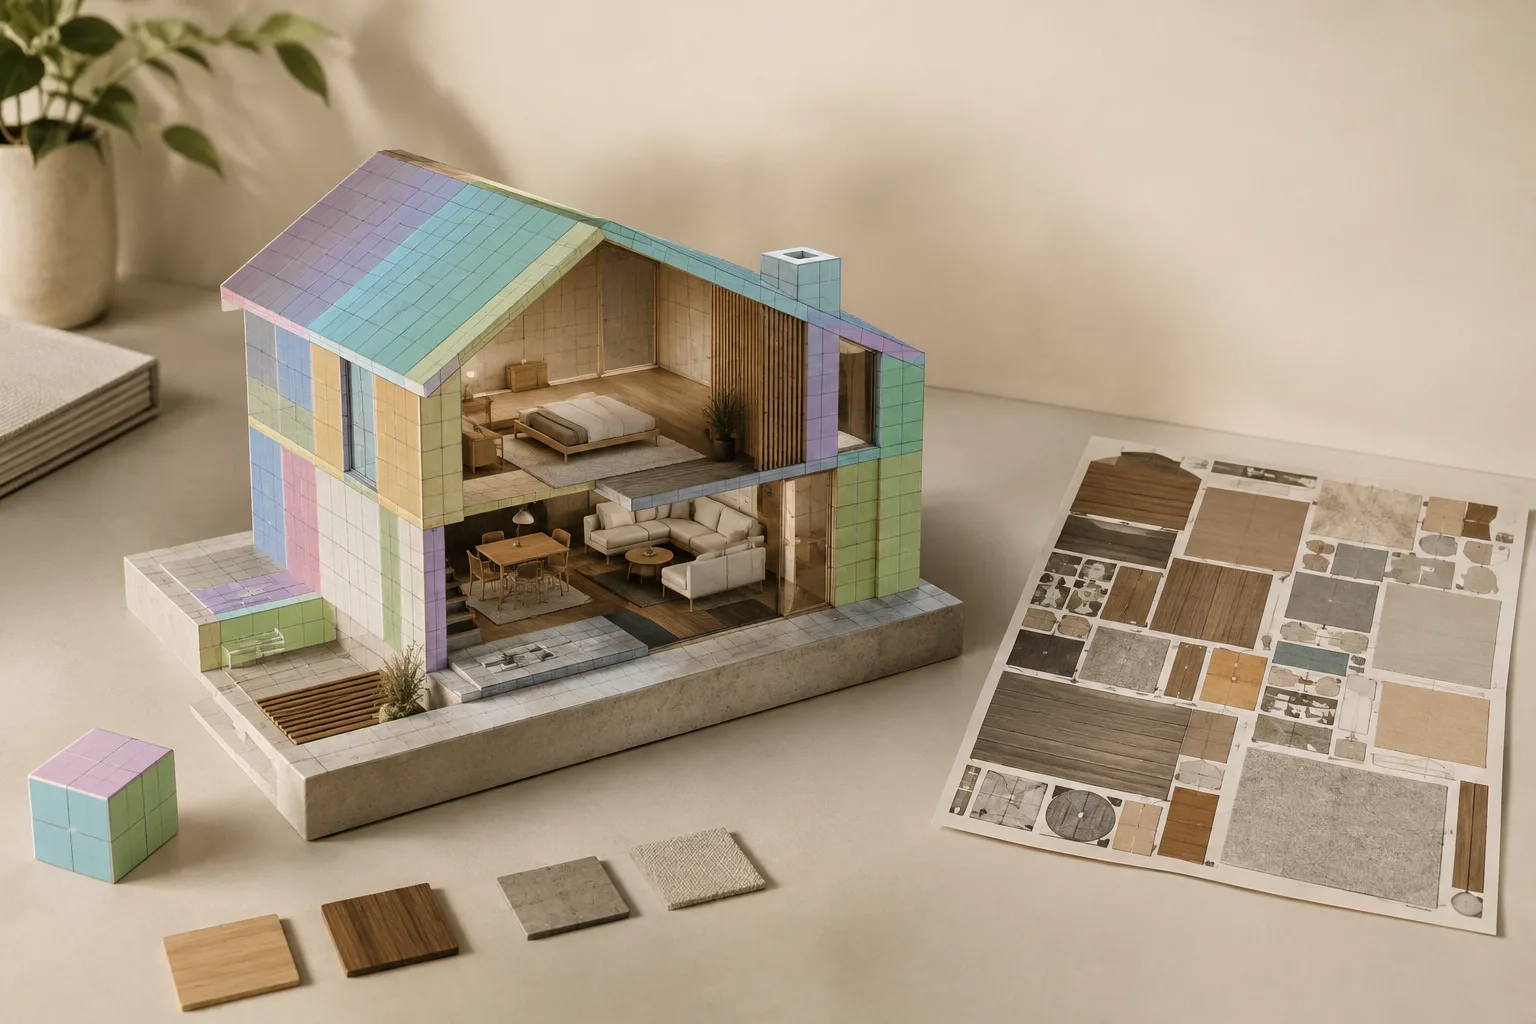
Think of a UV map as a coordinate layout that defines how a 3D surface is placed on a 2D image. UV unwrapping is done in Edit Mode and creates one or more islands in the UV Editor. If needed, mark seams, select the mesh faces, and apply an unwrap method from the UV menu. Review the relevant settings in the Adjust Last Operation panel. Use a test image in the UV Editor to check for stretching or distortion.
Step-by-step baking
Prepare the UV map. Arrange the UV islands to suit the surfaces you’ll bake. Each mesh face has a corresponding face in the UV map; this relationship determines how the image fits the surface. You can edit UVs later, but changes to the geometry may require additional mapping work.
Set up the output target. To bake to an image, the relevant material must have an Image Texture node and an image to bake to. Blender uses the active and selected Image Texture node as the target. Alternatively, you can use the active Color Attribute layer on the mesh. Before baking, make sure the correct image is selected. If Clear Image is enabled, the image is cleared before the operation; check this setting if you need to preserve its existing contents.
Choose the bake type. Bake Type in the Bake settings under the Render section determines which data is transferred to the image. Ambient Occlusion bakes the AO defined in the World panels and does not take scene lights into account. Normal transfers surface normals to an RGB image; Roughness transfers the material’s roughness variation; and Emit transfers the emission or glow color. Shadow records lights and shadows, Position stores position data based on scene coordinates, and UV stores mapping coordinates. Combined brings together material, texture, and lighting information, excluding specularity; the components included in this pass can be enabled or disabled individually.
Use Selected to Active when needed. To bake from a high-detail model to an active low-poly object, set up the source and target object selection correctly. With this method, rays are cast inward from the low-poly object toward the high-poly model. If rays have trouble reaching the target surface, consider the Cage, Cage Extrusion, or Max Ray Distance settings. Cage directs rays to the active object through a cage; you can also use a custom Cage Object. If you do not use a cage, the Max Ray Distance setting is available.
Match the normal map settings. For a normal bake, you can choose Object or Tangent space. The source guide describes Tangent as the default and generally appropriate method, and notes that it can also be used for animated objects. For the correct result, the space selected during baking must match the Normal Map setting on the image texture.
Set the margin and bake. When baking to an image, you can add a pixel margin around the UV islands. Extend pushes the pixels at the island edges outward. Adjacent Faces fills this area with pixels from neighboring faces across the UV seam. Set the margin size in pixels. After reviewing the options, run the Bake operation. During baking, Cycles uses the render settings, including sampling and ray bounces, so keep these settings in mind when assessing the result quality.
Common issues
If the output is blank, check the target. For an Image Texture target, the correct node must be active and selected. Also, if a material does not have an active and selected image node, it will not be baked. If you selected the Color Attribute method, verify the active layer and make sure the active object is a mesh.
If you see lines along UV seams, check the margin. An insufficient margin around UV islands can cause seams during texture filtering and mipmapping. Review the margin type and size in pixels, then check the result again.
If edges are distorted in a Selected to Active bake, check the ray path. If you are not using a cage, Max Ray Distance is important; if you are, check the Cage Extrusion and Cage Object settings. If the automatically generated cage does not give good results, you can edit a copy of the base mesh and use it as the Cage. According to the guide, the two meshes must have the same number of faces in the same order. Hard edge splits can also result in normals that are not smooth along the edges.
If you run into memory issues, review the number of source objects. Each object used as a bake source has a fixed memory footprint on the CPU. To prevent crashes caused by insufficient memory, consider joining high-poly source objects before baking.
Next steps in architecture and archviz workflows
In architecture, interior design, and archviz projects, baked textures can be useful for retaining lighting or AO information that does not need to be recalculated, as well as preparing base color or normal maps for game engines. However, baking is no substitute for preparing the model and materials: the UV layout, target image, and selected Bake Type determine what the output contains.
Trying the process on a small object first, rather than on a large scene, makes it easier to confirm that the target and UVs are set up correctly. Inspect the output for UV seams, surface distortion, and the selected bake type. If you are baking lighting data, remember that Cycles render settings affect the bake result. Before transferring the texture to a game engine or another workflow, verify that it contains the required data.
Source and license
This guide is adapted into Turkish from the “Render Baking” and UV unwrapping introduction sections of the official Blender manual. Both source documents are published under the CC BY-SA 4.0 license; this information refers to the license of the source documents.
Sources
2 sourcesSource texts are not republished; short quotes are marked, everything else is our own summary and commentary.
For architecture and interior design teams, texture baking can be useful for specific tasks, such as preparing lighting or AO data in advance and producing textures for game engines. Since the result depends on the UV layout and a correctly configured target, testing on a small object first is a practical place to start.
For offices and students in Turkey, the sources provide no information about license costs; the CC BY-SA 4.0 reference applies only to the manuals used. For high-poly source objects, check memory usage, and before delivery, review seams, normal map settings, and the output in the workflow where it will be used.
Frequently asked questions
What do you need to bake in Blender?
You need a UV map on the mesh and an output target. The target can be an active and selected Image Texture image or an active Color Attribute layer.
What data can Blender texture baking transfer?
Depending on the Bake Type, you can transfer AO, normals, roughness, emission, lighting and shadows, position, or UV data. Combined also brings together material, texture, and lighting information, excluding specularity.
Why are UV seams visible in a baked texture?
If the margin around UV islands is too small, texture filtering and mipmapping can create seams. Check the margin type and its size in pixels.