In brief
- The Glare Node offers Bloom, Ghosts, Streaks, Fog Glow, Simple Star, Sun Beams and Kernel effects.
- Threshold determines which brightness levels are affected by the effect.
- Quality changes the resolution at which the effect is processed, affecting both quality and render time.
- Enabling Compositing Pipeline lets the render engine use the compositing node tree.
What you’ll learn in this guide
The Glare Node in Blender’s Compositor adds light glow and similar visual effects to bright areas of an image. In this guide, you’ll learn how to create a compositing node tree, connect the Glare Node to the image flow and choose an effect type. You’ll also see what controls such as brightness threshold, quality and strength change, and how to assess these settings for an architectural visualization.
The Glare Node doesn’t change light sources in the scene; it processes the input image and adds an effect to its output. Its purpose, then, is to adjust the glow around bright areas in the image after rendering. The right effect depends on the image’s lighting and the intended visual style.
Requirements
A Blender installation that supports the Compositor and compositing node trees.
A render image to process, or an image imported into Blender.
The Compositing Pipeline option enabled in the Post Processing properties under Output, so the compositing node tree can be used in the render output.
The source documentation doesn’t specify a particular Blender version or hardware requirements. Therefore, no minimum version or hardware requirement is stated here. Using the node tree provides the basic workflow needed to apply the effect.
Setting up and adjusting the Glare Node
Create a compositing node tree. Open the Compositor and click New in the header to create a node tree. The node tree defines how image data flows from the input through processing nodes and on to the output. By default, the render image can be supplied through the Image input on Group Input.
Complete the compositing flow. Add a Glare Node to the node tree. Connect the image source to the node’s Image input, then connect the Glare Node’s Image output to Group Output’s Image input. The processed image will then be the final output of the compositing tree. Enable Compositing Pipeline in the Post Processing properties under Output so the render engine uses the tree. Nodes that aren’t connected to Group Output don’t contribute to the final result.
Choose an effect type to suit the image. The Glare Type options produce different results:
Bloom creates a soft glow around bright areas.
Fog Glow aims for a softer, more physically realistic glow; according to the documentation, it may take longer to calculate than Bloom.
Ghosts creates overlapping streaks reminiscent of lens reflections.
Streaks creates lines radiating from bright areas.
Simple Star produces a simpler, star-shaped effect similar to Streaks.
Sun Beams simulates rays scattering through the atmosphere from a bright light.
Kernel applies a custom filter using a kernel defined by numeric values or an image.
For an architectural interior render, Bloom or Fog Glow may be worth trying to create a soft effect around bright fixtures and windows. Streaks and Simple Star produce more pronounced, stylized light trails. These are suggestions for using the options; the right choice depends on the purpose of the image.
Adjust brightness selection with Threshold. Threshold sets the minimum brightness value that contributes to the effect. Lower values bring more areas into the effect; higher values limit the glow to brighter areas. If you don’t want the glow to affect the whole scene, raise the threshold and check whether only the brightest areas are included.
Balance the transition and intensity. Smoothness controls how softly pixels transition into the glow effect. Strength adjusts the effect’s overall intensity: values above 1 increase the brightness of the glow, while values below 1 blend the effect more with the original image. Saturation changes the glow’s color saturation, while Tint adds a hue to the effect. Consider these controls together to assess whether the lighting effect works with the image’s color and contrast.
Assess quality and spread. Quality determines the resolution at which the effect is processed. High processes at full resolution; Medium calculates at a lower resolution to reduce processing time; Low is the fastest option but offers less detail. The documentation describes low quality as an option for saving time, particularly in preview renders. For Bloom, Fog Glow and Sun Beams, Size determines the effect’s spread relative to the image. Before producing the final output, assess quality against the needs of the final image.
Use separate outputs if needed. The Glare Node’s Image output provides the image with the generated effect added. The Glare output contains only the glow effect, while the Highlights output provides the bright areas used to create the effect. These separate outputs can be used when the compositing flow needs to process the effect or bright areas independently.
Preparing a light source for Sun Beams
Sun Beams simulates rays spreading from a specific point in the image. For a more controlled result, first define the area from which the rays will originate. The documentation describes several ways to do this, such as using the light source as a separate image, editing the image so only bright areas remain, or applying a mask. A source image that retains only the brightest areas can help prevent rays from spreading across the entire image.
In the Glare Node, Sun Position sets the ray source point relative to the image dimensions. When Active Node Gizmo is enabled with the node selected, a cross-shaped control appears in the image preview for adjusting the position. The documentation notes that a simple Add blend is usually sufficient to composite the generated rays over the original image.
Common mistakes
Leaving Threshold unchecked: If the threshold is low, more areas than expected may glow; if it’s high, the effect applies only to the brightest areas. Use this setting to control the effect’s coverage.
Treating preview quality as final output quality: Medium and Low reduce processing time, but may also reduce resolution and detail. Assess the final image at the quality you need.
Generating Sun Beams from the entire image: If the source area isn’t isolated, you may have less control over where the rays originate. Consider isolating bright areas or using a mask.
Leaving the effect too intense: Strength, Saturation and Tint all affect the result. Check the settings to preserve the original image’s lighting and color balance.
Not connecting the compositing tree to the output: Nodes that don’t reach Group Output aren’t included in the evaluation. Make sure the Glare Node’s processed Image output reaches the final image.
Using the Glare Node in an architectural visualization workflow
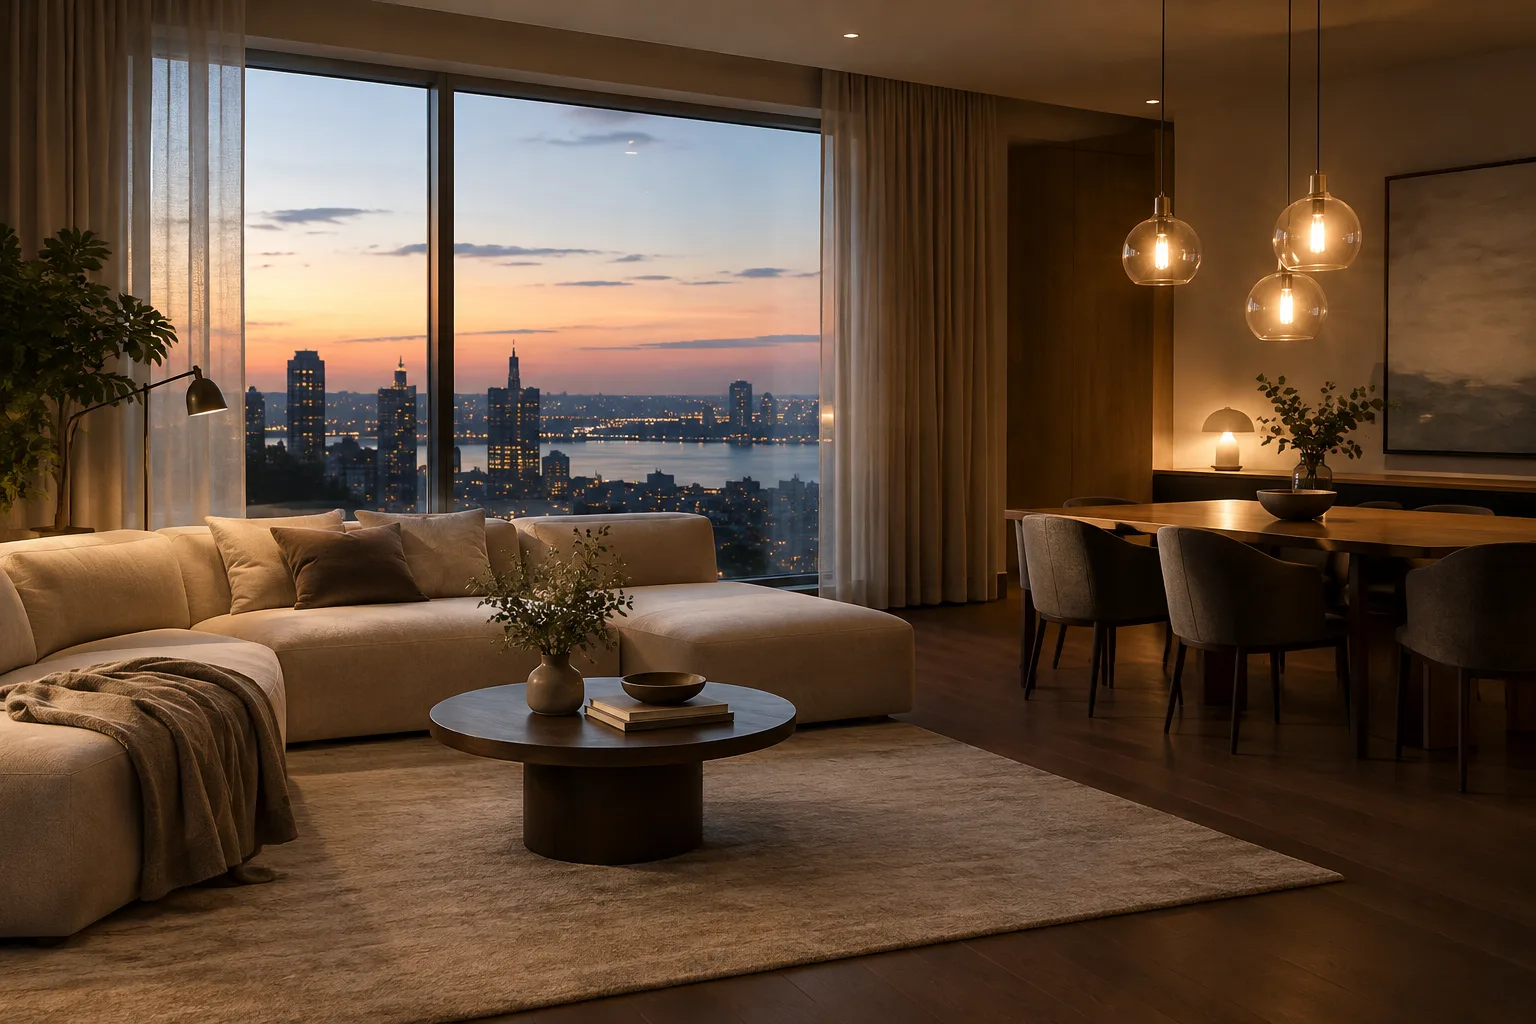
For interior visualizations, the Glare Node can be used after rendering to adjust the effect around bright fixtures, sunlit surfaces or bright windows. This lets you try a glow effect on the image without rebuilding scene materials and lighting, but the result shouldn’t be treated as a physically accurate representation of the scene’s lighting. For architectural presentations, review threshold, strength and spread together to keep light sources legible and surface details visible.
For studios and students, starting with a low-quality preview and then choosing the required output quality makes the workflow easier to control. The sources don’t provide information about hardware requirements, licensing costs or compatibility between versions, so no specific conditions should be assumed in these areas. As a first check, confirm that the compositing tree is applied to the render in your Blender installation and that the final image retains the intended quality.
Next steps
First, compare different Glare Type options and Threshold levels on the same image. Then use the Glare and Highlights outputs to inspect how the effect or bright source areas behave in the compositing flow. If you’re using Sun Beams, isolate the source area and adjust its position. Finally, check the Compositing Pipeline setting, the Group Output connection and the final quality selection.
Sources and license
This guide is translated and adapted from the Blender Manual documentation for Glare Node and Compositing Introduction. Both sources are published under the CC BY-SA 4.0 license.
Sources
2 sourcesSource texts are not republished; short quotes are marked, everything else is our own summary and commentary.
The Glare Node is a useful option for trying out effects around bright sources in architectural renders at the compositing stage. Comparing different glow types and limiting the light-source effect in the image can help you quickly assess the tone of a presentation image.
Studios and students should still avoid treating this effect as a replacement for real scene lighting. The sources don’t specify particular hardware, version or licensing cost requirements, so it’s important to check the Blender installation and render quality used in the workflow. Working at low quality for previews and reassessing detail in the final image is a practical approach.
Frequently asked questions
What does Blender’s Glare Node do?
It adds effects such as Bloom, Fog Glow and Sun Beams to bright areas of an image. The effect itself and the bright areas can also be accessed through separate outputs.
What does the Threshold setting in the Glare Node change?
It sets the minimum brightness value that contributes to the effect. Lower values include more areas, while higher values affect brighter areas.
How do you enable the compositing node tree in a Blender render?
Enable Compositing Pipeline in the Post Processing properties under Output. The Glare Node’s processed Image output must also be connected to Group Output.