In brief
- Motion Paths displays object origins and bone joints as trails across frames.
- You can calculate a path around a specific frame or across a defined frame range.
- Keyframes define values over time; the frames in between are calculated according to the selected interpolation method.
- To change the frame range of a calculated path, clear it and calculate it again.
What you’ll learn in this guide
In Blender, Motion Paths lets you visualize where an animated object or the bones of a rigged character are at different frames. This trail makes it easier to review how the motion flows and spot problems in specific parts of an animation. We’ll first recap how keyframes work, then calculate a motion path and adjust its range and appearance.
You can also use this method to check the animation of a moving piece of furniture, a door, or an object carrying a camera in an architectural scene. The tool displays motion; it doesn’t change modeling or render quality on its own. In architectural examples, the goal is to check whether the animation remains consistent across the frames being tracked.
Requirements
You’ll need an object with animation keyframes in Blender, or bones selected in Pose Mode. Motion Paths can track object origins and bone joints.
The source documents don’t specify a particular Blender version or account requirement. No version or account requirements are therefore given here.
For object animation, Motion Paths options are in the Motion Paths panel under Object Properties. For bone animation, they’re in the Motion Paths panel under the Armature tab. You can also access Motion Paths options for bones from the Pose menu.
Use the Dope Sheet to review animation timing, and the Graph Editor to inspect and edit the curves.
Create a motion path step by step
1. Prepare your keyframes
A keyframe stores the value of a property at a specific frame. For example, if an object has one position at the first frame and another at a later frame, Blender determines the positions between those keyframes according to the selected interpolation method. You can review the keyframes in the Dope Sheet.
Make sure you have keyframes at the start and at any other points where you want the motion to change. To evaluate the motion curve in more detail, inspect the F-Curves in the Graph Editor. The curve’s horizontal axis represents time, while the vertical axis represents the value of the animated property. This lets you assess not only the position, but also how it changes from frame to frame.
2. Select the object or bones to track
To review an object’s motion, select the relevant object. To review bone motion, select the required bones in Pose Mode. Motion Paths operations may affect only the selected bones and paths, so if the result isn’t what you expected, first check that the right object or bones are selected.
3. Choose a path type
In the Motion Paths panel, use the Paths Type option to choose the range to display:
Around Frame: Displays a set number of frames before and after the current frame. The Frame Range Before and Frame Range After values apply to this type.
In Range: Creates a path across a defined range. Set the start and end using the Calculation Range options.
When using In Range, All Keys creates a path between the first and last keyframes of the active object or bone. Selected Keys uses the range from the first to the last selected keyframe. Scene Frame Range uses the scene range or, if enabled, the preview range. Manual Range lets you set the start and end frames yourself.
4. Calculate the path
Click Calculate Path in the Motion Paths panel to create the trail. When working with bones, make sure to select them first. Once calculated, the trail marks positions across frames with small dots. The section before the current frame appears red, and the section after it appears green; these colors are tied to user preferences.
If a path has already been calculated, Update Paths refreshes its shape to reflect the current animation. Use Update All Paths to recalculate the paths for all visible objects and poses. To clear the paths for selected objects or bones, use Clear Paths.
5. Adjust the frame range and density
When using In Range, click Update Path or Update All Paths to apply the selected calculation range to the path update. To preserve a manual range, select Manual Range under Calculation Range. You can edit the start and end values, but an update may change them according to the selected Calculation Range setting.
The Step setting determines how many frames apart the displayed path points are. When Frame Numbers is enabled, frame numbers appear next to the points; increasing Step can make a dense animation easier to read. The Keyframes option displays bone keyframes on the path as yellow square markers. Keyframe Numbers adds frame numbers to these markers. Lines toggles the connecting lines, while Thickness controls their width.
6. Review bone and camera options
For bone paths, Bake Location lets you choose the bone’s head or tail as the point to track. This option is available only for bones in Pose Mode. When Bake to Active Camera is enabled, the path is calculated in the active scene camera’s screen space and is meaningful only for that camera. Switching cameras with camera markers isn’t supported during this operation; the camera that’s active when calculation begins is used.
Common issues
The wrong elements are selected: Operations apply to selected bones. If the path you want isn’t visible, check your selection.
Expecting the frame range to update: You can’t change the range of a calculated path with Update Paths. To change it, first clear the path with Clear Paths, then recalculate it using the new range.
Evaluating a curve from only a few frames: Motion between keyframes depends on interpolation. To review results such as sudden acceleration, easing, or overshoot, also inspect the F-Curves in the Graph Editor. With Automatic Bézier handles, Continuous Acceleration can affect a wider section of the curve and cause more overshoot with Automatic handles.
Assuming a camera-space path applies to every camera: The result of Bake to Active Camera is for the camera that was active during calculation only.
Using Motion Paths in architectural and visualization workflows
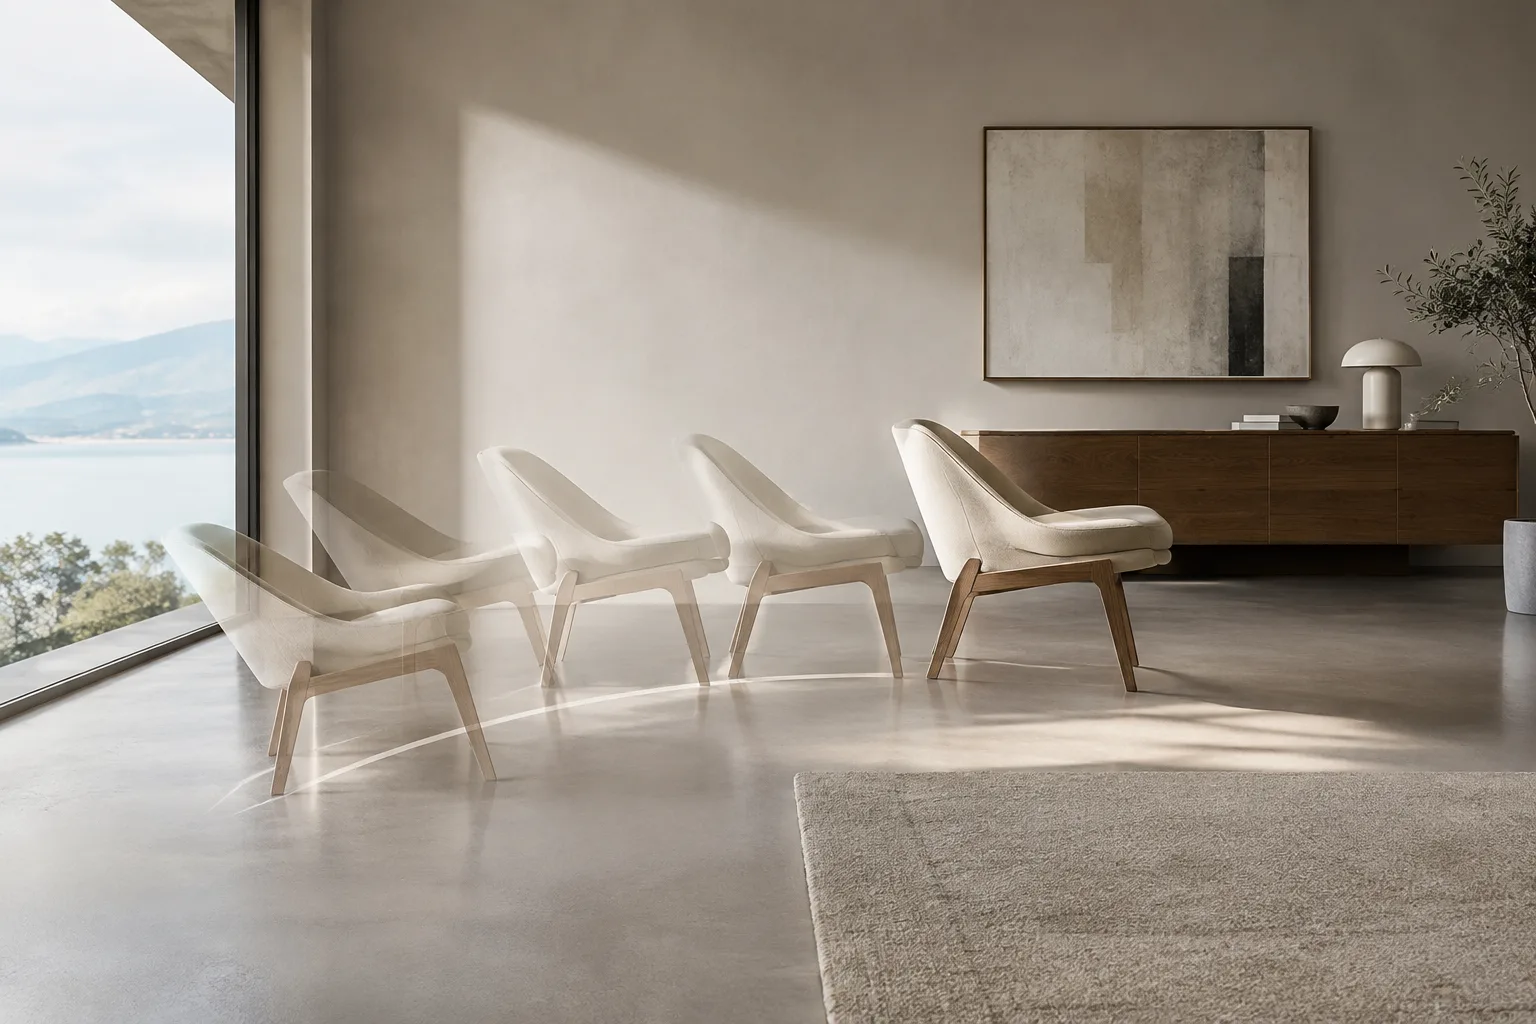
If a chair moves, a door opens, or an object is animated in an interior scene, Motion Paths can help you track its movement across scene frames. This lets visualization artists assess the motion between keyframes, while architects and interior designers can review how objects change position in a presentation animation. The tool doesn’t create new animation on its own; it’s used alongside the process of reviewing keyframes and curves.
The source documents don’t specify particular hardware, licensing, or compatibility requirements, so no claims can be made about a specific graphics card, cost, or version compatibility. Keep your Blender version and scene files consistent within your own workflow, especially by checking that the interface options in the current documentation have equivalents in the version you use.
Next steps
Start with a short, simple animation and use Around Frame to review the motion around the current frame. For a longer animation, select In Range and compare All Keys with Manual Range. Then review the keyframes in the Dope Sheet and the curves in the Graph Editor. Since a motion path shows only the selected frame range and tracking point, evaluate it in the context of the animation’s purpose. When you’re done, use Clear Paths to simplify the view.
Sources and license
This guide is adapted into Turkish from the Motion Paths and Keyframes Introduction pages in the Blender Manual. Both sources are licensed under CC BY-SA 4.0: K1, Motion Paths; K2, Keyframes Introduction. The source content has been translated and adapted.
Sources
2 sourcesSource texts are not republished; short quotes are marked, everything else is our own summary and commentary.
For architecture offices and visualization teams in Turkey, Motion Paths is a practical way to visually check movement in animated scenes. It can be especially helpful for understanding how moving objects or camera-carrying objects flow over time in a presentation video, but it doesn’t replace editing keyframes and curves.
The sources don’t specify costs, hardware requirements, or version compatibility, so they aren’t sufficient on their own to inform a purchasing or upgrade decision. It’s important to select the right frame range in your workflow and verify the panel options available in your version. For students, it also offers an instructive visual check for understanding why an animation may move unexpectedly.
Frequently asked questions
What is Blender Motion Paths used for?
It displays the origins of animated objects and bone joints as trails across frames, letting you review how motion progresses over time using frame markers.
How do you change the motion path range in Blender?
To change the range of a calculated path, clear it first and recalculate it using the new range. With the In Range type, you can set the start and end frames using Manual Range.
How are keyframes displayed in Motion Paths?
The Keyframes option displays bone keyframes on motion paths as yellow square markers. Keyframe Numbers also displays the frame numbers for these markers.