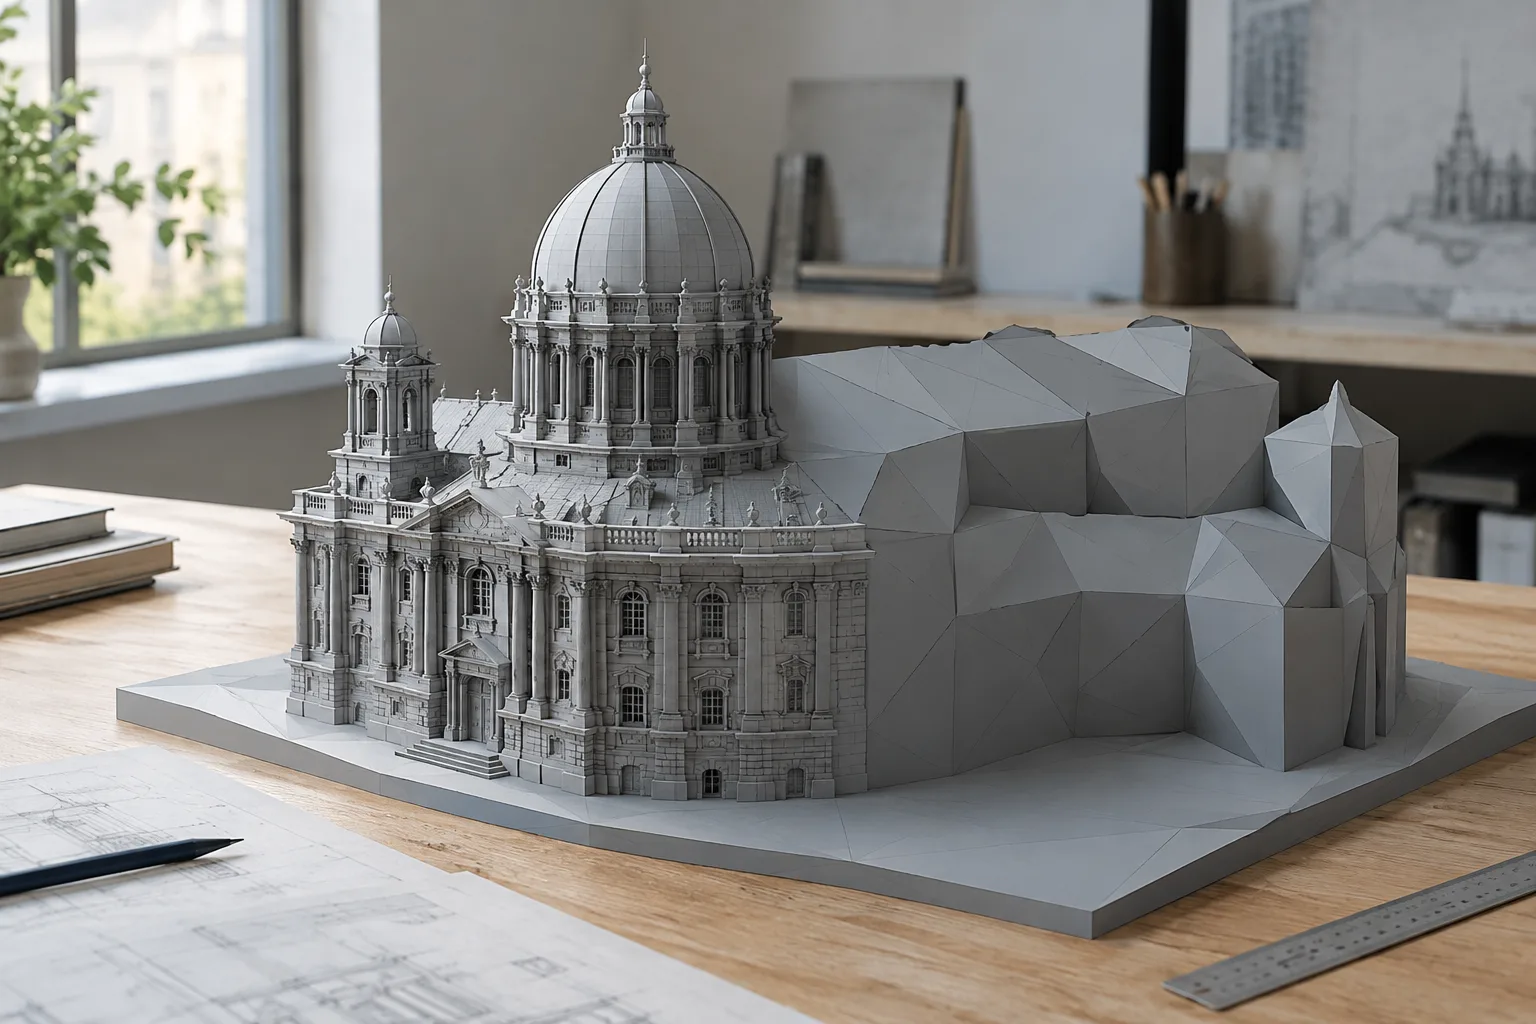
In brief
- Bevel Modifier applies bevels non-destructively, unlike the Bevel operation in Edit Mode.
- The Affect setting lets you choose whether to bevel edges or work only around vertices.
- Increasing the Segments value adds more edge loops across the bevel surface.
- Angle, Weight, and Vertex Group options can limit where the bevel is applied.
What will you learn in this guide?
In Blender, Bevel is used to bevel sharp-looking model edges and give corners a softer transition. Blender Manual describes two ways to do this: the Bevel tool in Edit Mode and the Bevel modifier. The modifier applies bevels non-destructively, meaning the operation is kept as an adjustable effect on the model instead of directly editing the underlying mesh geometry.
This guide first explains how to set the width and smoothness of a bevel, then how to control its scope, corner intersections, and shading. For anyone modeling furniture, interior elements, or architectural details, the goal is not to soften every edge in the same way, but to add a controlled transition where needed and reduce unwanted pinching at intersections.
Requirements
This workflow requires Blender’s mesh modeling tools and the Bevel Modifier. Blender Manual’s current page is the primary source for the modifier options described below. The sources do not specify a required Blender version or account requirement. Since option names can vary between interfaces, check the equivalent controls in the interface for the version you are using. Some settings are shown under different names in the older guide published for Blender 2.80.
The model must have edges to bevel. You can use the Affect and Limit Method settings in the modifier to choose which edges are affected. Alternatively, if you prefer to edit directly, use the Bevel tool in Edit Mode: Ctrl-B is documented for beveling selected edges, while Shift-Ctrl-B is documented for working only around vertices.
Basic workflow with Bevel Modifier
Set the bevel’s scope. Affect in the modifier options determines which geometry the operation targets. The Edges option bevels edges and creates intersections at corners. The Vertices option works only around vertices, leaving edges unchanged. Try Edges if you want a bevel that continues along the edges of a box or furniture body; try Vertices if you want local softening only at corners.
Choose a measurement method with Width Type. The Width value is interpreted differently depending on the selected measurement method. Offset is the distance between the new edge and the original edge; Width is the distance between the two new edges created by the bevel. Depth is the perpendicular distance between the new bevel surface and the original edge. Percent uses a percentage of the adjacent edge length. Absolute defines an exact distance along adjacent edges. Since results can vary depending on the model’s dimensions, start with a small value and check the result.
Adjust the width and segment count. Width determines the size of the bevel effect. Segments defines the number of edge loops added across the bevel surface. Higher segment values create a smoother transition, but choose a value that suits the model’s intended appearance rather than adding detail unnecessarily. Segments must be at least 2 for the Profile setting to take effect.
Limit where the bevel is applied. Limit Method determines whether the modifier works across the entire mesh or only on edges that meet specific conditions. None processes all edges without applying a limit. Angle selects sharp edges based on the angle between adjacent faces, helping prevent unnecessary bevels around flatter surfaces. Weight uses the relevant weight attribute; no bevel is applied when the weight is 0.0. With Vertex Group, both vertices at the ends of an edge must belong to the group for that edge to be processed.
Inspect corner intersections. When multiple beveled edges meet at a corner, the modifier uses an intersection method to complete the resulting geometry. Grid Fill can be used when you want the bevel profile to continue smoothly. Cutoff creates a face at the end of each beveled edge, which can be useful with complex custom profiles. The Inner and Outer Miter settings determine the shape of the intersection: Sharp creates a sharp join, Patch adds extra corners for a less pinched appearance, and Arc creates a curved transition at the intersection.
Check for overlap and edge flow. Clamp Overlap limits bevel widths that would create intersections with other geometry. If beveled and unbeveled edges meet at a corner, Loop Slide allows the bevel to slide along those edges when possible. Blender Manual notes that widths can be more even when Loop Slide is disabled. If an intersection looks unexpected, change this setting and inspect the model again.
Verify the shading result. When Harden Normals is enabled, the normals of bevel surfaces are adjusted to match the surrounding surfaces, without affecting the normals of those surrounding surfaces. This feature requires a custom split normal attribute on the mesh; according to the guide, the required attribute can be created for convenience if it does not exist. If the edges look correct but the surface transitions do not, assess this option together with the model’s shading.
Common mistakes
Applying the same bevel to every edge: With Limit Method set to None, all edges are processed. This can produce a different result from what you expect on models where only specific edges should be softened. Try limiting the operation with Angle, Weight, or Vertex Group.
Assuming that increasing Segments will solve every problem: The segment count increases the number of loops added to the bevel surface; it does not, by itself, determine the intersection shape or where the bevel is applied. Check the scope, width, and corner intersections first.
Overlooking intersections with a custom profile: Grid Fill and Cutoff produce different results where multiple edges meet. Inspect the intersection geometry separately, especially when using a custom profile.
Assuming setting names are identical across versions: The way options are presented in the Blender 2.80 guide may not fully match the naming in the current guide. If you are following an older tutorial, verify the equivalent controls in the current interface.
What changes in an architectural and visualization workflow?
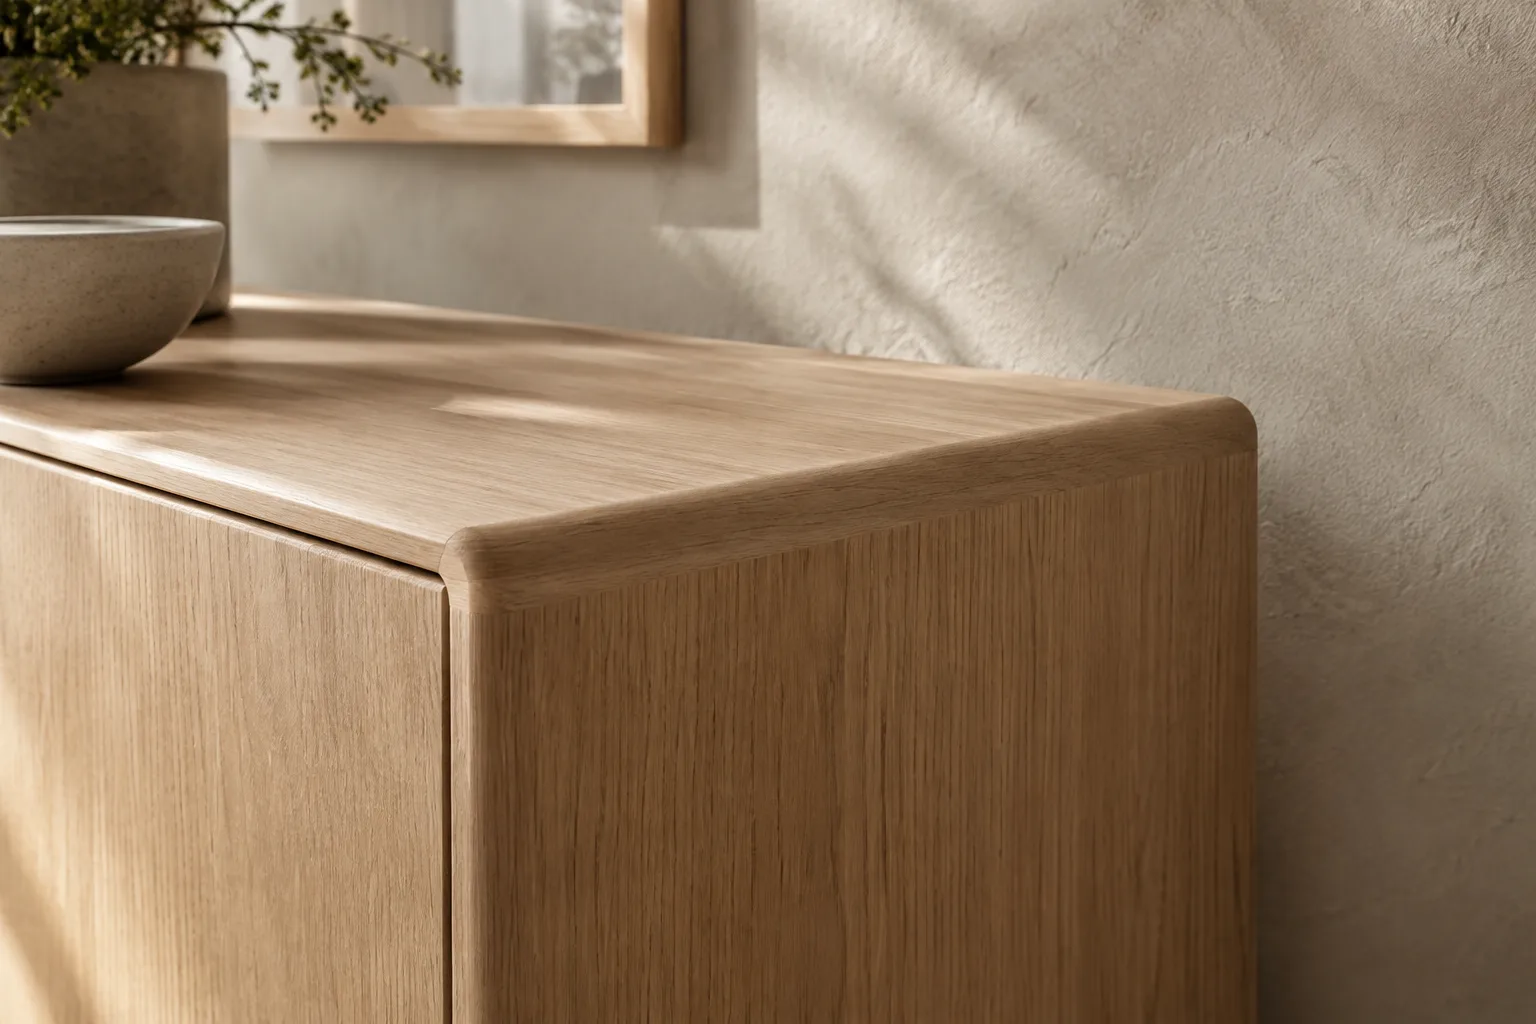
Bevel can be used to control the appearance of sharp edges in interior furniture, door and window frames, or close-up product models. A non-destructive modifier workflow makes it easier to revise the width and scope during design changes. However, the sources do not provide information about compatibility with specific render software, hardware requirements, or licensing terms; do not make assumptions about these topics.
For office and student projects, do not judge the result only by how the model looks from a distance. Inspect corner intersections, how the bevel relates to adjacent surfaces, and the shading in close-up views. If you plan to transfer the file to another workflow, confirm the delivery format and the other party’s requirements in advance, since how the modifier is handled may depend on the software being used.
Next steps
Start by comparing the Edges and Vertices options on a simple box or furniture body. Then inspect the same model with an Angle limit, different Width Type options, and different intersection methods. Once you achieve the desired look, try the selected settings on a more complex model. When using the Edit Mode Bevel tool, Ctrl-B bevels edges and Shift-Ctrl-B bevels vertices; while the operation is active, you can use the mouse wheel to adjust the density of the new geometry. The guide also notes that the last operation’s settings can be edited after confirming it.
Sources and license
This tutorial has been adapted into Turkish based on the “Bevel Modifier” and “Bevel” documents in Blender Manual. The sources are licensed under Creative Commons Attribution-ShareAlike 4.0 (CC BY-SA 4.0). The Blender 2.80 guide was used to compare older interface terminology.
Sources
3 sourcesSource texts are not republished; short quotes are marked, everything else is our own summary and commentary.
For architecture offices and visualization teams in Turkey, the practical value of Bevel Modifier is that bevels can be adjusted without directly changing the underlying geometry. This enables more controlled modeling, especially for furniture and interior details, by limiting the scope of the effect.
These sources do not specify costs, hardware requirements, or export compatibility, so these should not be assumed when making a decision. Testing corner intersections and shading in close-up views may be more useful than simply increasing the width. Teams should also avoid assuming that setting names in tutorials for older versions match those in the current interface.
Frequently asked questions
What does Blender Bevel Modifier do?
It bevels mesh edges non-destructively, unlike the Bevel operation in Edit Mode. The modifier includes options for controlling where the bevel is applied and its width.
Which shortcuts are used for Bevel in Blender?
In Edit Mode, Ctrl-B bevels edges, while Shift-Ctrl-B works only on vertices. During the operation, the mouse wheel can change the density of the new geometry.
What does Segments change in Bevel Modifier?
Segments determines the number of edge loops added across the bevel surface. Higher values can produce a smoother result.