In brief
- The sun’s position and brightness affect light intensity, shadow depth and color temperature in a scene.
- Sky Brightness changes scene lighting, while Background Brightness affects only the Sky Map’s appearance.
- Spotlight emits directional light, Omnilight emits light in all directions, and Area Light can illuminate from large surfaces.
- Lumion’s documentation does not specify a particular software version for this lighting guide.
Lumion’s official support documentation describes light as one of the key factors that shape atmosphere, influence how design features are perceived and communicate a project to viewers. This guide provides a practical workflow for using the same lighting system more deliberately in interior and exterior scenes. Since the documentation does not specify a particular Lumion version, the steps below are limited to the tools and behaviors it describes.
7 steps to set up lighting in Lumion
1. Define the scene’s purpose and lighting scenario first
Before adjusting the lights, decide what the render needs to show: sunlight on a façade, light entering through a window, the soft illumination of an overcast day or an evening atmosphere. Since the sun and sky can be adjusted independently, you don’t have to rely on a single overall brightness setting. Starting with a scenario suited to the scene’s purpose makes it easier to understand the intent behind later adjustments.
2. Adjust the sun’s direction and intensity
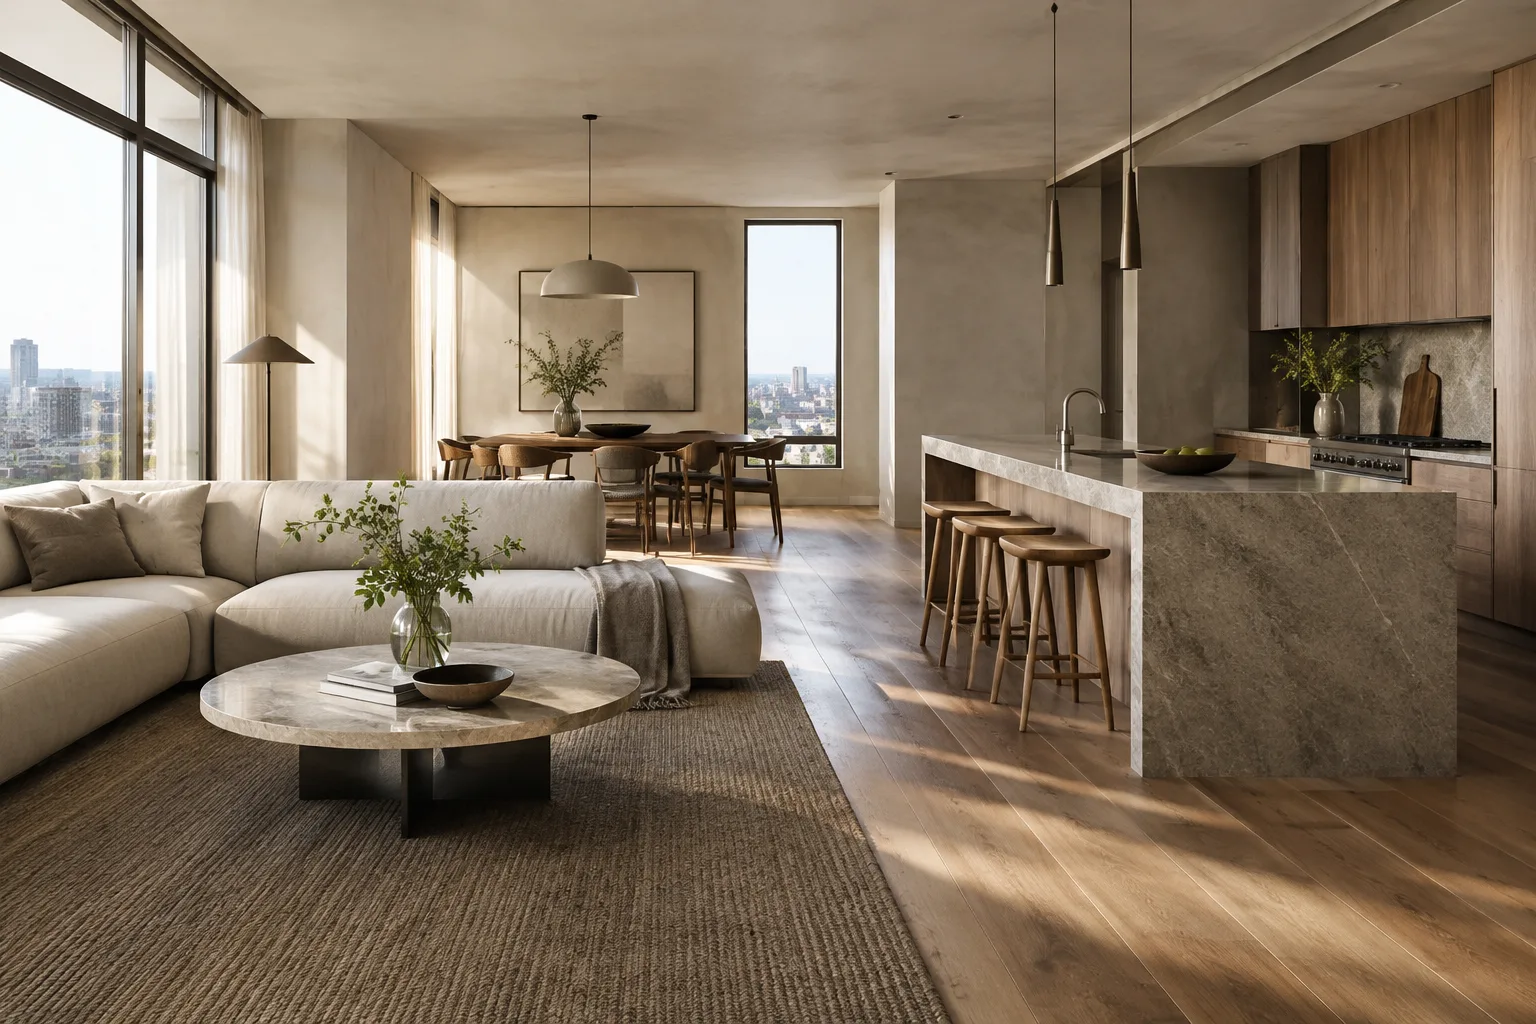
The sun’s position and the intensity of its light can be adjusted from the Weather tab in Build Mode. The sun’s direction determines the angle at which light reaches a façade and whether it enters through windows. When the sun is near the horizon, its light takes on a warmer, redder tone; the color and intensity of shadows also change. As the sun rises higher in the sky, the light becomes more neutral and shadows sharper.
The Sun and Sun Study effects added to a photo, clip or panorama let you set separate sun parameters for individual camera views. Sun Study provides controls for simulating real-world sunlight and shadows by selecting a geographic location, date and time. The source also notes that these effects can be used to create time-lapse animations that move from day to night.
3. Use sun brightness to adjust shadow character
Sun Brightness changes the effect of direct sunlight in the scene. A higher value can create brighter areas and more pronounced, sharper shadows; a lower value softens the shadows and reduces the sun’s effect. In interiors, this setting can also be used to control how much sunlight enters through the windows.
When using Ray Tracing, Sun Disk Size affects whether shadows look sharp or diffuse. A smaller disk produces sharper shadows; a larger disk creates softer, more diffuse shadows. According to the documentation, this setting changes the appearance of shadows, not the intensity of sunlight.
4. Treat sky light and the background separately
Sky Brightness controls the level of diffuse light emitted by the sky. Increasing it makes the image brighter and cooler in tone, while softening the shading. Lowering it makes direct sunlight more prominent and shadows more defined. This difference can also be noticeable in interiors that don’t receive direct sunlight.
Background Brightness affects the brightness of the Sky Map background, not the lighting in the scene. This distinction matters when you want to adjust the sky’s appearance in the frame without changing the lighting setup. The setting is available with the Sky and Clouds or Real Skies effects.
5. Use Real Skies to explore ready-made atmospheres
Real Skies lets you use HDR Sky Maps for different times of day and weather conditions through a single effect. The documentation lists morning, evening, cloudy, overcast, clear, sunset and night options, and states that the library includes more than 59 Real Skies. You can also load your own HDR Sky Map.
These sky maps affect the color, diffusion and overall atmosphere of the light. However, because Real Skies are spherical photographs, the sun’s position and cloud formations in the map are fixed. The map can be moved or rotated, and Sky Brightness, Sun Brightness and Background Brightness can be adjusted separately. If you need a specific sun direction, consider using the Sun effect alongside Real Skies.
6. Choose an artificial light type to suit the fixture
Spotlight emits light in a cone in a specific direction. It can be used for directional sources such as ceiling spotlights; its brightness is measured in lumens, and its cone angle and direction can be adjusted. Lumion’s documentation states that 30 Spotlight IES profiles are available and that custom profiles can be imported.
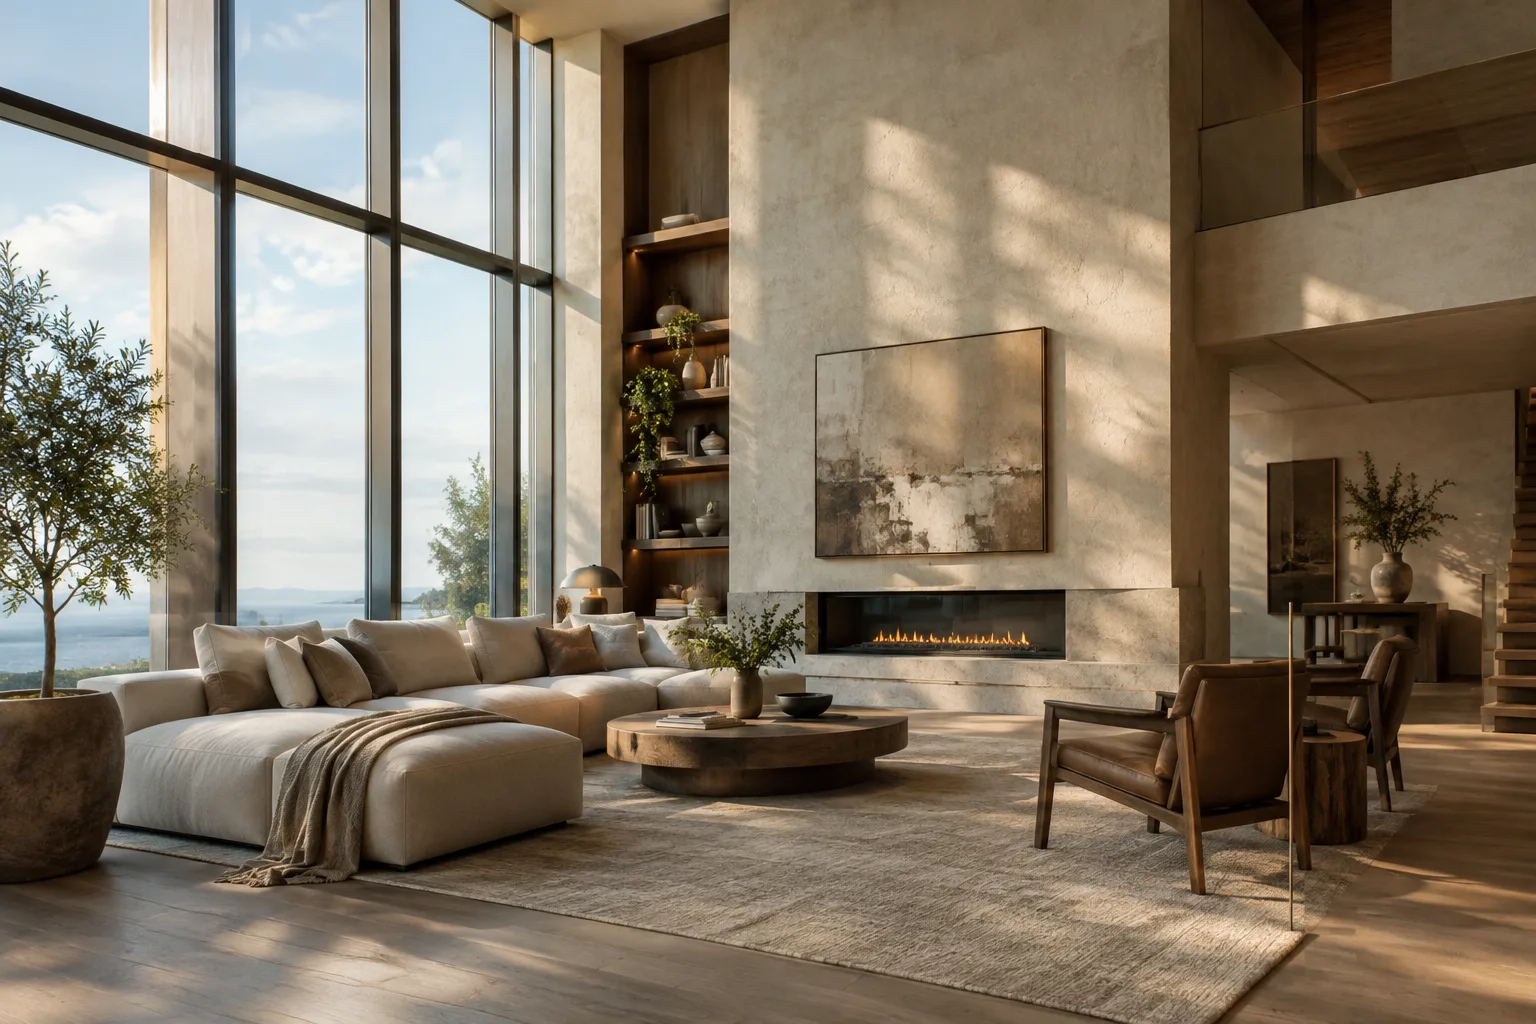
Omnilight emits light in all directions, making it suitable for pendant lights, bulbs and sources such as fireplaces. The documentation states that 10 Omnilight IES profiles are available and that custom profiles can also be loaded. Light Fill does not cast shadows and does not work in Ray Tracing mode; it can be used in a rasterization workflow to add localized illumination to an area.
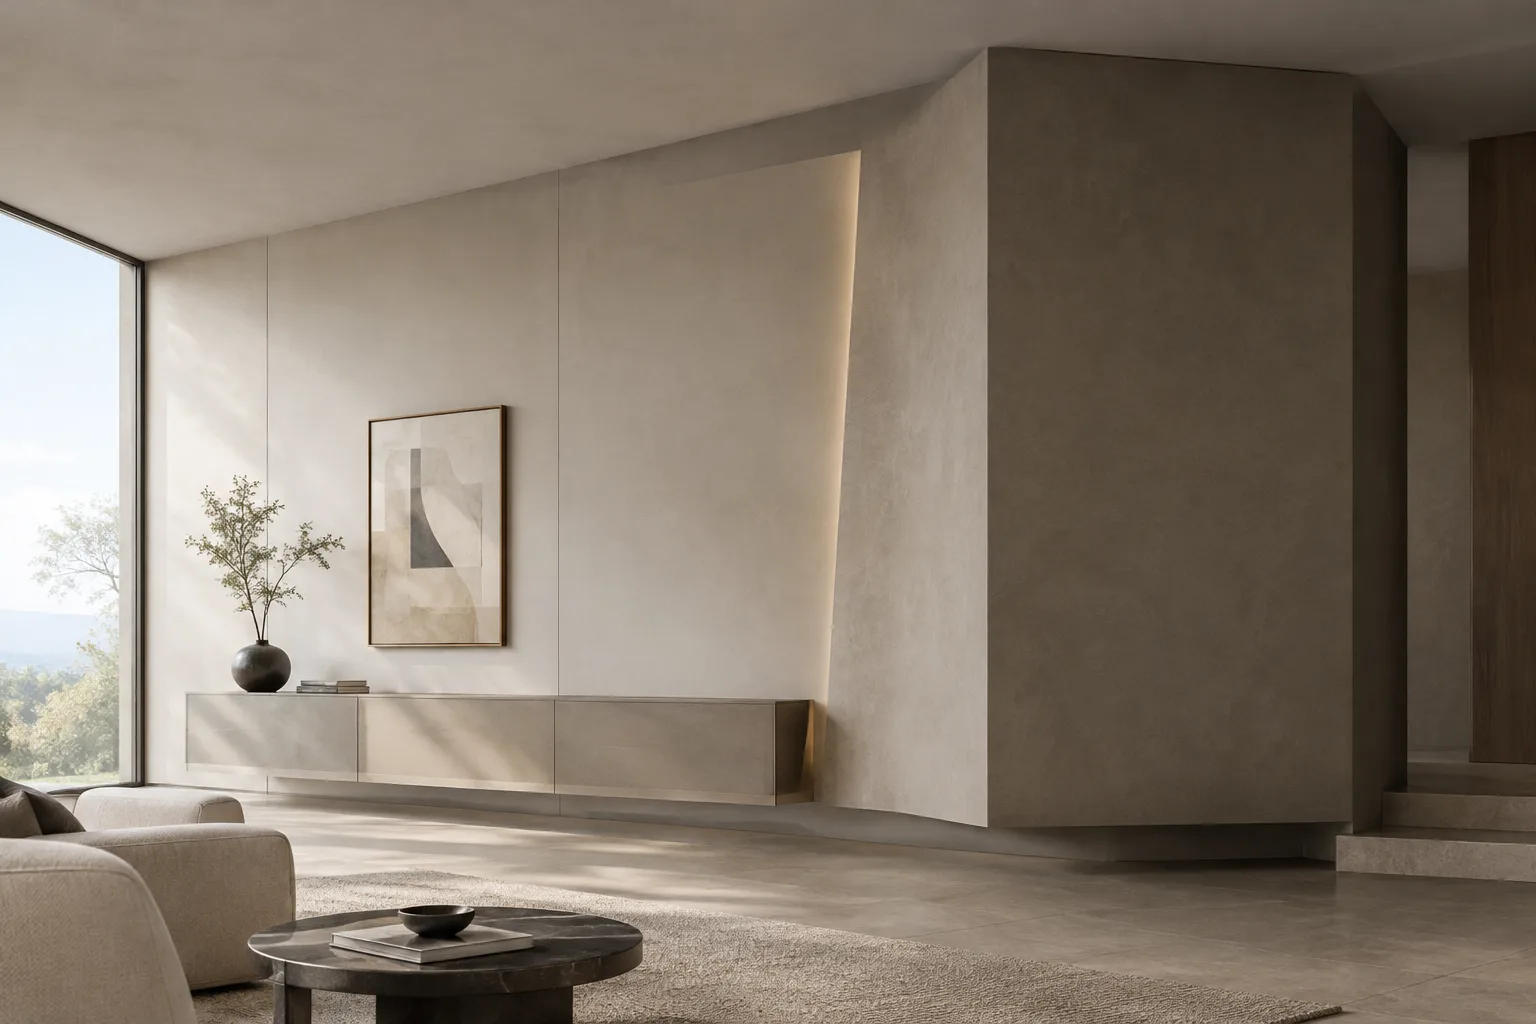
Area Light emits light in one direction from a large surface. Its brightness is controlled in nits, and its width and length can be adjusted to represent fixtures of different sizes. It can be used to model large areas, ceilings, walls, screens or indirect lighting. This light type casts shadows only when using Ray Tracing.
7. Check the result with small comparisons
When evaluating settings from the same camera angle, change one variable at a time: first the sun’s direction, then Sun Brightness, followed by Sky Brightness. This makes it easier to see which setting caused a change in the image. A background that looks too bright does not necessarily mean that the scene lighting is too bright; Background Brightness and Sky Brightness control different things.
| Setting | Recommended value | Effect |
|---|---|---|
| Sun Brightness | Adjust according to the scene and the sunlight entering it | Affects the sun’s intensity and shadow contrast |
| Sun Disk Size | Adjust for the desired shadow softness; Ray Tracing is required | A lower value produces sharper shadows; a higher value produces softer shadows |
| Sky Brightness | Increase for an overcast or cooler look; decrease to emphasize the sun | Changes diffuse sky light and the image’s tone |
| Background Brightness | Adjust according to the Sky Map’s appearance in the frame | Changes the background, not the scene lighting |
Effects on architecture, interior design and archviz workflows
In exterior visualizations, the sun’s direction turns façade lighting and shadow patterns into storytelling tools. In interiors, Sun Brightness and Sky Brightness let you assess direct light entering through windows separately from diffuse ambient illumination. Choosing an artificial light type to match the fixture’s distribution also helps represent the scene’s light sources in a way that better suits the design.
The documentation also makes some workflow considerations clear: the shadow effect of Sun Disk Size depends on Ray Tracing; Area Light casts shadows only with Ray Tracing; and Light Fill does not work in Ray Tracing. Consider the rendering method and effects in use when comparing results. Since the guide does not provide specific hardware requirements or licensing information, no assumptions about these or about a particular version should be made.
Common mistakes
Treating Sky Brightness and Background Brightness as the same setting: the former affects scene lighting, while the latter affects only the Sky Map background.
Changing Sun Brightness alone to soften shadows: with Ray Tracing, Sun Disk Size also controls shadow character.
Expecting Area Light or Light Fill to behave identically with every rendering method: their shadow and Ray Tracing behavior differs.
Assuming you can freely change the sun’s position when choosing Real Skies: the sun and clouds in the map are fixed.
Sources
1 sourceSource texts are not republished; short quotes are marked, everything else is our own summary and commentary.
For architecture and visualization studios in Turkey, the most practical takeaway from this guide is the reminder to control natural light and background brightness separately. In interior presentations in particular, assessing sunlight and soft sky illumination as separate elements can help communicate design decisions more clearly.
However, render settings do not change the technical limitations of each light type: Area Light’s shadow behavior depends on Ray Tracing, while Light Fill is used with rasterization. Studios should test their existing scenes with the rendering method they use and verify licensing and hardware conditions against their own setups; the documentation does not specify a version or hardware requirements for this guide.
Frequently asked questions
How can I make interior lighting look softer in Lumion?
Increasing Sky Brightness boosts diffuse sky light and softens shading. With Ray Tracing, increasing Sun Disk Size also makes sun-cast shadows softer and more diffuse.
What is the difference between Sky Brightness and Background Brightness in Lumion?
Sky Brightness affects the sky light in the scene. Background Brightness changes only the appearance of the Sky Map and does not affect the scene’s existing lighting.
Do Area Light and Light Fill cast shadows in Lumion?
Area Light casts shadows only when using Ray Tracing. Light Fill does not cast shadows and does not work in Ray Tracing mode.